Introduction
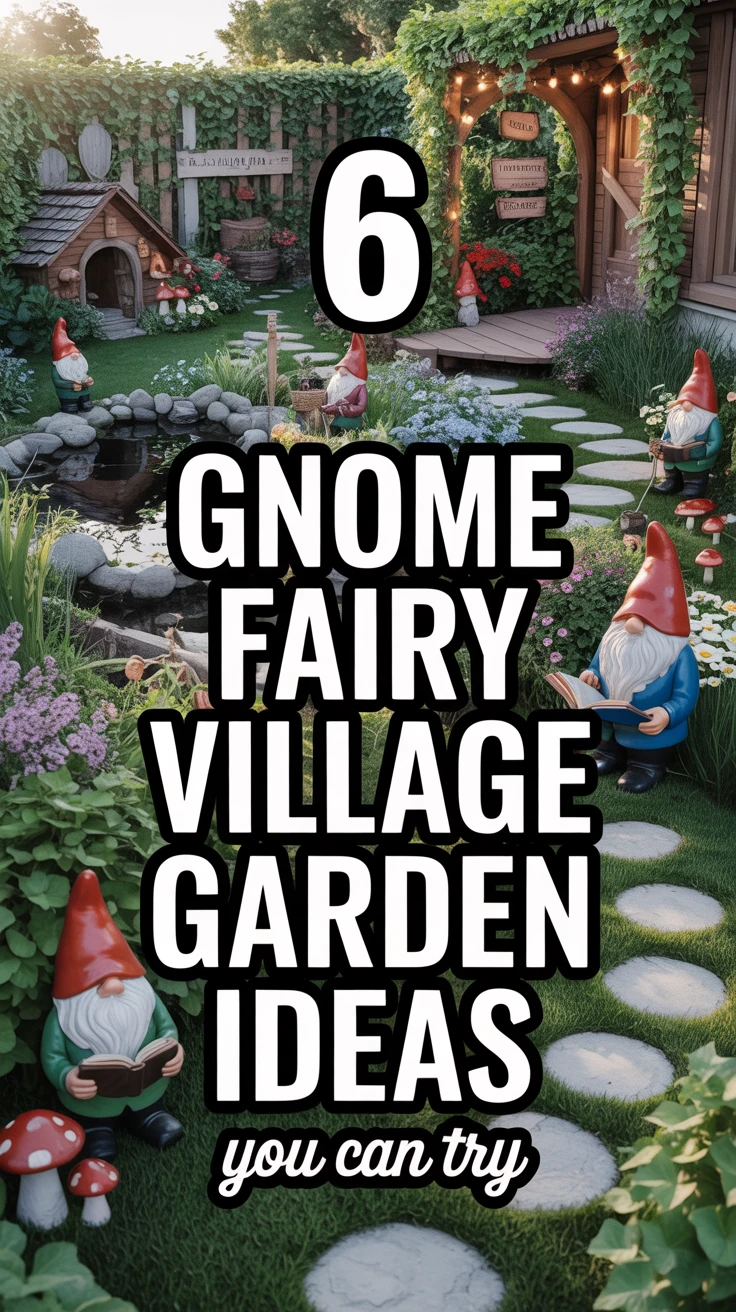
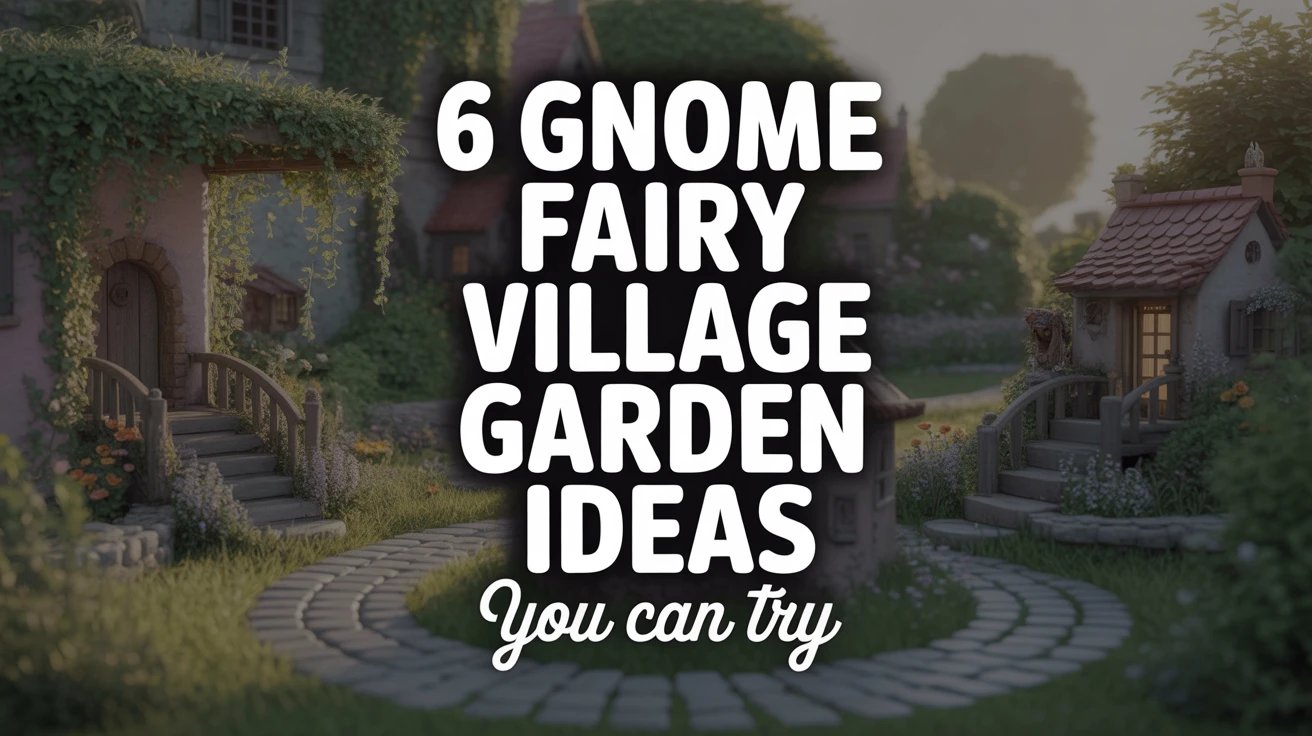
There’s something undeniably magical about creating a miniature world in your garden. As a gardening enthusiast who’s spent years experimenting with different outdoor décor, I’ve found that gnome fairy village gardens offer a perfect blend of whimsy and creativity. These enchanting little spaces transform ordinary gardens into realms of imagination and wonder.
I remember my first attempt at creating a fairy garden—a humble arrangement with a single gnome and a few rocks. Today, that small beginning has blossomed into a hobby that brings joy to my family and visitors alike. Whether you have a sprawling backyard or just a small container garden, these six DIY fairy village ideas will help you create your own miniature wonderland.
1. Miniature Pathways and Bridges
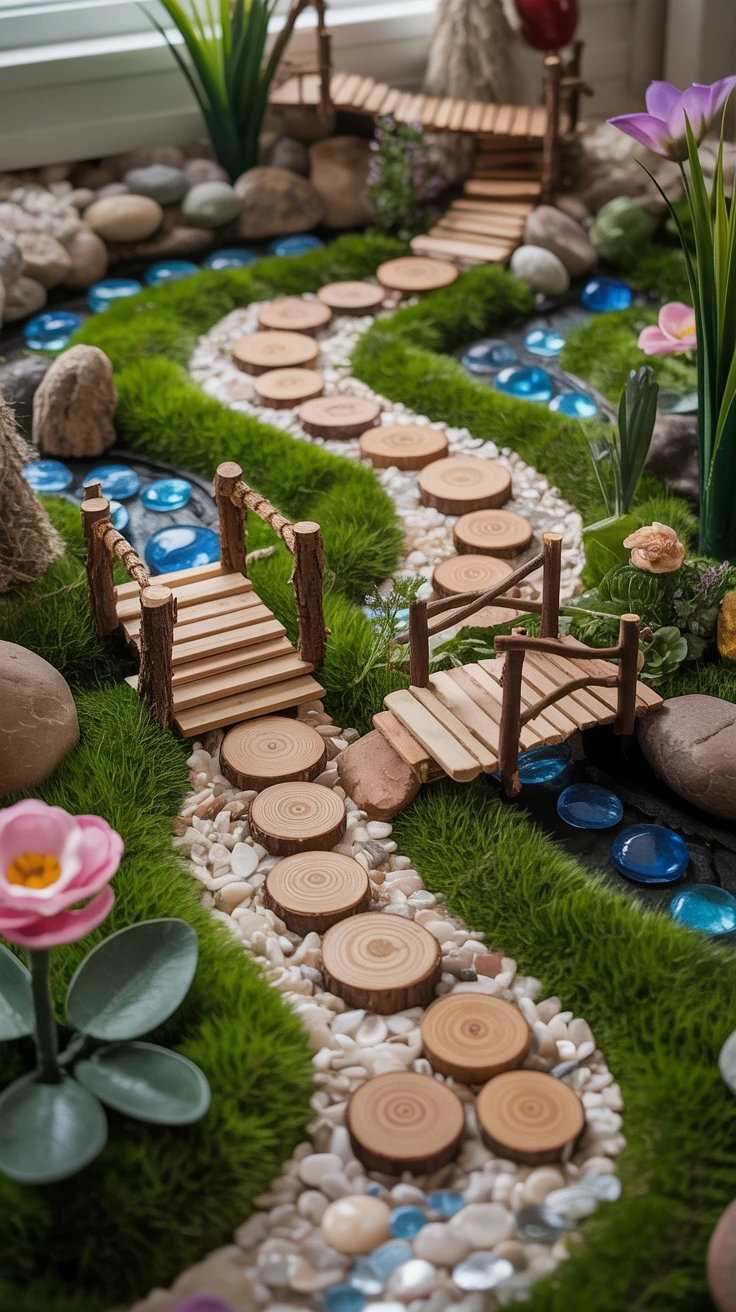
The foundation of any captivating gnome garden begins with its pathways. These tiny trails guide the eye through your miniature landscape and create a sense of journey and exploration.
When I first started designing pathways, I used whatever materials I had on hand. Now I’ve learned that selecting the right materials makes all the difference in creating a cohesive look:
- Pebble Paths: Collect small, similarly-sized pebbles and arrange them in winding patterns through your garden. I’ve found that river rocks with smooth edges work particularly well.
- Wood Slice Walkways: Small discs cut from branches create a charming, rustic path. I once used pencil-thin branch slices that disintegrated after the first rain—lesson learned!
- Crushed Shell Trails: For a coastal-themed fairy village, crushed seashells create beautiful, shimmering paths.
- Miniature Bridges: Use popsicle sticks, twigs, or small pieces of driftwood to create bridges over “streams” made from blue glass gems or actual small water features.
Pro Tip: I always seal wooden elements with outdoor polyurethane to prevent rotting. After losing several beautiful handcrafted bridges to weather damage, I now make this step non-negotiable for any wooden components in my fairy gardens.
2. Enchanted Houses and Cottages
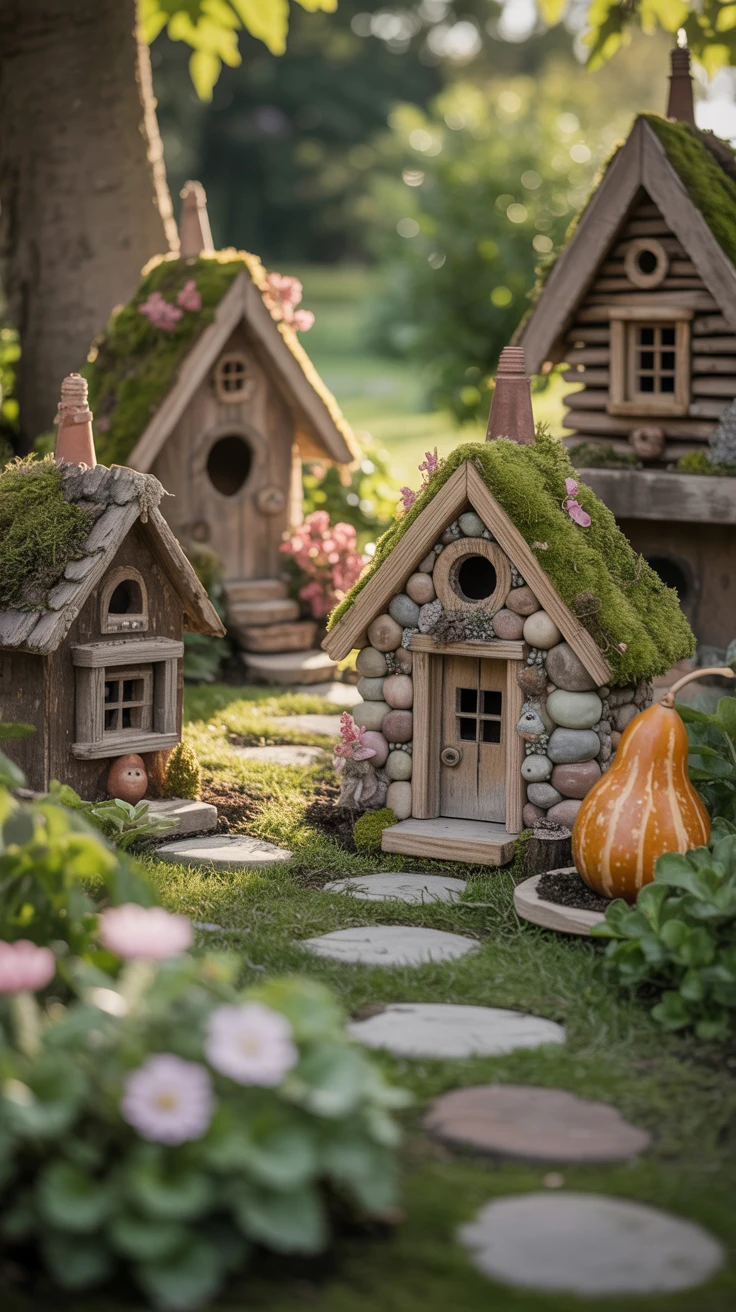
Every gnome needs a place to call home! Creating charming dwellings forms the heart of your gnome fairy village garden.
When I built my first fairy house, I used an upside-down terracotta pot. While functional, it lacked personality. I’ve since discovered numerous creative approaches:
- Repurposed Birdhouses: Small wooden birdhouses make perfect starting points. I customize them with moss roofs, tiny windows, and miniature doors.
- Hollowed Logs: Natural log sections with hollowed centers create authentic-looking woodland homes.
- Stone Cottages: Stack small stones with craft adhesive suitable for outdoor use to create stone cottages.
- Gourd Houses: Dried gourds can be hollowed out, painted, and decorated to create unique fairy dwellings.
Pro Tip: Position your houses at different heights using small mounds of soil or hidden supports. This creates depth and makes your village appear more dynamic and interesting. I once placed all my houses on flat ground and was disappointed by how two-dimensional the village looked.
3. Magical Water Features
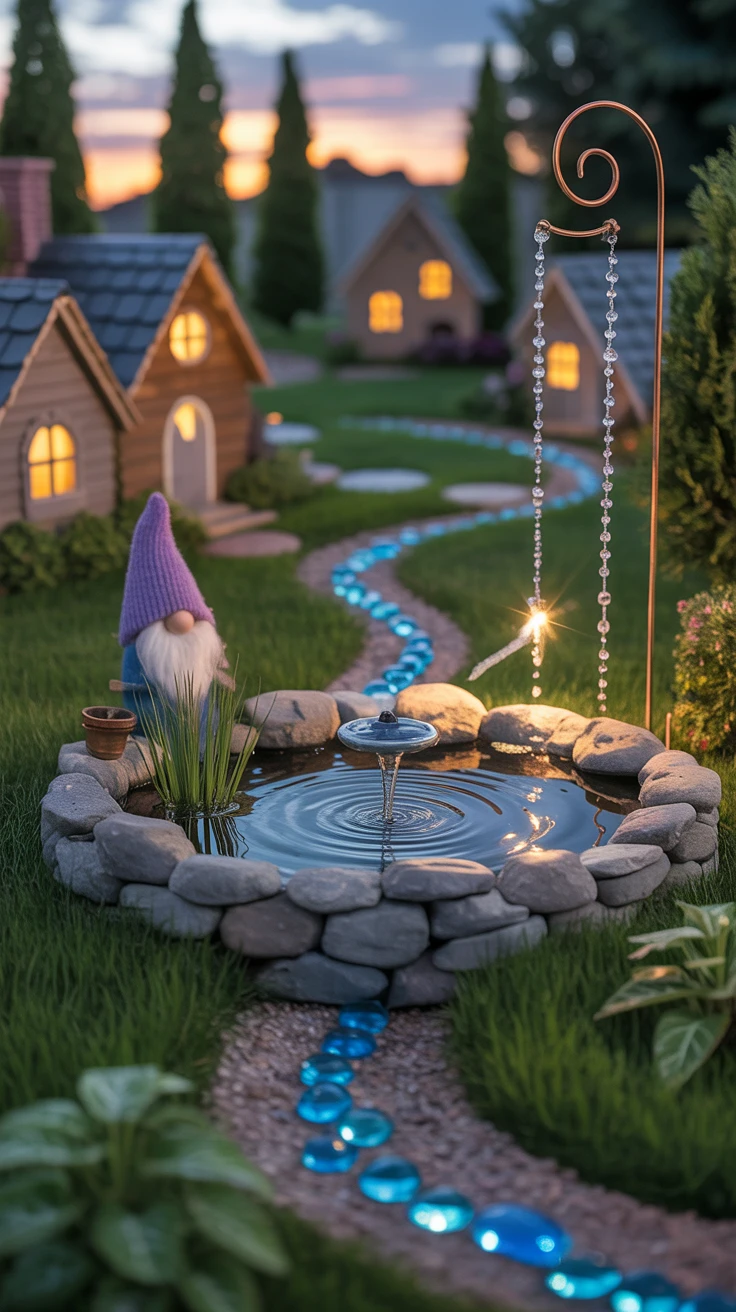
Water brings life and movement to your DIY fairy village. Even the smallest water element can transform your gnome garden into a more immersive experience.
My first water feature was a disaster—I didn’t consider drainage, and it became a mosquito breeding ground. Here’s what I’ve learned works better:
- Miniature Ponds: Use a shallow dish, line it with pebbles, and fill it with water. Add tiny water plants like baby tears or small aquatic plants.
- Fairy Fountains: Small solar-powered fountains create delightful movement and sound. I found an affordable one online that uses a tiny solar panel.
- Dry Creek Beds: For a water-free option, arrange blue glass gems or small blue stones to mimic the appearance of water.
- Rain Chains: Create miniature versions using copper wire and beads to direct rainwater through your fairy garden.
Pro Tip: If using real water features, ensure proper drainage and change the water regularly to prevent stagnation. I now drill small drainage holes in all my container water features after learning this lesson the hard way.
4. Whimsical Plant Arrangements
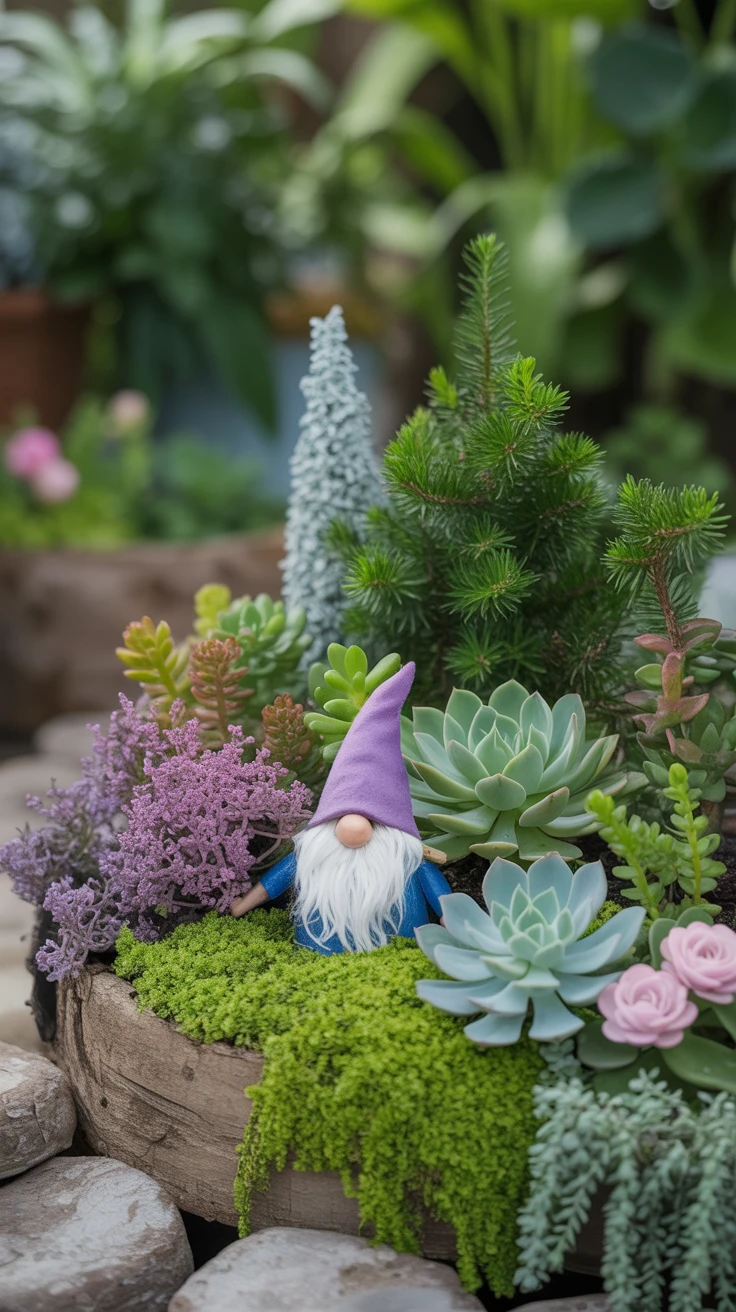
The right plants can make your gnome garden ideas come to life by creating a sense of scale and adding natural beauty to your miniature landscape.
I once planted fast-growing herbs in my fairy garden, only to have them overtake the entire display within weeks. Now I’m more strategic:
- Miniature Plants: Look for naturally small varieties like Irish moss, baby tears, or dwarf sedums.
- Slow-Growing Succulents: Varieties like Haworthia and small Echeveria maintain their size and require minimal maintenance.
- Creeping Thyme: Creates a beautiful carpet-like ground cover that resembles miniature meadows.
- Dwarf Conifers: These make perfect miniature trees that maintain their shape and size.
- Miniature Roses: For a touch of color and elegance in your fairy garden.
Pro Tip: Research each plant’s growth habit before including it in your fairy garden. I now maintain a “plant audition” area where I grow potential fairy garden plants for a season to observe their behavior before incorporating them into my displays.
5. Personalized Gnome Characters
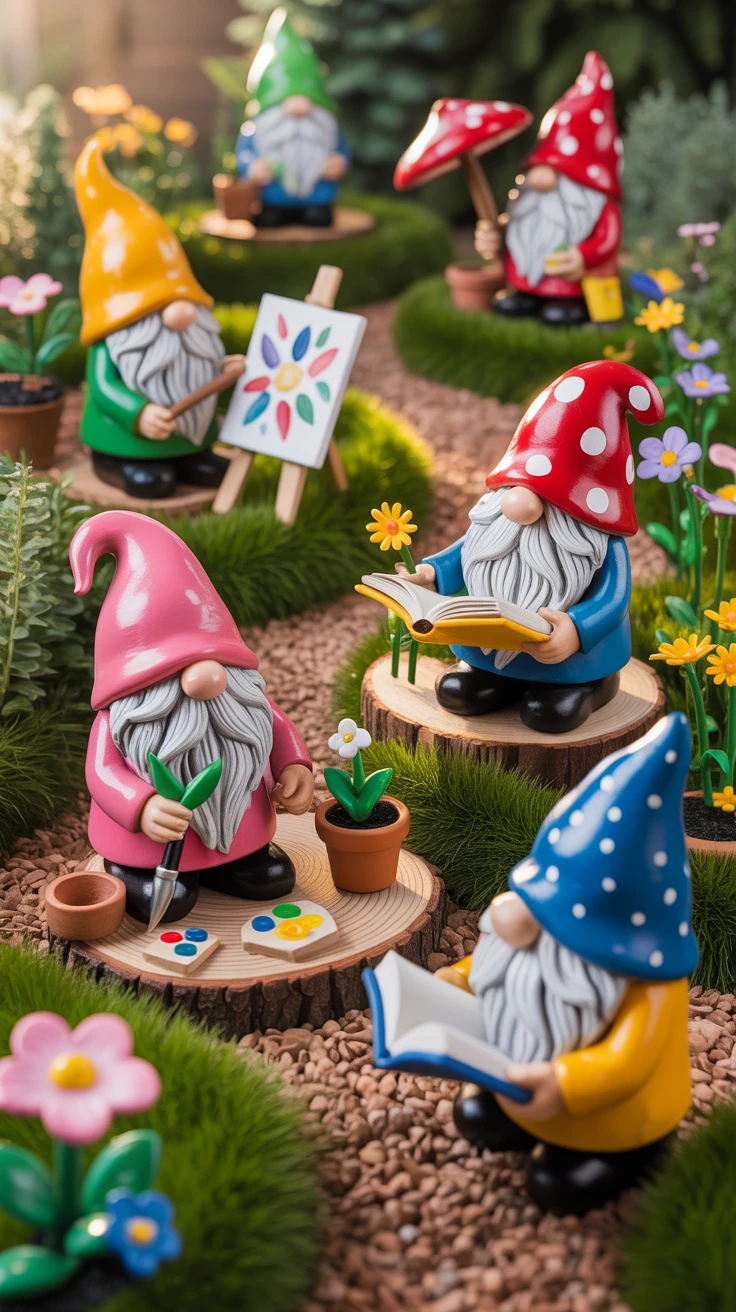
The residents of your village bring personality and charm to your creation. While store-bought gnomes are convenient, personalizing them makes your gnome fairy village garden unique.
I started with generic gnomes from a garden center, but now I enjoy customizing each character:
- Paint Existing Gnomes: Use outdoor acrylic paints to change clothing colors or add details to store-bought gnomes.
- Create Clay Figures: Sculpt your own characters using oven-bake clay, then seal them with outdoor varnish.
- Craft Wooden Gnomes: Carve simple shapes from wood or use wooden pegs as bases for handmade gnomes.
- Arrange in Scenes: Position your gnomes to tell stories—fishing by the pond, gardening, or having a tiny picnic.
Pro Tip: When painting or crafting gnomes for outdoor use, apply several layers of clear waterproof sealer. I once spent hours painting a family of gnomes, only to find their colors washed away after the first rainstorm.
6. Lighting for Nighttime Magic
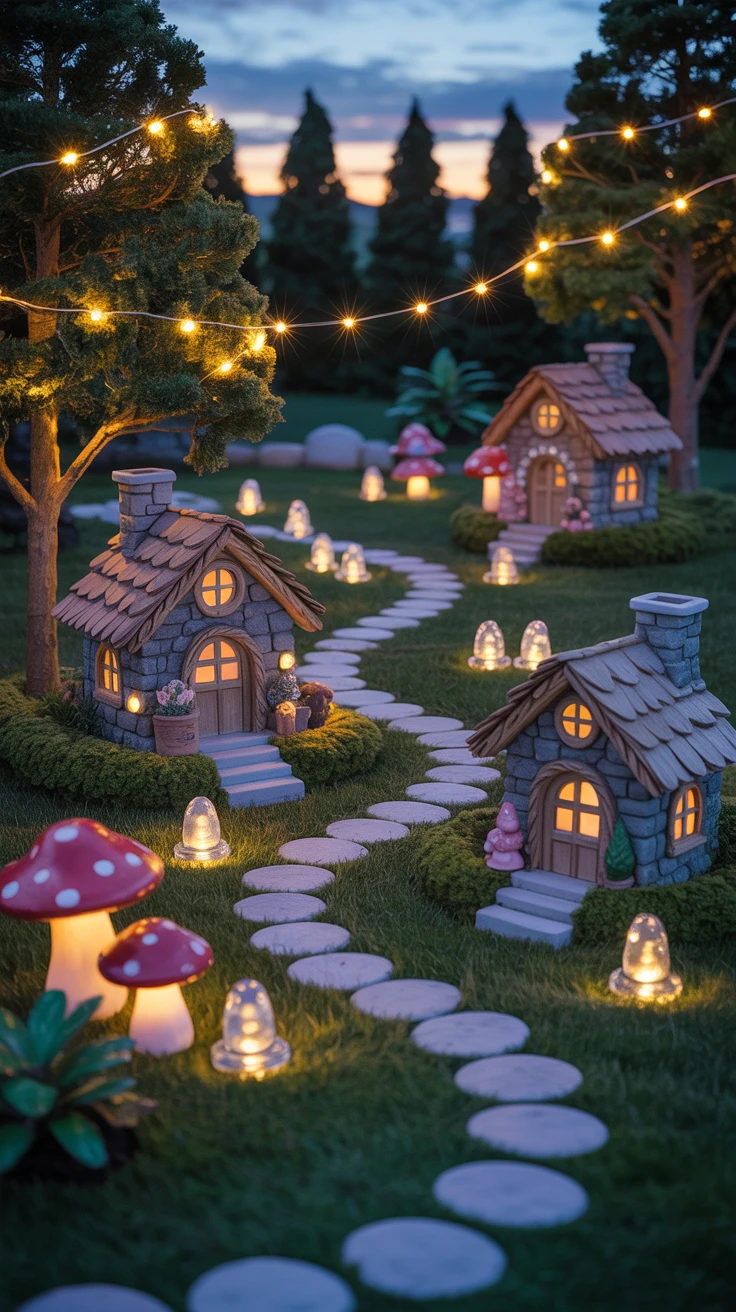
Extending the enchantment of your gnome garden into the evening hours adds another dimension to your creation.
I initially overlooked lighting, but after adding it, I realized it transforms the entire experience. My fairy village now glows with:
- Solar String Lights: Tiny LED fairy lights draped through miniature trees or along pathways create a magical glow.
- Tea Light Lanterns: Small holders with battery-operated tea lights placed near gnome homes suggest cozy evenings.
- Glow-in-the-Dark Elements: Painted stones or mushrooms that absorb daylight and glow at night.
- Solar Spotlights: Strategically placed to highlight special features or characters in your garden.
Pro Tip: Place lights strategically to create shadows and depth. I’ve found that positioning a small light behind a fairy house creates a warm glow from the windows that looks incredibly realistic at night.
Conclusion
Creating a gnome fairy village garden is more than just a decorative project—it’s an ongoing creative journey that evolves with the seasons and your imagination. I’ve found that my fairy garden has become a conversation piece that brings joy to visitors of all ages.
Start small with one or two of these ideas, and let your village grow organically over time. Don’t be afraid to experiment, rearrange, and personalize your creation. The beauty of these miniature worlds is that they’re never truly finished—there’s always room for a new pathway, another gnome resident, or a seasonal decoration.
Remember that the most charming fairy gardens often incorporate found objects and natural materials, making this an eco-friendly and budget-conscious hobby. I hope these six ideas inspire you to create your own magical miniature world, where imagination knows no bounds.