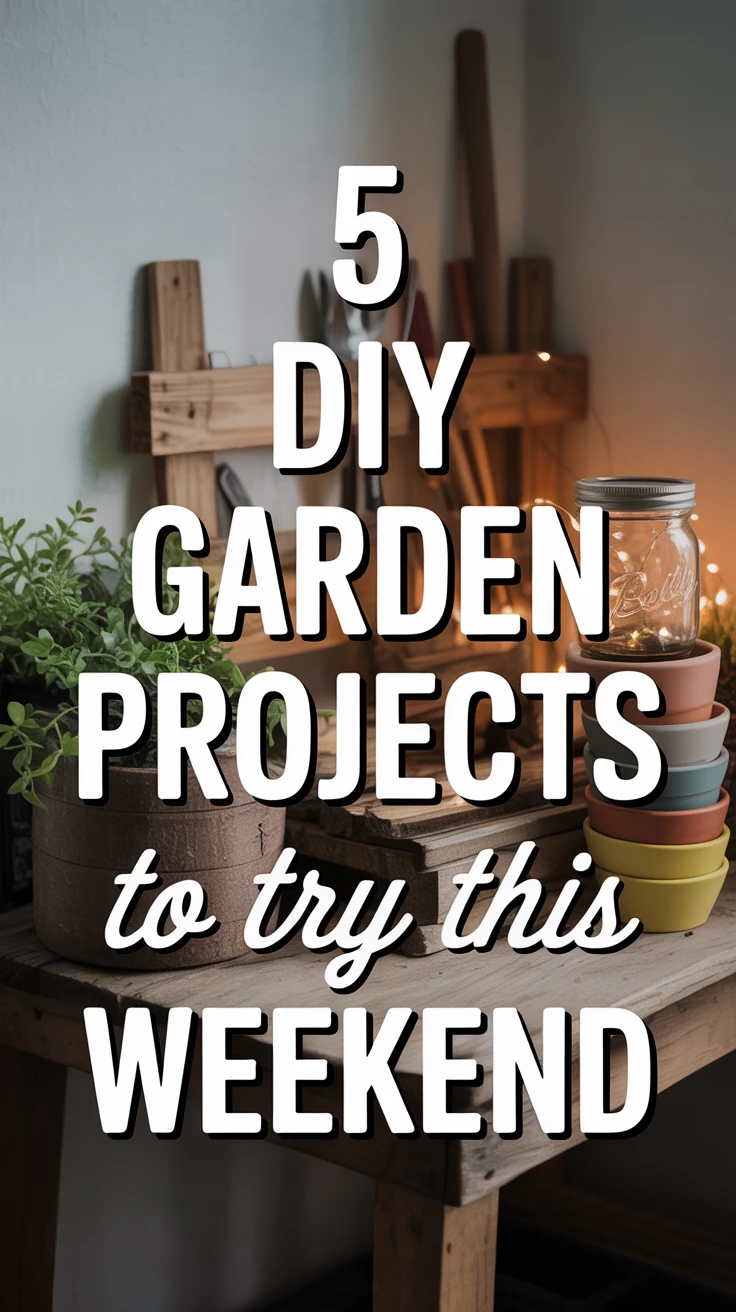
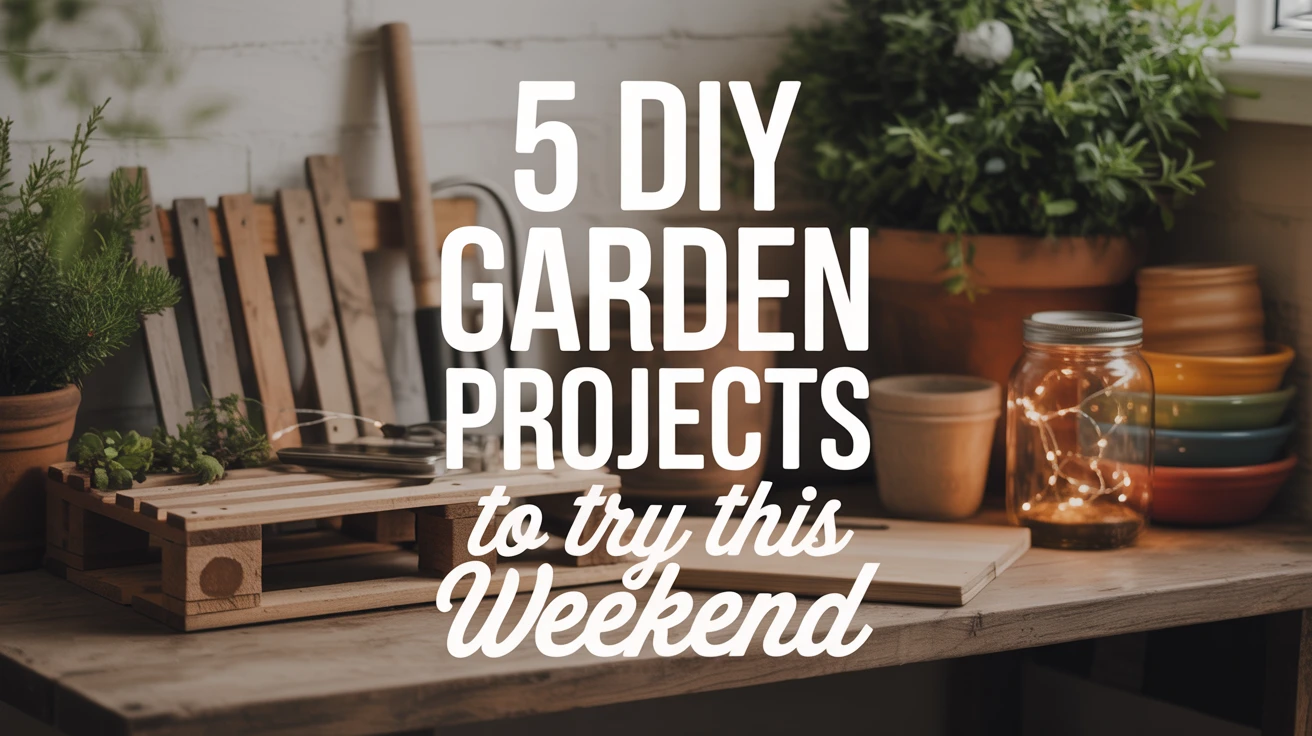
Unleash Your Creativity with Weekend Garden Projects
There’s something incredibly satisfying about transforming your outdoor space with your own two hands. As someone who’s spent countless weekends tinkering in my garden, I can tell you that DIY garden projects offer not just a creative outlet, but also a rewarding way to enhance your outdoor sanctuary without breaking the bank.
I remember my first attempt at garden DIYing—a compost bin that leaned precariously for months before finally collapsing during a spring shower! But that’s the beauty of these projects; you learn, improve, and eventually create something truly special.
The five cool garden ideas I’m sharing today are all projects I’ve personally completed over various weekends. They’re accessible, affordable, and can genuinely transform your garden in just a couple of days. Whether you’re a seasoned gardener or just starting out, these projects will add character and function to your outdoor space.
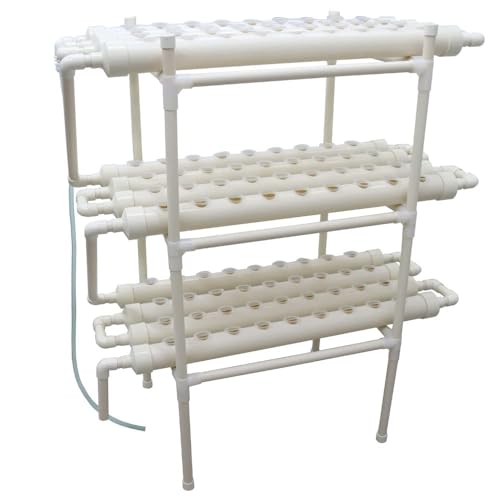
1. Craft a Charming Vertical Herb Garden
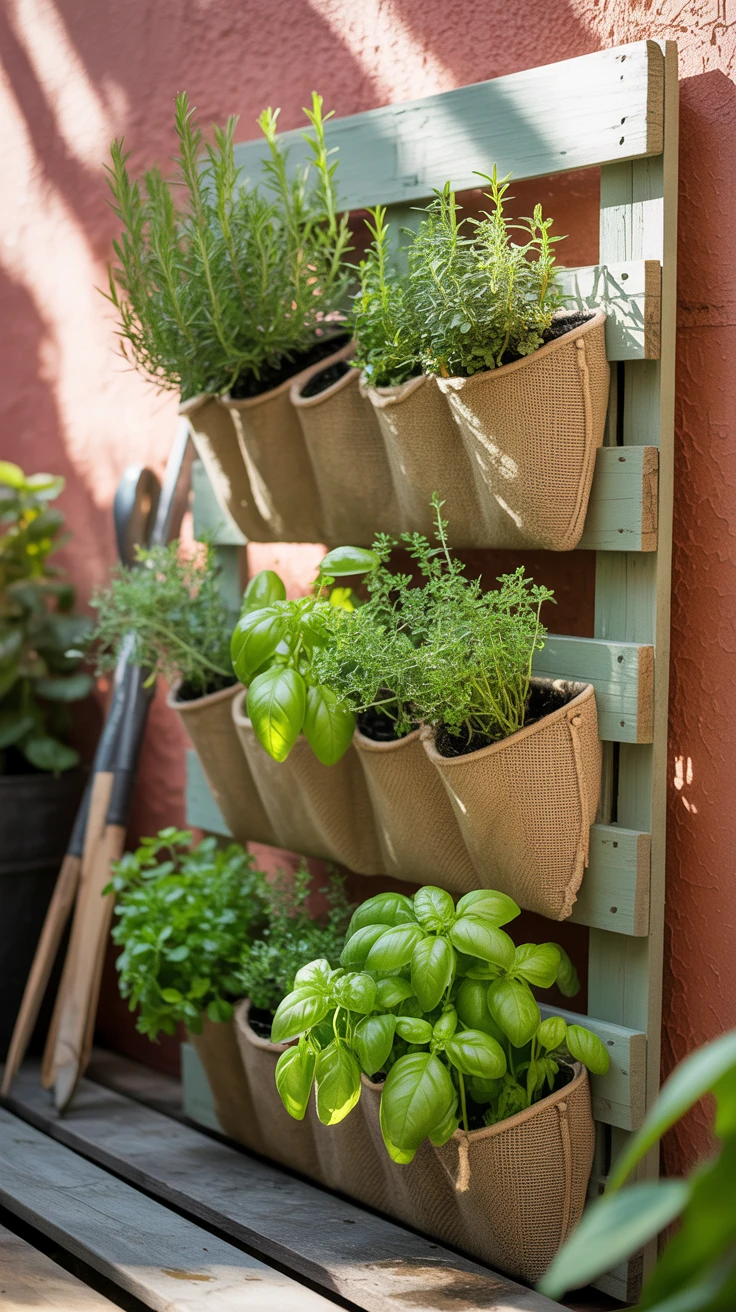
My tiny urban backyard forced me to think vertically, and this project was a game-changer. A vertical herb garden maximizes limited space while keeping your favorite cooking herbs within easy reach.
What You’ll Need:
- A wooden pallet or old shutter
- Sandpaper
- Outdoor wood paint or stain
- Landscape fabric
- Staple gun and staples
- Potting soil
- Herb plants or seeds
- Screws and wall anchors
Step-by-Step Instructions:
- Sand down your pallet or shutter to remove any splinters.
- Apply outdoor paint or stain for weather protection and aesthetic appeal.
- Cut landscape fabric to create pockets for the herbs, stapling it securely.
- Attach your structure to a sunny wall or fence using screws and anchors.
- Fill the pockets with potting soil and plant your herbs.
I’ve found that herbs like rosemary, thyme, and oregano thrive in the upper pockets where it’s drier, while basil and parsley do better in the lower, more moisture-retentive areas.

View on AmazonAs an Amazon Associate, I earn from qualifying purchases.

View on AmazonAs an Amazon Associate, I earn from qualifying purchases.
Pro Tip: Install a simple drip irrigation system with a timer to ensure your vertical garden stays perfectly watered, even during hot summer weekends when you might be away.
2. Design Your Own Garden Stepping Stones
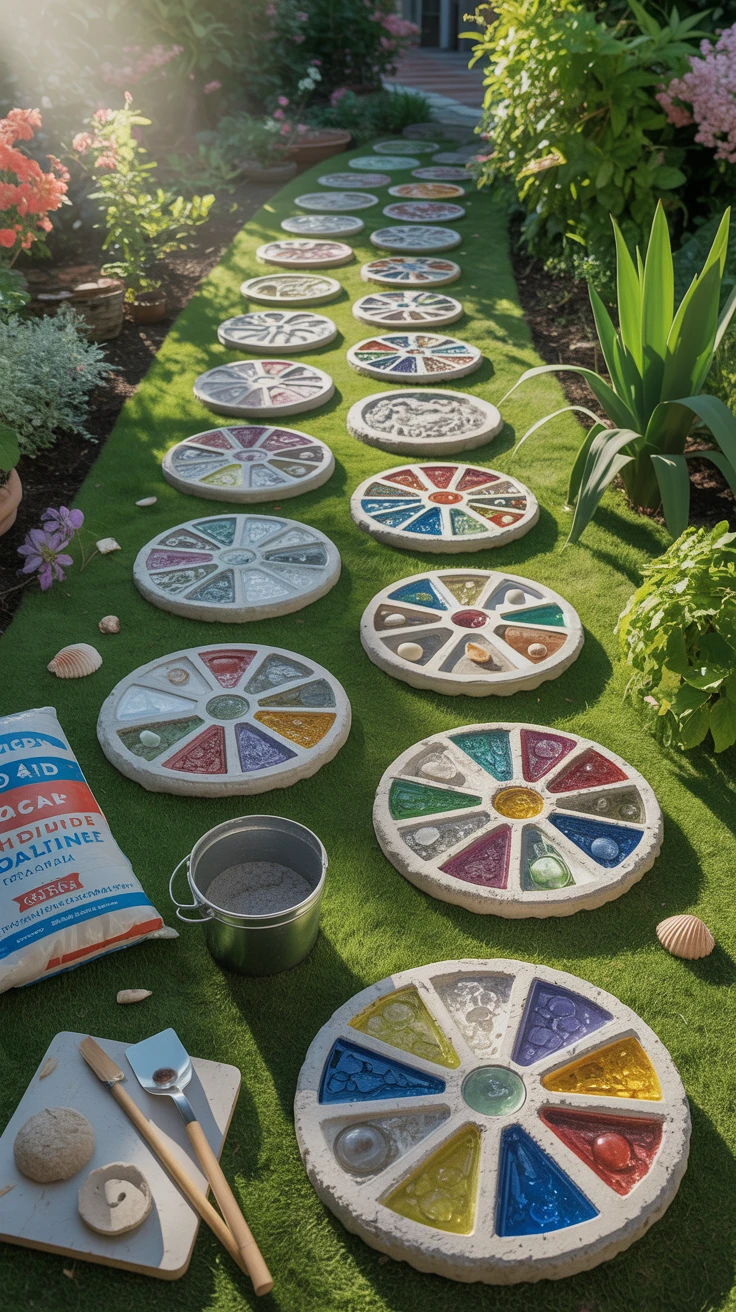
My garden pathway used to be a muddy mess after rain until I created these personalized stepping stones. Not only do they solve a practical problem, but they also add whimsy and character to the garden.
Materials Needed:
- Concrete mix
- Large mixing bucket
- Cooking spray
- Plastic molds (or repurposed containers like large plastic plant saucers)
- Decorative items: glass marbles, mosaic tiles, shells, or large leaves for imprinting
- Concrete sealer
Creation Process:
- Mix concrete according to package directions until it reaches a thick, oatmeal-like consistency.
- Spray your molds with cooking spray for easy removal.
- Pour the concrete into molds, filling them about 2 inches deep.
- Gently tap the molds to remove air bubbles.
- Press decorative elements into the surface or create leaf imprints.
- Allow to cure for at least 48 hours before removing from molds.
- Apply concrete sealer once fully dry.
I learned the hard way that patience is crucial here—my first batch cracked because I tried to remove them from the molds too soon. Give them the full curing time for best results.
Pro Tip: For a magical nighttime effect, embed glow-in-the-dark pebbles into your stepping stones. They’ll absorb sunlight during the day and create a subtle, enchanting glow along your garden path at night.
3. Illuminate with DIY Outdoor Garden Lanterns

There’s nothing quite like the soft glow of lanterns to create ambiance in an evening garden. After a power outage left my garden in darkness during a summer dinner party, I started experimenting with these DIY garden lanterns.
Materials for Mason Jar Lanterns:
- Mason jars with handles
- Wire for hanging
- Tea lights or LED candles
- Decorative elements like colored sand, pebbles, or sea glass
- Optional: glass paint for tinting
Creation Ideas:
- Clean and dry your mason jars thoroughly.
- If using glass paint, apply in thin layers for a translucent effect.
- Add a layer of sand, pebbles, or sea glass to the bottom of each jar.
- Place a tea light or LED candle on top of this layer.
- Secure wire around the neck of the jar to create a hanger.
- Hang from tree branches, shepherd’s hooks, or fence posts throughout your garden.
I’ve created dozens of these over the years, and they’ve survived everything from summer thunderstorms to winter snow. The secret is using quality materials and storing them properly during extreme weather.

View on AmazonAs an Amazon Associate, I earn from qualifying purchases.

View on AmazonAs an Amazon Associate, I earn from qualifying purchases.
Pro Tip: Use battery-operated LED candles with timers so your garden automatically lights up each evening without you having to remember to turn them on. This was a game-changer for my nightly garden ambiance!
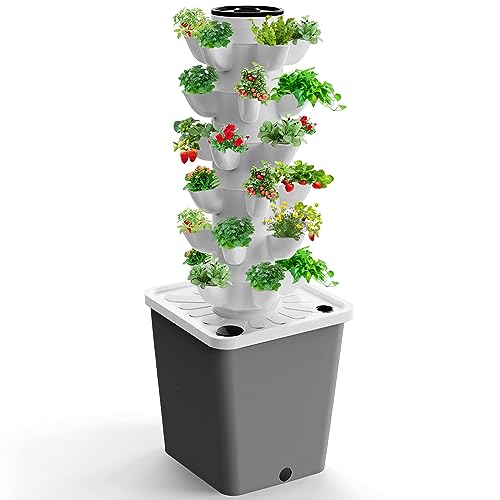
4. Build a Rustic Pallet Planter Box
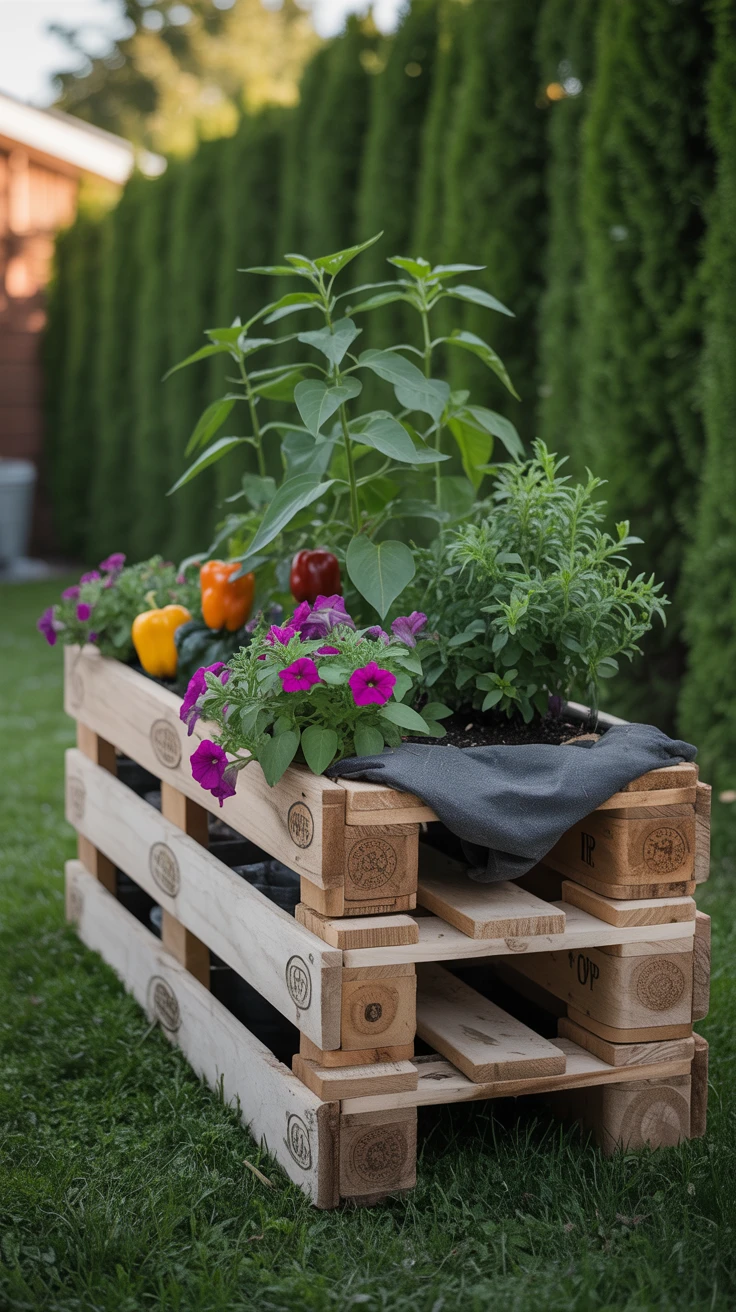
When my neighbor was discarding old wooden pallets, I saw an opportunity for cool garden ideas rather than waste. Pallet planter boxes have since become my favorite way to add rustic charm while growing everything from petunias to peppers.
Tools and Materials:
- Wooden pallet (look for the HT stamp indicating heat-treated wood)
- Hammer or pry bar
- Saw
- Sandpaper
- Wood screws
- Drill
- Landscape fabric
- Staple gun
- Outdoor paint or stain (optional)
Construction Steps:
- Carefully disassemble the pallet, preserving as many intact boards as possible.
- Cut the boards to create a box of your desired dimensions (I typically go for 2′ x 3′).
- Sand all surfaces thoroughly to prevent splinters.
- Assemble the box using wood screws, ensuring there are drainage gaps at the bottom.
- Line the interior with landscape fabric, stapling it in place.
- Apply outdoor paint or stain if desired.
- Fill with potting soil and plants.
My first pallet planter was a bit wobbly because I rushed the construction. Take your time with the assembly, and you’ll create a sturdy planter that lasts for years.
View on AmazonAs an Amazon Associate, I earn from qualifying purchases.
View on AmazonAs an Amazon Associate, I earn from qualifying purchases.
Pro Tip: For growing vegetables, use food-safe wood sealer on the interior surfaces before adding the landscape fabric. This prevents any chemicals from the wood leaching into your edible plants.
5. Create a Serene Bird Bath Fountain
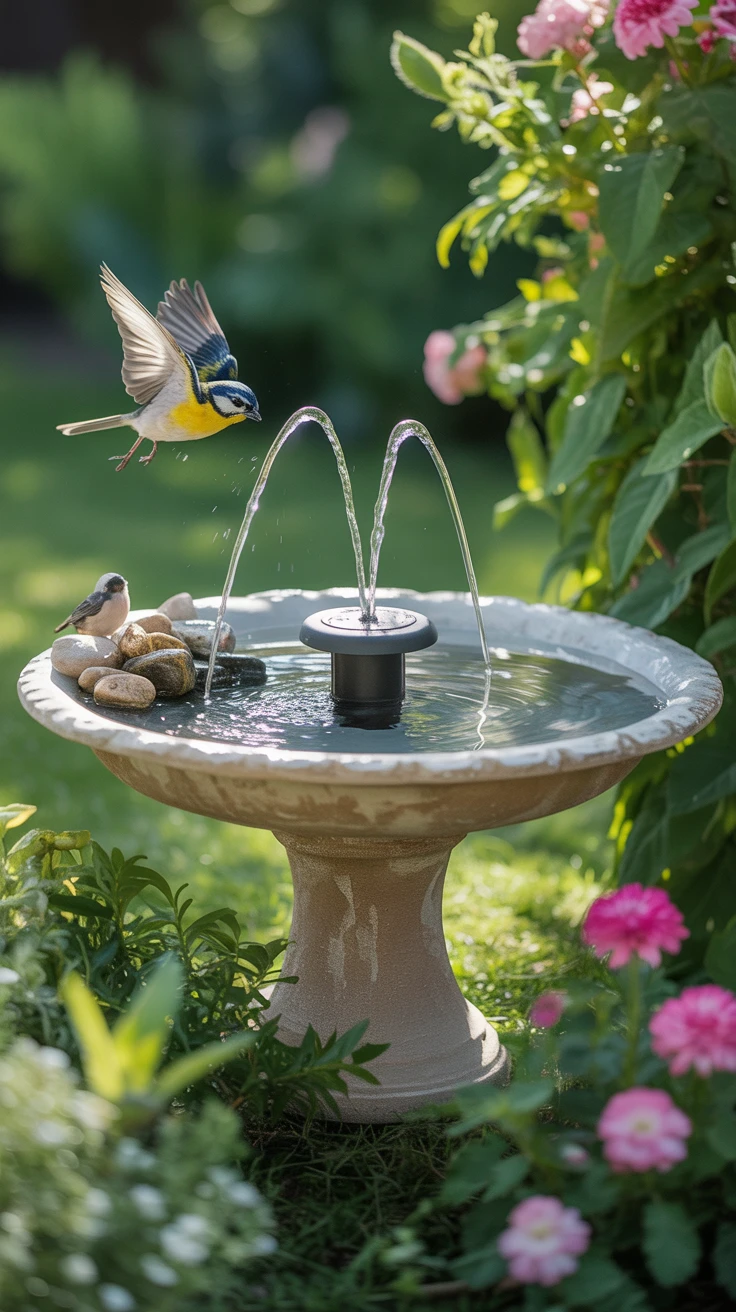
After noticing how birds would flock to my neighbor’s fountain, I decided to create my own bird bath fountain using materials I already had. Now it’s the centerpiece of my garden and a constant source of wildlife activity.
Materials Needed:
- Large shallow ceramic dish or plant saucer
- Small solar fountain pump
- Decorative rocks or pebbles
- Sturdy base (plant stand, stack of flat stones, or repurposed side table)
- Optional: copper pipe pieces for custom water spouts
Assembly Process:
- Select a location that receives plenty of sunlight for the solar pump.
- Create a stable base at least 2-3 feet off the ground.
- Place your ceramic dish on the base.
- Position the solar pump in the center of the dish.
- Arrange decorative rocks around the pump, ensuring they don’t block the water flow.
- Fill with water just below the top of the rocks.
- Allow the solar panel to charge fully before expecting consistent flow.
I discovered that birds prefer moving water, which is why adding the fountain element attracts so many more feathered visitors than a static bird bath. Plus, the moving water helps prevent mosquito breeding.

View on AmazonAs an Amazon Associate, I earn from qualifying purchases.

View on AmazonAs an Amazon Associate, I earn from qualifying purchases.
Pro Tip: Add a few drops of apple cider vinegar to the water each week to naturally prevent algae growth without harming birds. This has kept my bird bath clean with minimal maintenance.
Enjoy Your Garden Makeover
These five DIY garden projects have transformed my outdoor space from ordinary to extraordinary, one weekend at a time. What I love most about these projects is how they combine creativity with functionality, adding both beauty and purpose to the garden.
Don’t be discouraged if your first attempts aren’t perfect—mine certainly weren’t! Each project teaches you something new, and before long, you’ll develop the confidence to tackle even more ambitious garden transformations.
The greatest reward comes when you sit in your garden, surrounded by elements you’ve created with your own hands, watching birds splash in your fountain or harvesting herbs from your vertical garden. That sense of accomplishment and connection to your outdoor space is truly priceless.
Frequently Asked Questions
What are the best materials for garden DIY projects?
The most versatile materials include untreated wood (cedar and redwood are naturally rot-resistant), terracotta clay pots, concrete, natural stone, and repurposed items like pallets or mason jars. When selecting materials, prioritize weather resistance and non-toxic options, especially for projects involving edible plants.
How can I ensure my DIY projects are weatherproof?
Apply appropriate sealants designed for outdoor use—marine-grade varnish for wood, concrete sealer for stone projects, and rust-resistant paint for metal elements. Elevate wooden structures slightly off the ground to prevent rot, and design with proper drainage in mind. Consider disassembling or covering certain decorative elements during extreme weather seasons.
Are there any beginner-friendly garden projects?
Absolutely! Start with simple projects like painted rock markers for herb gardens, basic container planting, or mason jar lanterns. These require minimal tools and materials but still provide the satisfaction of creating something beautiful for your garden. As your confidence grows, you can gradually tackle more complex projects.
How do I maintain my garden projects throughout the year?
Establish a seasonal maintenance schedule: inspect wooden structures for rot or damage in spring, clean and refresh planters mid-summer, apply fresh sealants in fall, and protect or store sensitive items during winter. Taking photos of your projects when newly completed helps you spot weathering or issues that develop gradually over time.