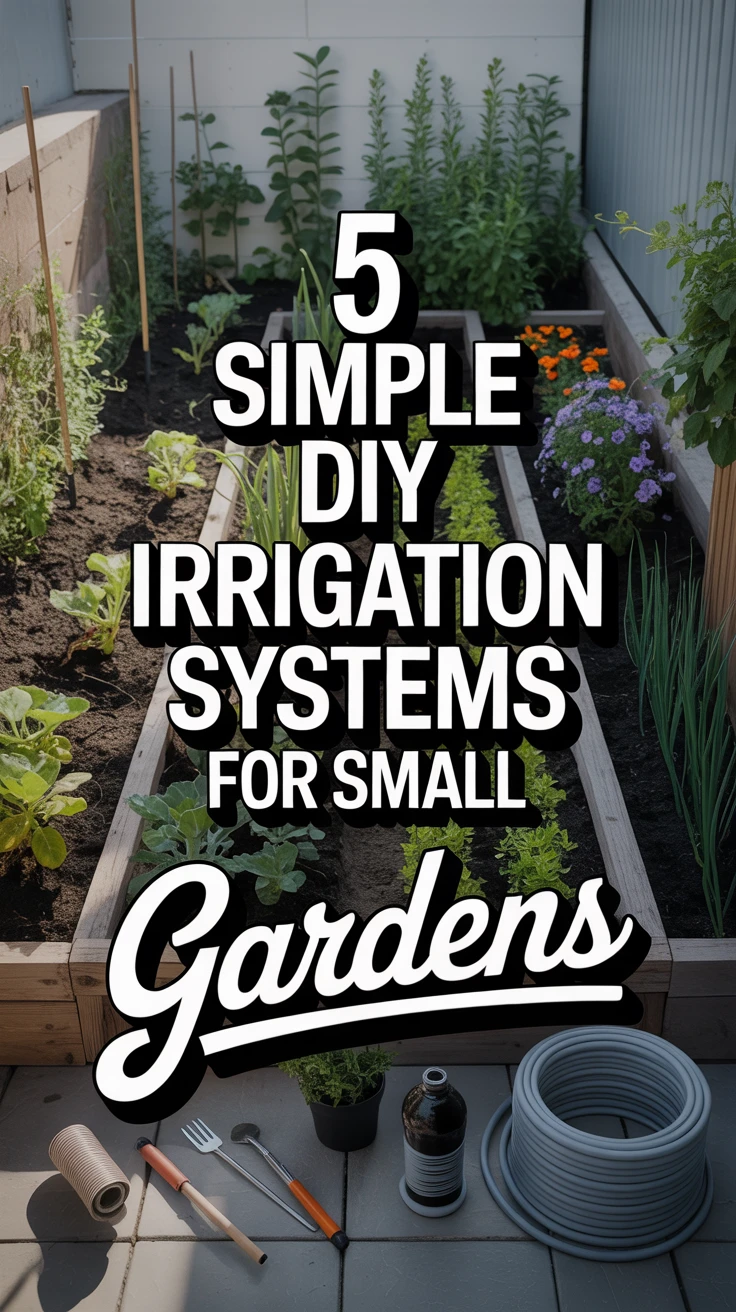
Introduction
As a passionate gardener with a small urban plot, I’ve learned that efficient watering is the secret to thriving plants without wasting resources or spending hours with a hose in hand. After years of trial and error (and more than a few dried-up tomato plants), I’ve discovered that DIY garden irrigation systems offer the perfect solution for small-space gardening.
The beauty of creating your own irrigation setup isn’t just about saving money—though that’s certainly a nice benefit. It’s about crafting a system perfectly tailored to your garden’s unique needs. Whether you’re growing vegetables in raised beds, tending to container plants on a balcony, or nurturing a compact flower garden, there’s a DIY solution that can work for you.
In this article, I’ll walk you through five simple garden irrigation ideas DIY enthusiasts can implement in a weekend. These systems have transformed my gardening experience, and I’m confident they can do the same for you.
1. Drip Irrigation System
The first time I installed a drip irrigation system, I was amazed at how quickly my plants responded. This water-efficient approach delivers moisture directly to plant roots, reducing evaporation and minimizing weed growth.
Materials You’ll Need:
- 1/2-inch poly tubing (main line)
- 1/4-inch micro tubing
- Drip emitters (1, 2, or 4 gallons per hour)
- Backflow preventer
- Pressure regulator
- Filter
- End caps
- Connectors and fittings
- Hole punch tool
- Garden stakes or landscape pins
Installation Steps:
- Connect the backflow preventer, pressure regulator, and filter to your water source
- Lay out your 1/2-inch poly tubing around your garden beds
- Use the hole punch to create openings where you want emitters
- Insert drip emitters or connect 1/4-inch micro tubing to reach individual plants
- Secure tubing with garden stakes
- Install end caps at the end of each line
- Turn on the water and check for leaks or clogs

View on AmazonAs an Amazon Associate, I earn from qualifying purchases.

View on AmazonAs an Amazon Associate, I earn from qualifying purchases.
Pro Tip: I’ve learned to invest in UV-resistant tubing even if it costs a bit more. My first system used cheaper tubing that cracked after just one season in the sun, creating frustrating leaks throughout my garden.
2. Soaker Hose System
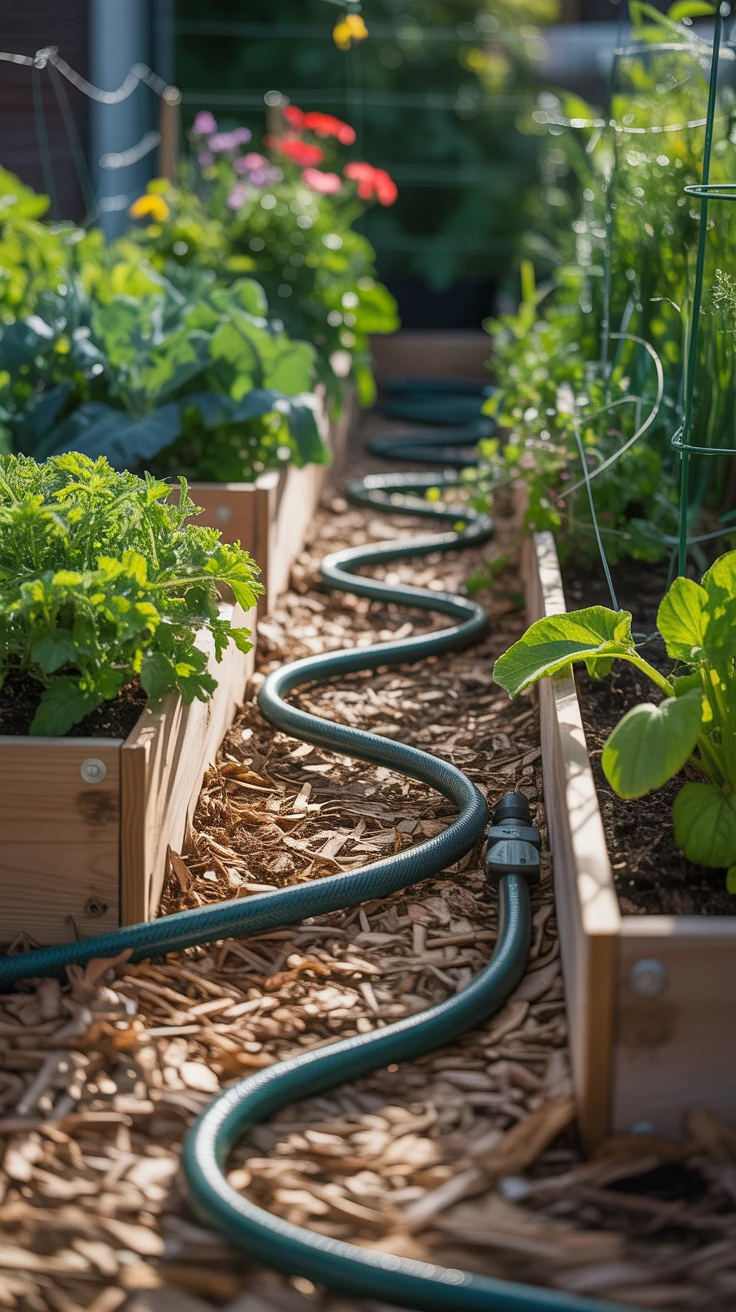
When I wanted a simpler alternative to a full drip system, soaker hoses became my go-to solution. These porous hoses “sweat” water along their entire length, creating a perfect moisture zone for rows of plants.
Materials You’ll Need:
- Soaker hoses (rubber or recycled material)
- Hose connectors
- Timer (optional but recommended)
- Y-connector (if connecting multiple hoses)
- Landscape pins
Setup Process:
- Connect your soaker hose to a water source
- Weave the hose through your garden beds, keeping it about 2 inches from plant stems
- Secure the hose with landscape pins to prevent movement
- Cap the end of the hose or connect it to another section
- Turn water on at low pressure and adjust as needed

View on AmazonAs an Amazon Associate, I earn from qualifying purchases.

View on AmazonAs an Amazon Associate, I earn from qualifying purchases.
Pro Tip: I always bury my soaker hoses under 2-3 inches of mulch. Not only does this hide them from view, but it also prevents evaporation and protects the hoses from UV damage. My current setup has lasted three years and counting!
3. Bottle Irrigation System for Garden Irrigation
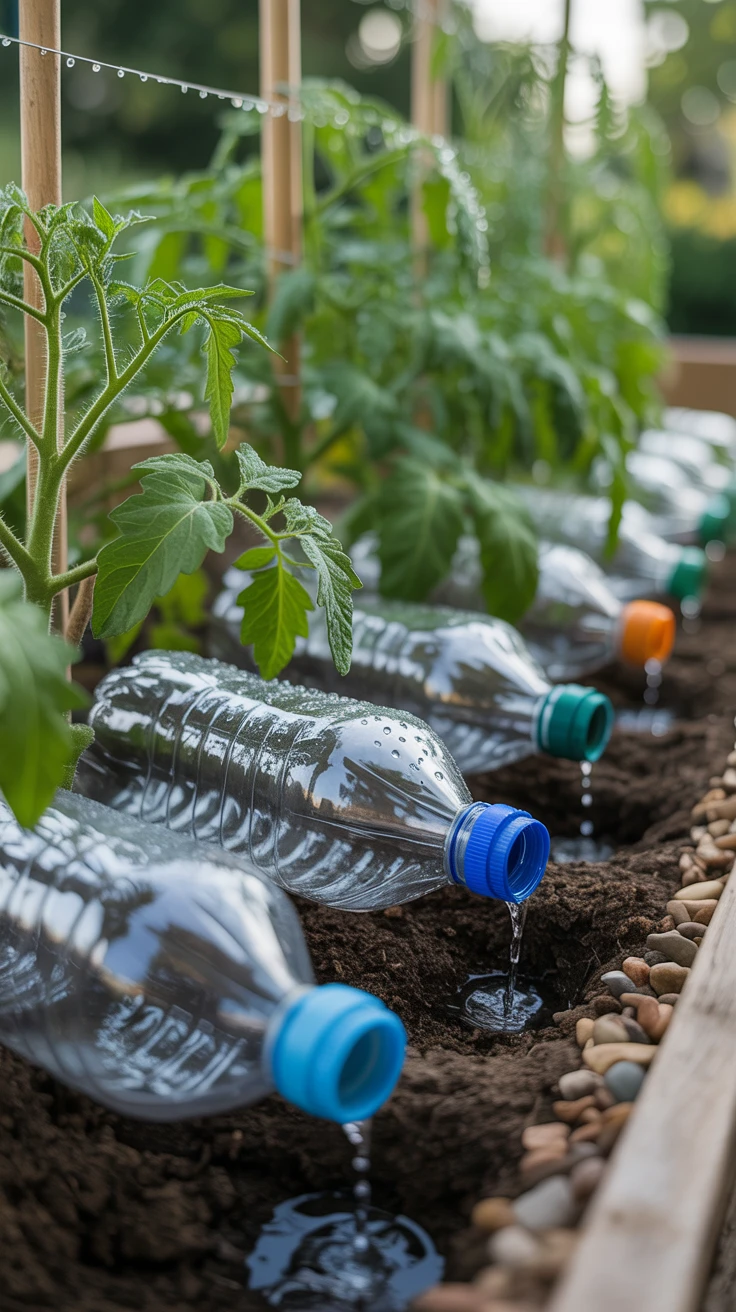
I discovered this clever technique during a particularly dry summer when I was traveling frequently. Using recycled bottles creates a slow-release watering system perfect for individual plants that need consistent moisture.
Materials You’ll Need:
- Plastic bottles (1-2 liter size works best)
- Drill with small bits
- Scissors or knife
- Small rocks or pebbles (optional)
Creation Steps:
- Remove labels and thoroughly clean bottles
- Cut off the bottom of each bottle
- Drill 3-5 small holes in the cap
- Dig a small hole near your plant
- Bury the bottle cap-side down, leaving the cut bottom exposed
- Fill with water through the exposed bottom

View on AmazonAs an Amazon Associate, I earn from qualifying purchases.

View on AmazonAs an Amazon Associate, I earn from qualifying purchases.
Pro Tip: For thirstier plants like tomatoes or cucumbers, I use 2-liter bottles. For herbs and smaller plants, 500ml bottles provide perfect hydration. I once made the mistake of using too large a bottle for my basil and nearly drowned it!
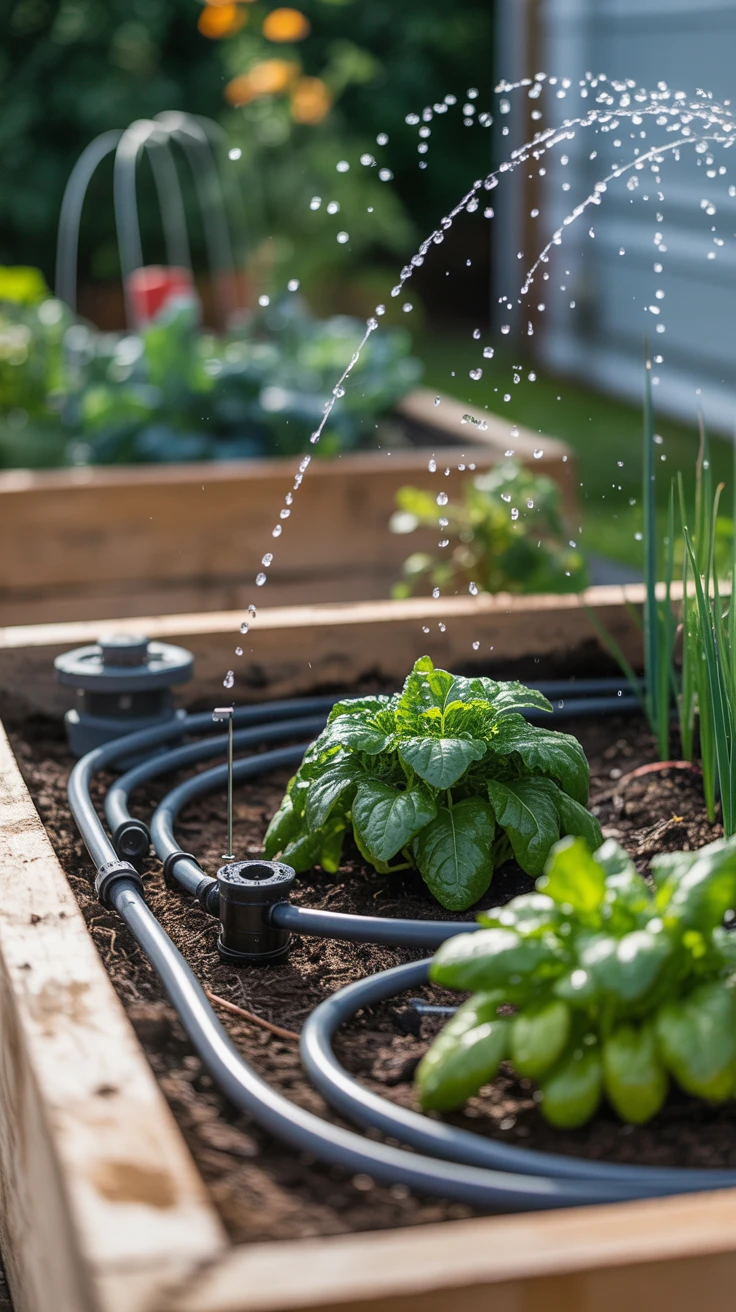
4. PVC Pipe Irrigation System
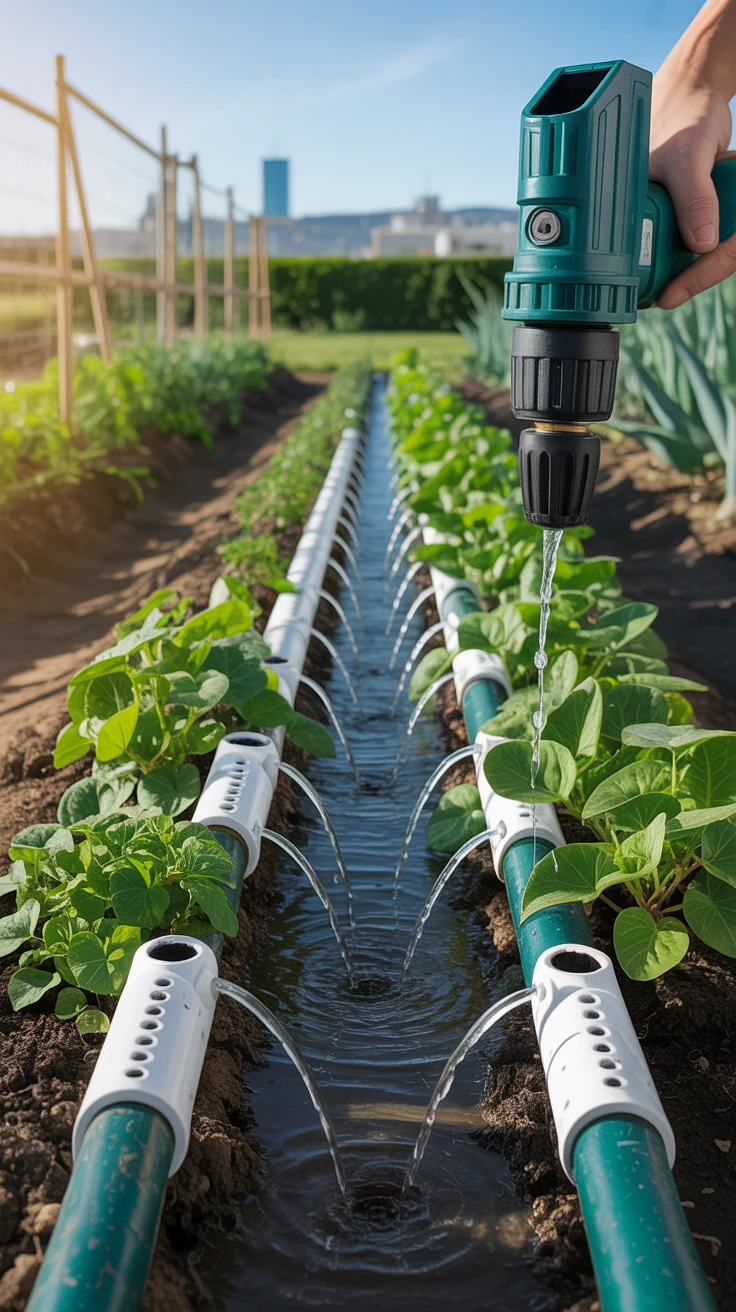
When I expanded my vegetable garden, I needed a more structured irrigation solution. The PVC pipe system has been my most durable creation yet, providing consistent watering for straight rows of plants.
Materials You’ll Need:
- 1/2-inch or 3/4-inch PVC pipes
- PVC cutter or saw
- PVC connectors (elbows, T-joints, end caps)
- PVC cement
- Drill with 1/16-inch bit
- Hose adapter
Construction Steps:
- Plan your layout based on your garden beds
- Cut PVC pipes to desired lengths
- Drill small holes every 4-6 inches along the pipes (on one side only)
- Connect pipes using appropriate fittings and cement
- Attach a hose adapter at one end
- Cap the other end
- Position the system with holes facing downward
- Connect to water source and test

View on AmazonAs an Amazon Associate, I earn from qualifying purchases.

View on AmazonAs an Amazon Associate, I earn from qualifying purchases.
Pro Tip: I spray-painted my PVC pipes a dark green color to blend with my garden and protect against UV damage. Not only does it look more attractive, but it also extends the system’s lifespan. Just make sure to use paint suitable for outdoor plastic.
5. Rainwater Harvesting System
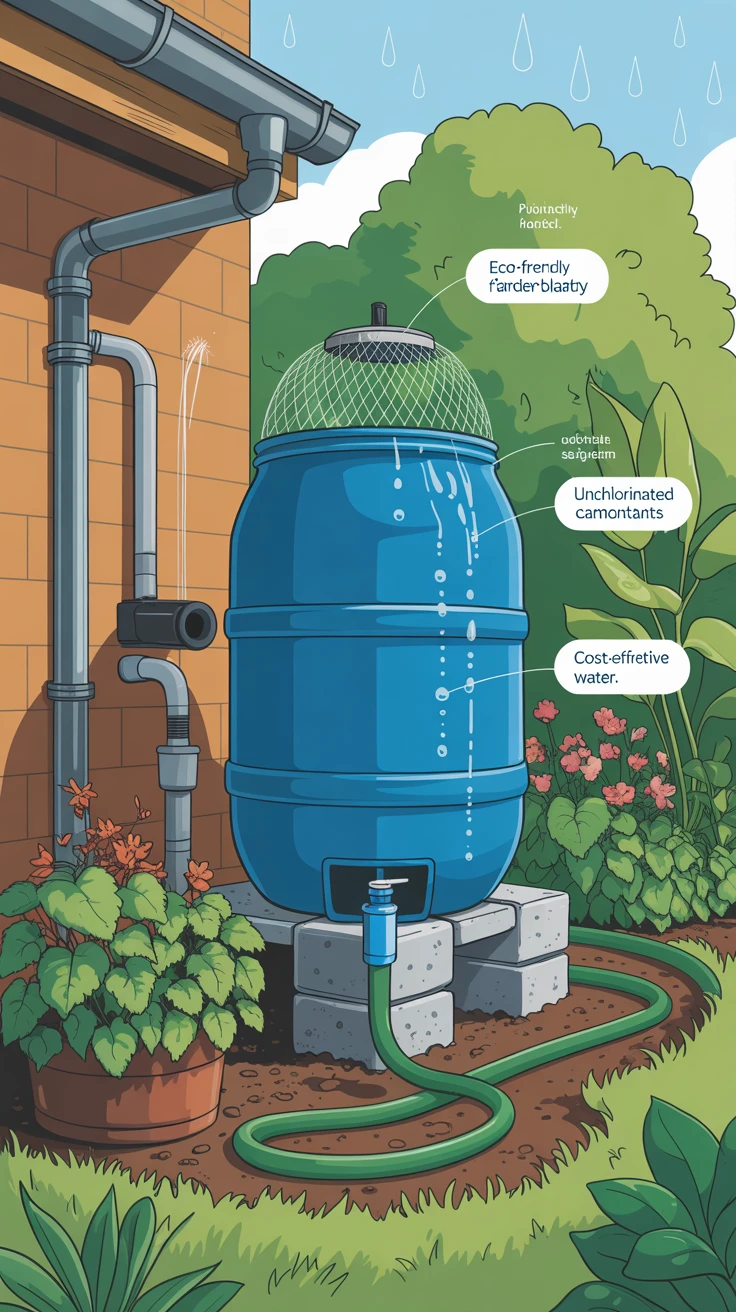
After calculating my water bills during summer, I decided to implement a rainwater collection system. This eco-friendly approach has reduced my water consumption significantly while providing my plants with natural, unchlorinated water.
Materials You’ll Need:
- Rain barrel (food-grade plastic, 50-100 gallons)
- Downspout diverter kit
- Spigot kit
- Overflow fitting
- Mesh screen
- Concrete blocks or sturdy platform
- Drill
- Silicone sealant
Installation Steps:
- Position your platform near a downspout
- Install the spigot near the bottom of the barrel
- Cut a hole in the lid for the downspout adapter
- Install the overflow fitting near the top
- Cover all openings with mesh screen to prevent debris and mosquitoes
- Place the barrel on the platform
- Install the downspout diverter according to kit instructions
- Connect a soaker hose or drip system to the spigot

View on AmazonAs an Amazon Associate, I earn from qualifying purchases.

View on AmazonAs an Amazon Associate, I earn from qualifying purchases.
Pro Tip: I installed a simple first-flush diverter to prevent the initial roof runoff (which contains the most debris) from entering my barrel. This has kept my water cleaner and prevented clogging in my irrigation systems. It was an extra $20 that has saved me hours of maintenance.
Conclusion
Implementing these DIY garden irrigation ideas has transformed my relationship with my garden. Instead of spending weekends with a watering can, I now have time to actually enjoy my plants while they receive consistent, efficient hydration.
Each system has its own advantages, and I’ve actually ended up using a combination in my garden—bottle irrigation for my container plants, soaker hoses for my flower beds, and a PVC system for my vegetable rows, all supplemented with harvested rainwater.
The beauty of these garden irrigation ideas DIY projects is their adaptability. Start with the system that seems most appropriate for your specific garden needs, and don’t be afraid to modify it as you learn what works best for your plants.
Remember that the perfect irrigation system is one that suits your garden’s unique requirements while saving you time, water, and money. Happy gardening!