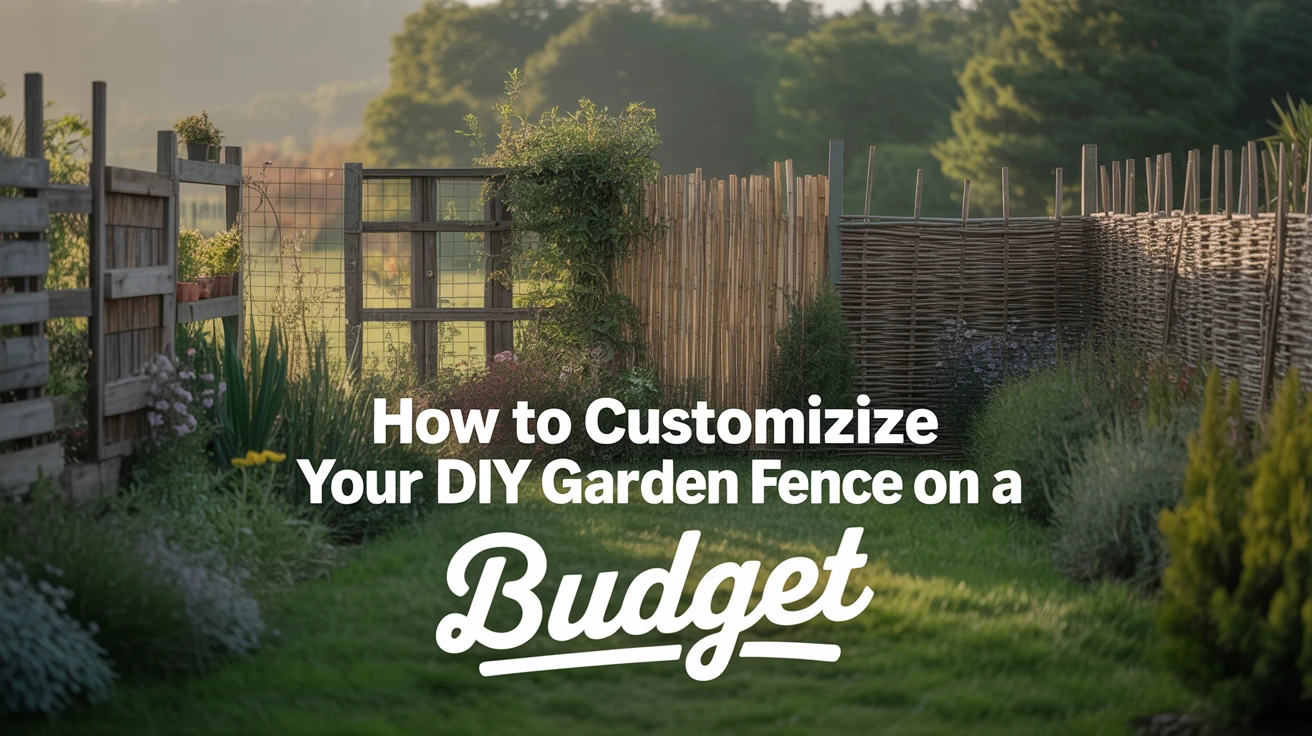
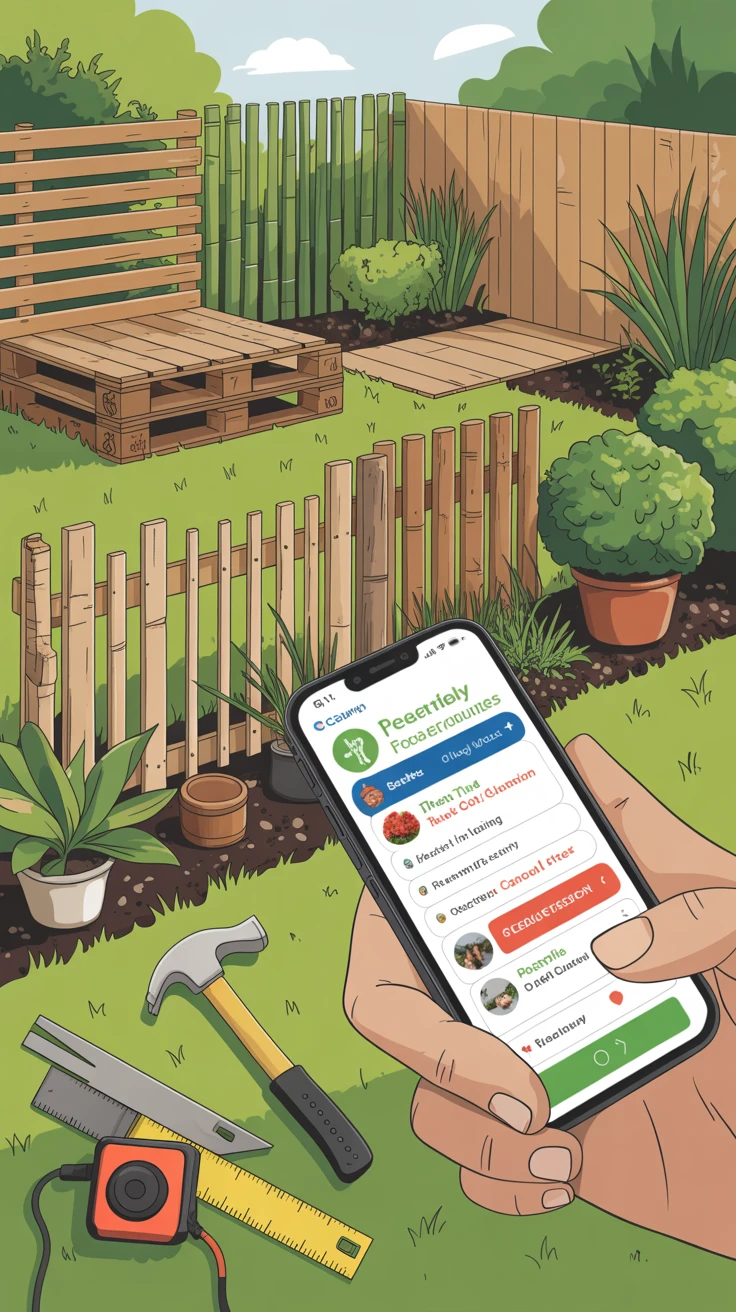
Welcome to DIY Garden Fencing
When I first moved into my home with a sizeable garden, I was shocked at the quotes I received for professional fencing installation. $2,000 for a basic fence? No thank you! That’s when I decided to explore garden fence ideas DIY cheap options, and I’ve never looked back.
Creating your own garden fence doesn’t just save money—it gives you the freedom to design something that truly complements your outdoor space. Whether you’re looking to keep pets in, define garden boundaries, or simply add some charm to your yard, I’ll show you how to create beautiful, functional fencing without breaking the bank.
Throughout my DIY journey, I’ve discovered numerous budget-friendly techniques and materials that yield professional-looking results. In this guide, I’ll share everything I’ve learned about creating custom garden fences that won’t empty your wallet.
Benefits of DIY Garden Fences: Why Go DIY?
Before diving into specific ideas, let’s talk about why building your own fence makes so much sense:
- Significant cost savings – I saved over 70% compared to professional installation quotes by doing it myself
- Complete creative control – You can customize height, style, and materials to match your vision
- Satisfaction of creating something yourself – There’s nothing like the pride of looking at your completed project
- Ability to use recycled or repurposed materials – Good for your wallet and the environment
- Freedom to change and adapt over time – You can easily modify your design as your garden evolves
Pro Tip: Take photos before you start and throughout your DIY fence project. Not only will this help you track progress, but you’ll also have satisfying before-and-after comparisons to share!
Materials and Tools: Budget-Friendly Essentials
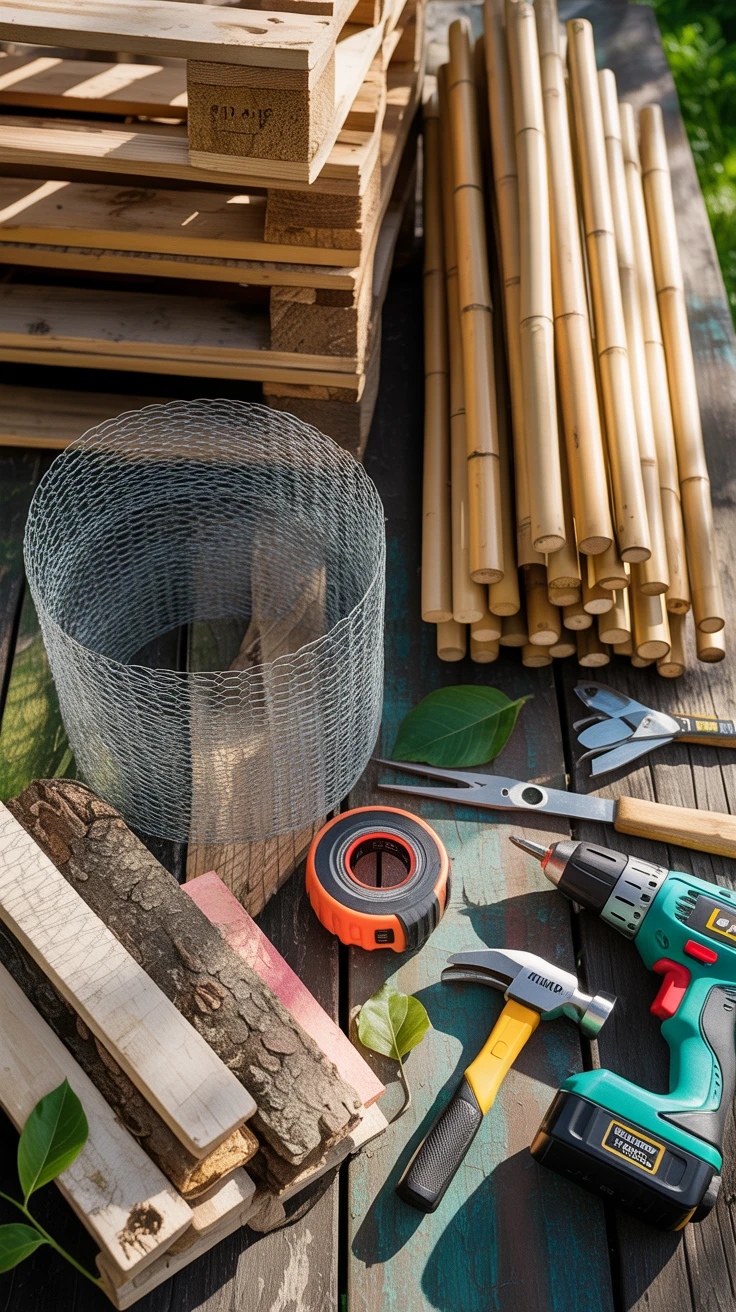
One of my biggest money-saving discoveries was that you don’t need expensive materials or specialized tools to create a beautiful garden fence. Here’s what I recommend:
Affordable Materials:
- Pallets – Often free from local businesses or online marketplaces
- Bamboo – Inexpensive, sustainable, and adds a natural look
- Reclaimed wood – Check demolition sites, ReStore, or Facebook Marketplace
- Chicken wire – Perfect for lightweight, vine-supporting fences
- Willow branches – For a rustic woven fence (sometimes free if you know someone with willow trees!)
- PVC pipes – Surprisingly versatile and weather-resistant
Basic Tools You’ll Need:
- Hammer and nails (or a cordless drill with screws for sturdier construction)
- Handsaw or circular saw (for cutting wood to size)
- Measuring tape and level
- Post hole digger (can be rented for a day if needed)
- Wire cutters (for chicken wire or similar materials)
- Safety gear (gloves, eye protection)
I made the mistake of buying all new tools when I started my first fence project. Later I discovered I could have borrowed many from neighbors or rented the specialty items, which would have saved me about $150.
Pro Tip: Before purchasing anything, inventory what you already have and check if friends or family have tools you can borrow. Many communities also have tool libraries where you can borrow equipment for free or a small fee.
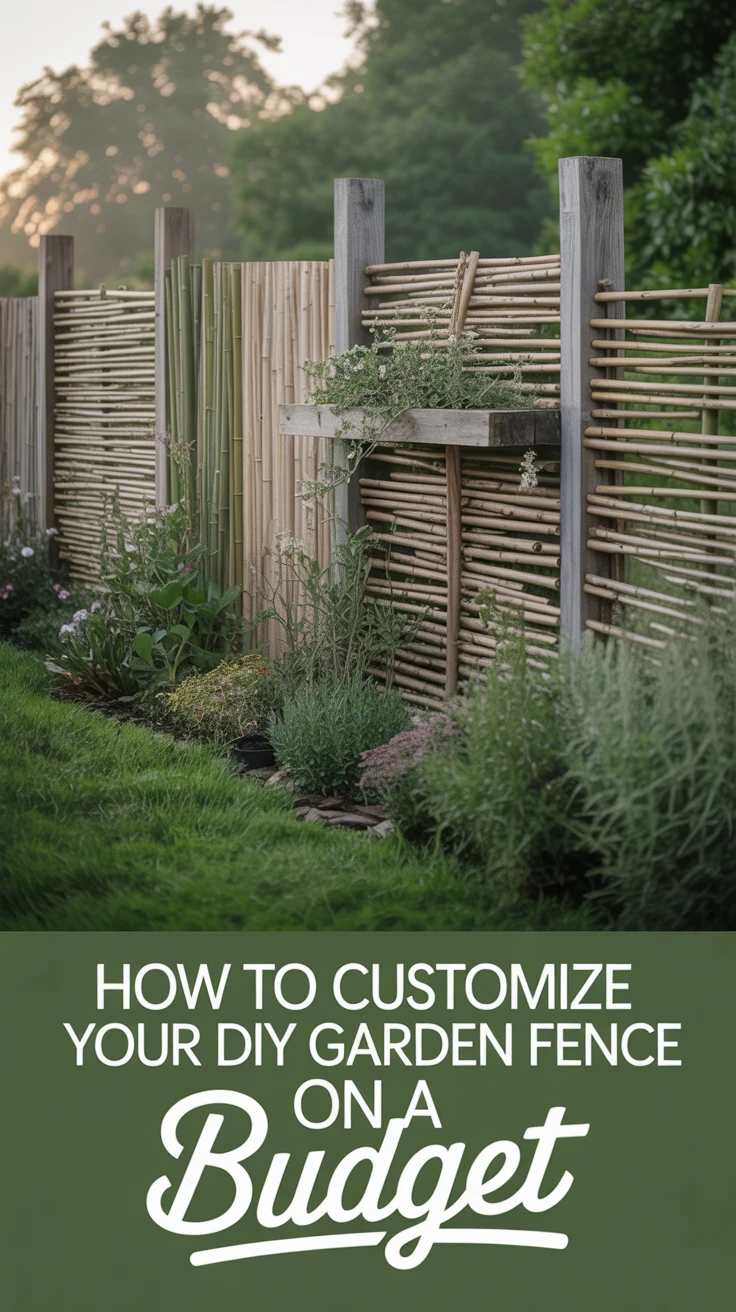
Creative Garden Fence Ideas DIY Cheap: Unleash Your Inner Designer
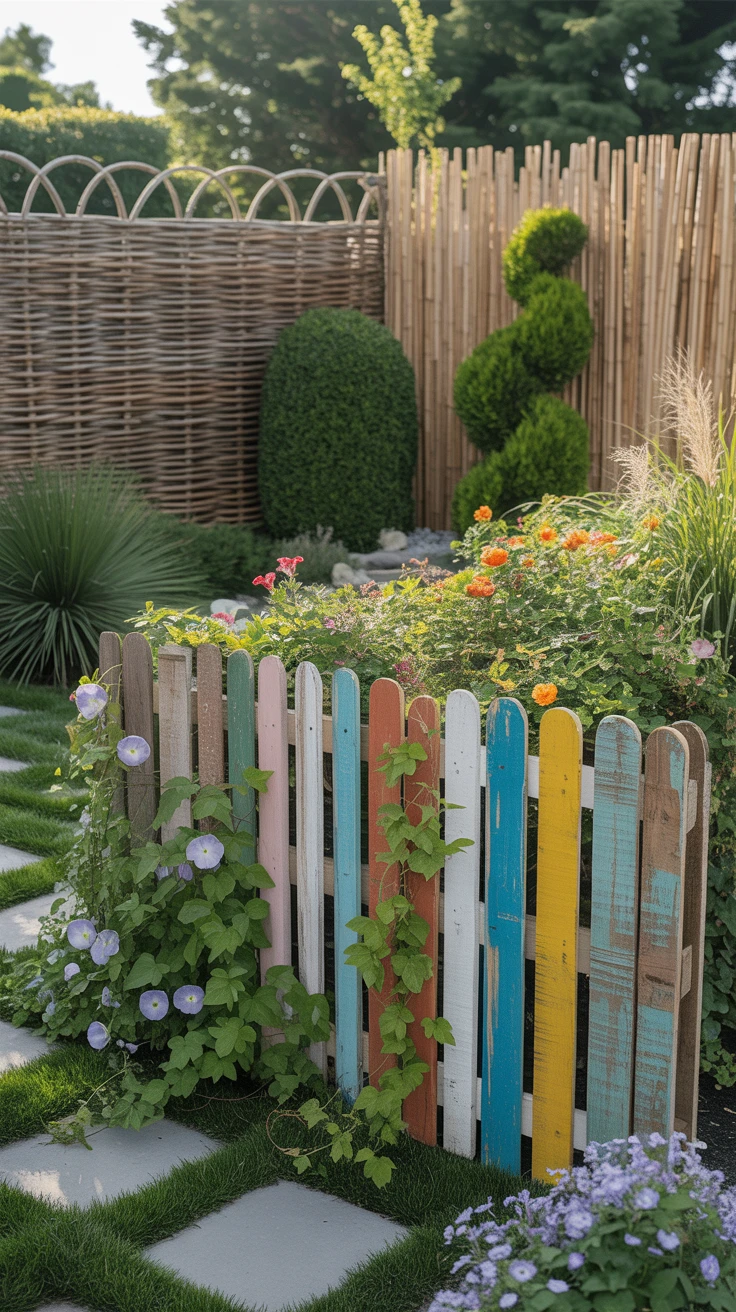
Here are some of my favorite budget-friendly fence designs that I’ve either created myself or helped friends implement:
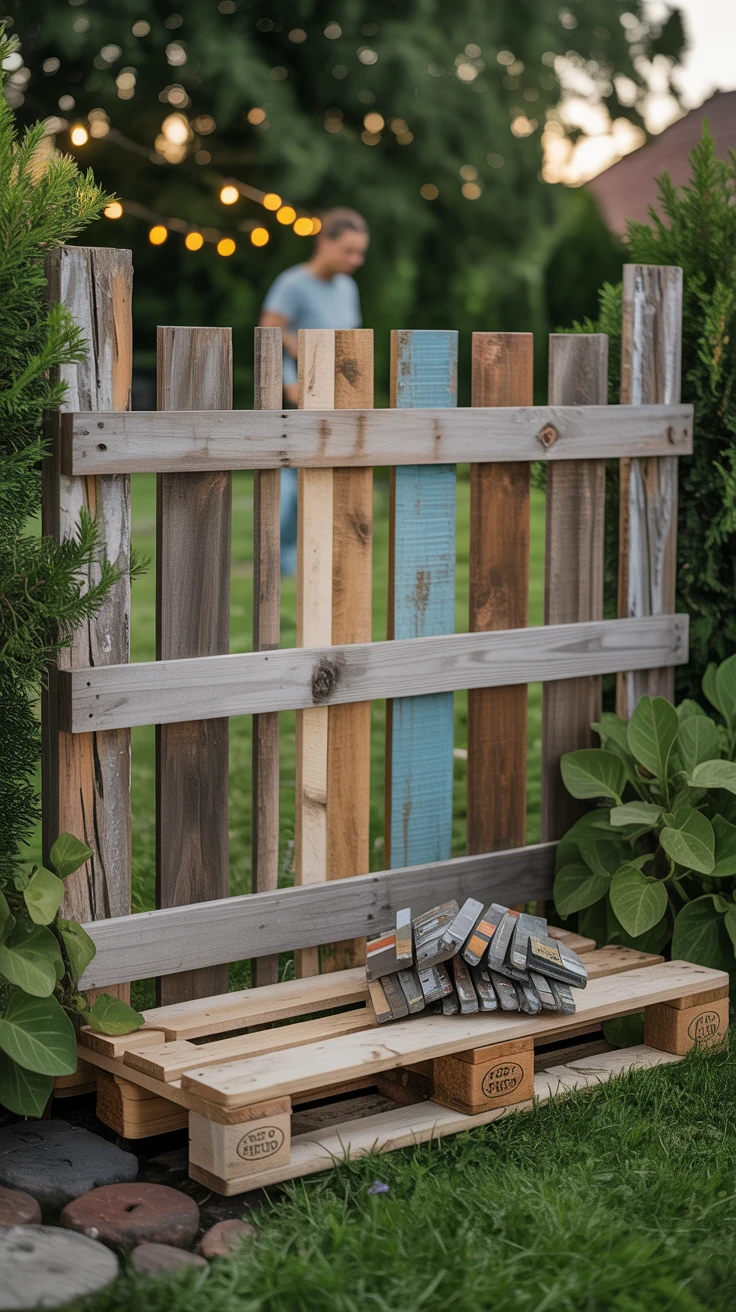
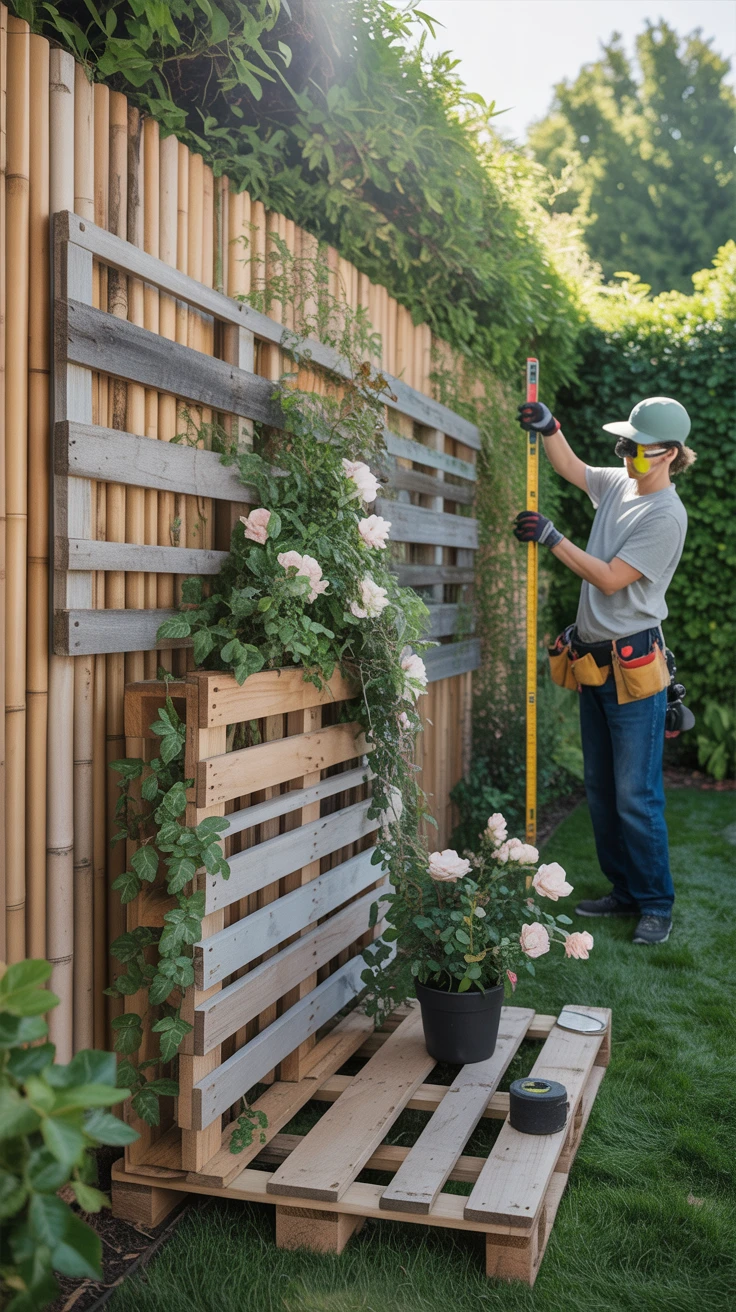
- Pallet fence – My first DIY fence was made entirely from pallets. I simply disassembled some and used the wood to connect others standing upright. Total cost: $20 for screws and stain.
- Woven willow fence – I wove flexible willow branches between sturdy posts for a charming, rustic look. This technique, called wattling, has been used for centuries.
- Bamboo screen fence – Bamboo rolls attached to existing posts or a simple frame create an instant privacy screen with an exotic feel.
- Picket fence from reclaimed wood – Different heights and widths of wood pieces create a whimsical, cottage-garden feel.
- Living fence – Plant fast-growing shrubs like privet or hornbeam along a simple wire framework. Over time, the plants become the fence!
- Lattice panel fence – Inexpensive lattice panels can be framed with 2x4s for a fence that’s perfect for climbing plants.
Pro Tip: Mix and match materials for unique effects. One of my most complimented fences combined bamboo panels with reclaimed wood posts and decorative metal elements I found at a thrift store.
Building a Wooden Fence: A Step-by-Step Guide
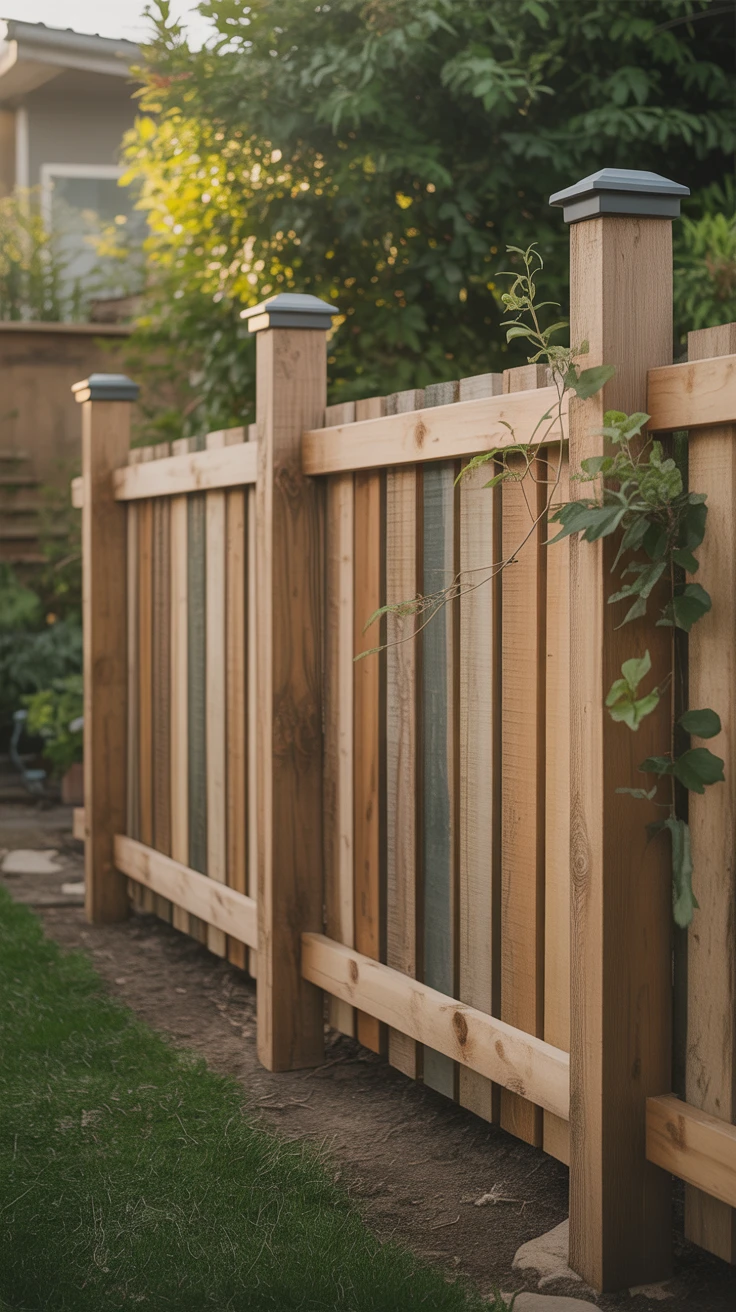
Let me walk you through how I built a simple but attractive wooden fence using reclaimed materials:
- Plan and measure – I measured my garden perimeter and sketched a design, deciding on post locations (typically 6-8 feet apart).
- Gather materials – I collected reclaimed wood boards, 4×4 posts, concrete mix, screws, and wood preservative.
- Dig post holes – I dug holes about 2 feet deep and 8 inches wide. This was the most labor-intensive part!
- Set posts – I placed posts in holes, checked they were level, and poured quick-setting concrete around them. I learned the hard way to brace them while the concrete sets.
- Attach horizontal supports – Once posts were secure (after 24 hours), I attached 2×4 supports between posts at top and bottom.
- Add vertical boards – I screwed the reclaimed wood boards to the horizontal supports, leaving small gaps between for expansion.
- Apply preservative – I treated all wood with preservative to extend its life.
- Add decorative elements – Solar-powered cap lights on posts and climbing plants added the finishing touches.
My first attempt at setting posts wasn’t level, which made the entire fence section look crooked. I had to dig out and reset two posts—a valuable lesson in taking time with the foundation of your project!
Cost-Saving Tips: Make Every Penny Count
Over the years, I’ve developed several strategies to minimize costs on my DIY garden fence projects:
- Source free materials – Check Craigslist, Freecycle, Facebook Marketplace, and NextDoor for free or heavily discounted materials.
- Buy end-of-season – Purchase materials in fall or winter when demand is lower and stores often discount outdoor supplies.
- Use concrete sparingly – For very light fences, you might not need concrete at all. For others, use it only for corner posts.
- Opt for imperfect lumber – “Seconds” or slightly warped wood is often discounted by 40-60% and works fine for rustic designs.
- Mix materials – Use more expensive materials only where visible and cheaper options elsewhere.
- Start small – Begin with one section and expand as budget allows rather than trying to fence your entire property at once.
Pro Tip: When using reclaimed wood, I always clean it thoroughly and check for nails or screws before cutting. I once ruined a saw blade by missing an embedded nail—an expensive mistake that could have been avoided with a $5 metal detector wand.
Pro Tips: Expert Advice on Garden Fencing
After completing multiple fence projects, here are my top professional recommendations:
- Always check local regulations – I nearly had to tear down a fence that exceeded my community’s height restrictions. Save yourself the headache by checking zoning laws first.
- Call before you dig – Contact utility companies to mark underground lines before digging post holes. This free service has saved me from potentially dangerous and expensive mistakes.
- Consider the climate – In my humid area, I’ve found that cedar and pressure-treated pine last much longer than other woods. Choose materials appropriate for your local weather conditions.
- Account for ground slope – On my sloped yard, I used the “step method” rather than trying to follow the contour, creating a much cleaner look.
- Leave wood expansion room – Wood expands and contracts with moisture and temperature. I leave small gaps between boards to prevent warping.
- Invest in quality fasteners – Even on a budget fence, don’t skimp on screws and hardware. Galvanized or coated fasteners prevent rust streaks and premature fence failure.
Pro Tip: Take photos of your property boundaries before starting, and consider discussing your plans with neighbors if the fence will be near property lines. This courtesy has helped me avoid potential conflicts.
Your Dream Fence Awaits
Building your own garden fence doesn’t require a large budget or professional skills—just some creativity, basic tools, and a weekend or two of work. My DIY garden fence projects have not only saved me thousands of dollars but have also become favorite features in my landscape.
Remember that perfection isn’t necessary—some of the most charming garden fences embrace a handmade, slightly imperfect aesthetic. Start with a simple design, use materials that speak to you, and don’t be afraid to get creative.
I hope these ideas inspire you to create a fence that not only serves its practical purpose but also enhances the beauty of your outdoor space—all while keeping your wallet happy. Happy building!
Frequently Asked Questions
What is the cheapest material for a garden fence?
In my experience, reclaimed pallets are the most economical fencing material. They’re often free for the taking from businesses that would otherwise pay to dispose of them. Other budget-friendly options include bamboo, wire fencing supported by wooden posts, and repurposed materials like old doors or windows incorporated into fence sections.
How tall should my garden fence be?
This depends on your purpose. For decorative boundaries, 2-3 feet is usually sufficient. For privacy, aim for 6 feet or taller. For keeping animals out, consider 4-8 feet depending on the animal (rabbits need 2-3 feet with some buried underground, while deer require 7-8 feet). Always check local regulations, as many communities limit fence heights, especially in front yards.
Do I need a permit to build a garden fence?
It varies by location. In my area, fences under 6 feet tall in backyards don’t require permits, but front yard fences do. Some homeowners’ associations have additional restrictions. Always check with your local building department and HOA before starting. I once had to modify a fence design because I didn’t realize my historic district had specific style requirements.
How can I extend the life of my DIY fence?
Regular maintenance is key. I apply a new coat of weather-resistant stain or sealant every 2-3 years. Keep soil and mulch from direct contact with wood posts (use gravel at the base). Replace damaged sections promptly before problems spread. For wooden fences, ensure adequate drainage around posts and consider metal post brackets to prevent ground contact rot.
Can I install a fence on a slope?
Yes, using either the “stepped” method (horizontal rails remain level while fence sections “step” down the slope) or the “racked” method (fence follows the contour of the slope). I prefer stepped for steeper slopes and racked for gentle slopes. The stepped method is generally easier for DIYers, as it doesn’t require custom-cutting panels at angles.