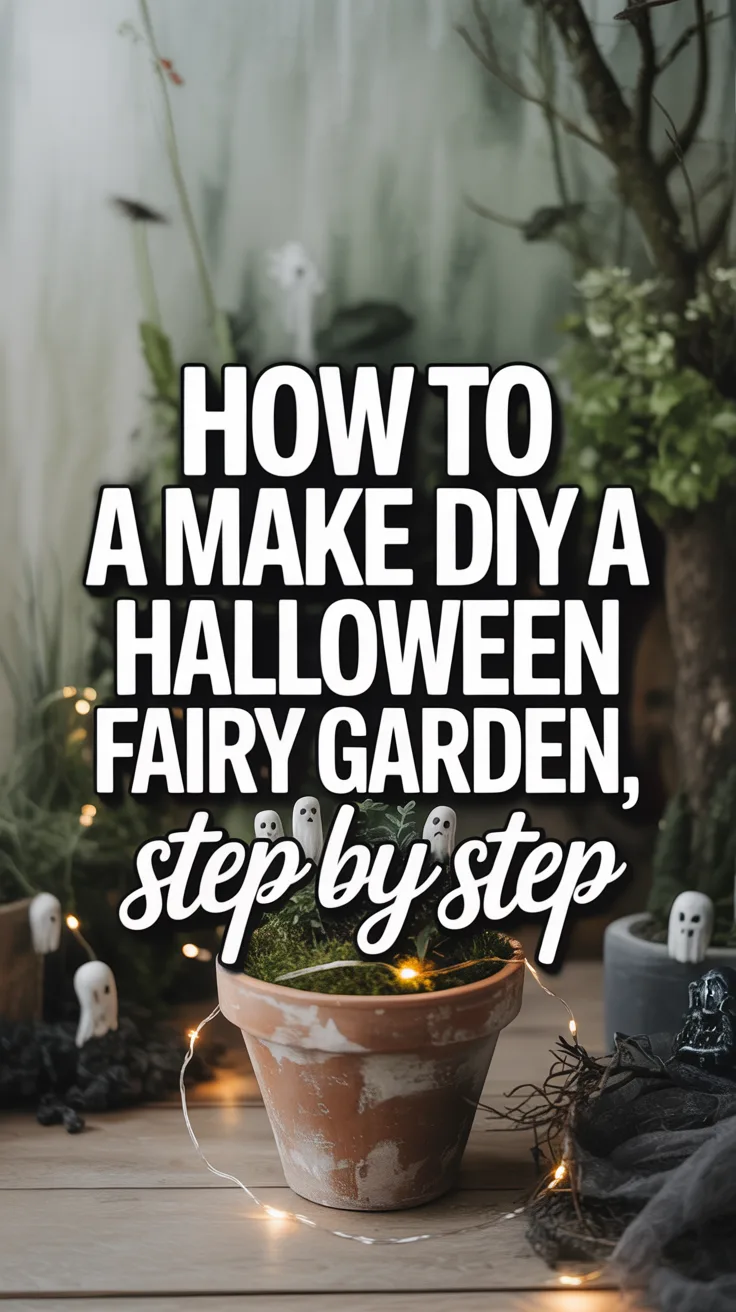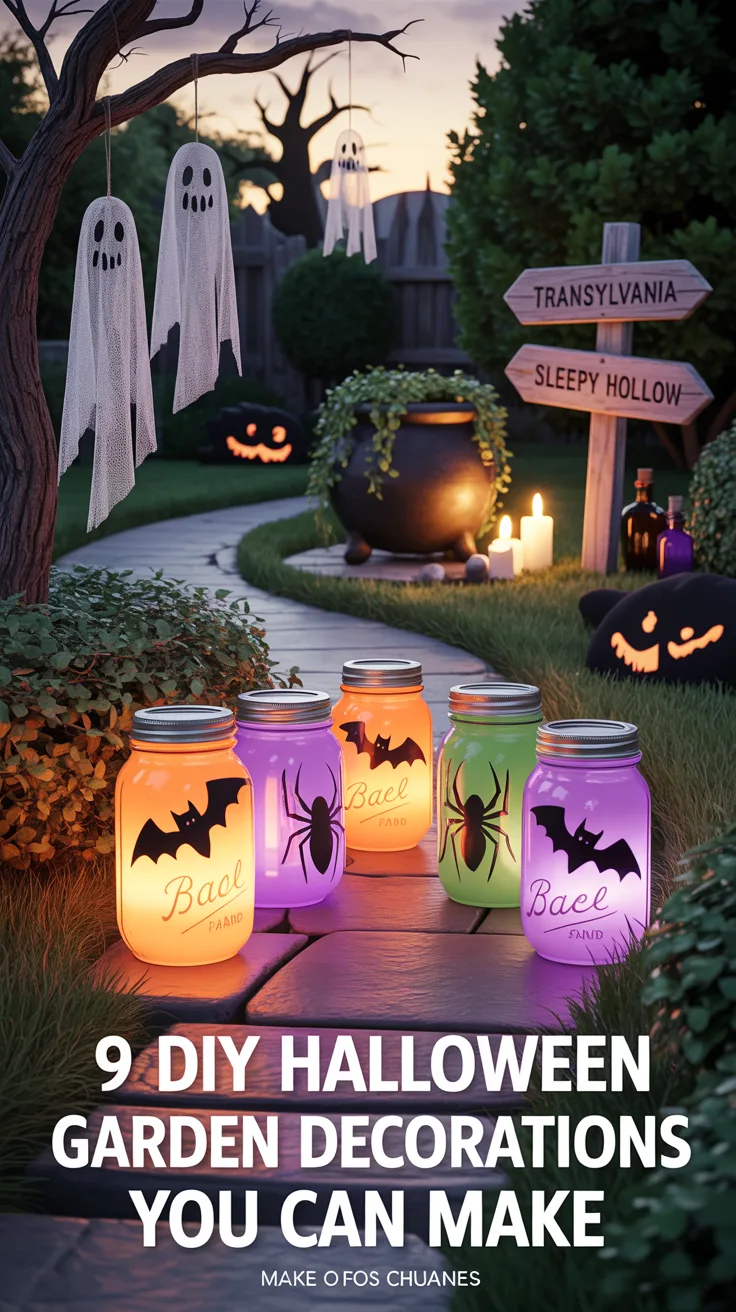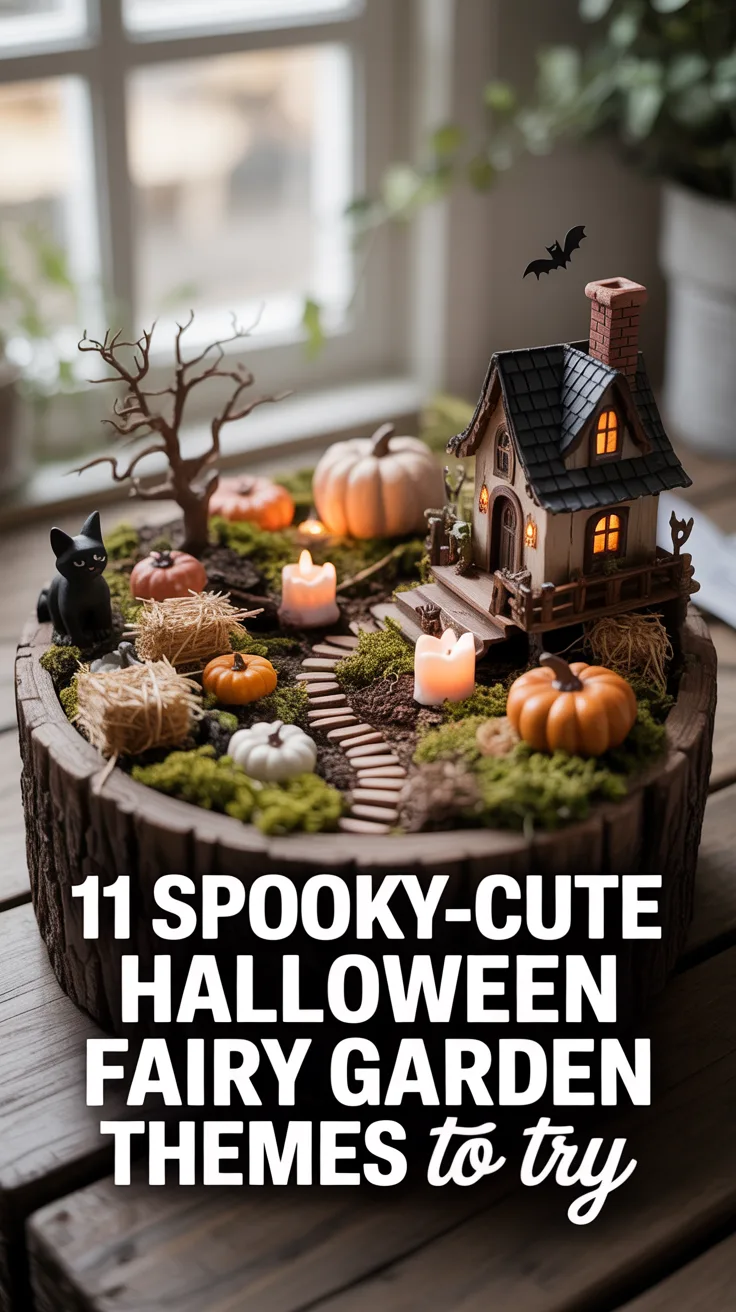

DIY Halloween Fairy Garden: The Project We’re Making
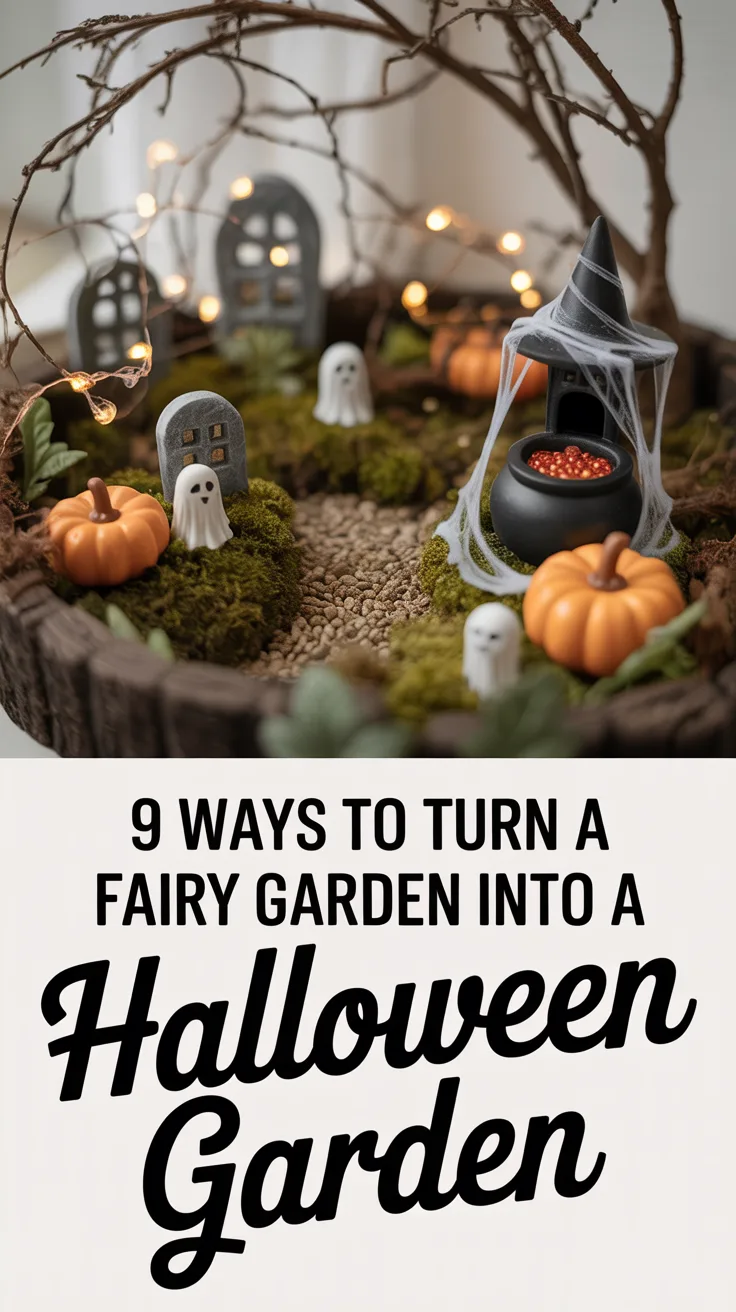
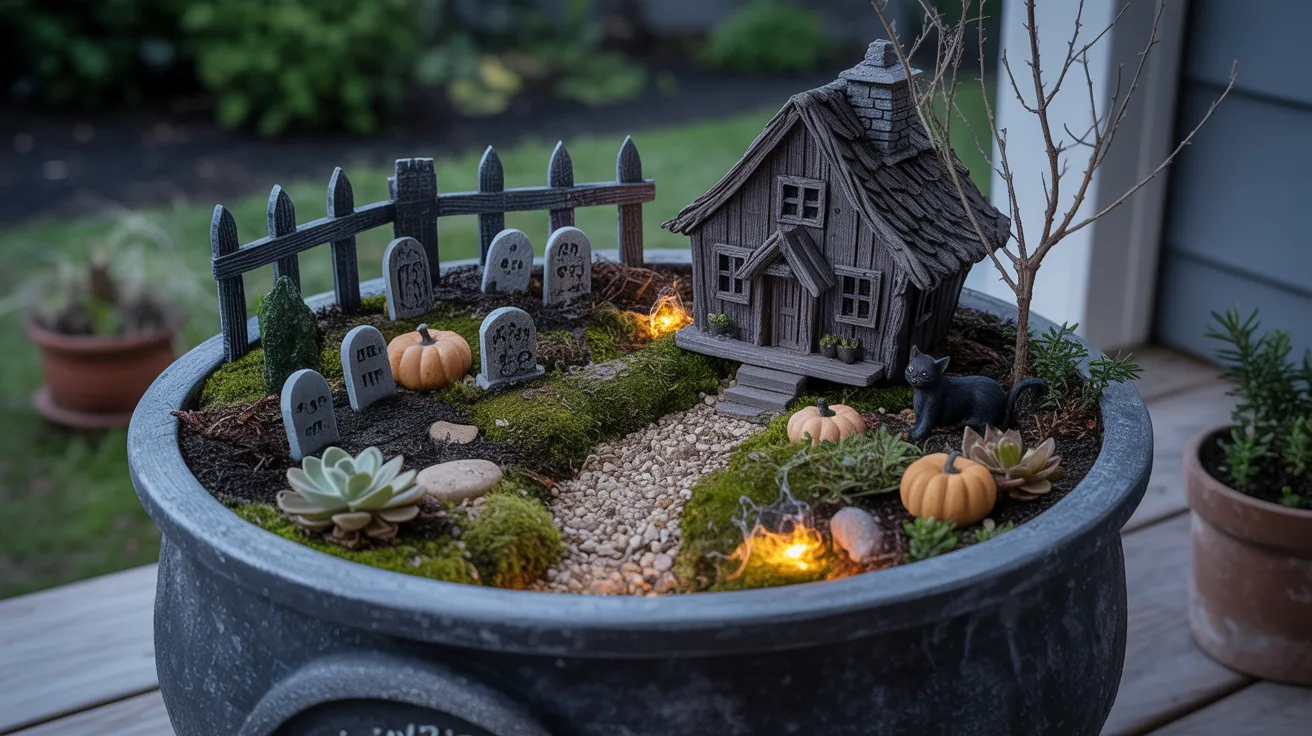
Instead of combining several different fairy garden styles, this tutorial focuses on one complete project you can recreate from beginning to end: a Gothic Haunted Graveyard Fairy Garden.
The finished garden features a crooked haunted cottage overlooking a winding gravel path, miniature gravestones, aged black fencing, patches of moss, dark plants, tiny pumpkins, bare branches, subtle spiderwebs, and warm lights glowing through the miniature landscape.
The goal is spooky rather than scary. Think abandoned storybook garden at twilight, with enough realistic landscaping to make the miniature scene feel like a tiny place you could actually wander through.
The Main Theme
- Theme: Gothic haunted graveyard
- Container: Matte black cauldron or weathered dark planter
- Focal point: Crooked miniature haunted cottage
- Color palette: Charcoal, black, moss green, deep purple, muted orange, and warm amber
- Landscape: Raised cottage area with a winding gravel path
- Plants: Moss, miniature dark foliage, and small succulents
- Decorations: Gravestones, fencing, pumpkins, branches, leaves, and spiderwebs
- Lighting: Tiny warm LED lights around the cottage and pathway
A Halloween fairy garden miniature set can provide several of the small haunted details used in this project.
Materials You’ll Need
Gathering everything before you begin makes it much easier to build the miniature landscape without interrupting the design process.
Container and Landscaping Materials
- Black cauldron-style planter or dark round planter
- Well-draining potting mix
- Small gravel or miniature landscaping stones
- Preserved or living moss
- A few larger natural stones
- Small pieces of bark or weathered wood
Plants
- Black mondo grass or another dark grass-like plant
- Small succulents such as hens and chicks
- Creeping thyme or another miniature ground cover
- Miniature fern or dark-leaved accent plant
You do not need every plant on the list. Two or three small plants plus moss are enough to create the overgrown effect without hiding the miniature decorations.
Miniature Halloween Decorations
- Miniature haunted cottage
- Five to seven small gravestones
- Miniature black or weathered fence
- Tiny pumpkins
- Miniature black cat, raven, ghost, or skeleton
- Small bare twigs
- Dried autumn leaves
- Artificial spiderweb material
- Warm miniature LED lights
Basic Tools
- Small gardening trowel or spoon
- Scissors
- Hot glue gun for decorations that need securing
- Tweezers for positioning tiny accessories
- Small paintbrush
- Gray, black, and brown acrylic craft paint if weathering accessories
Step 1: Choose a Dark Cauldron or Planter
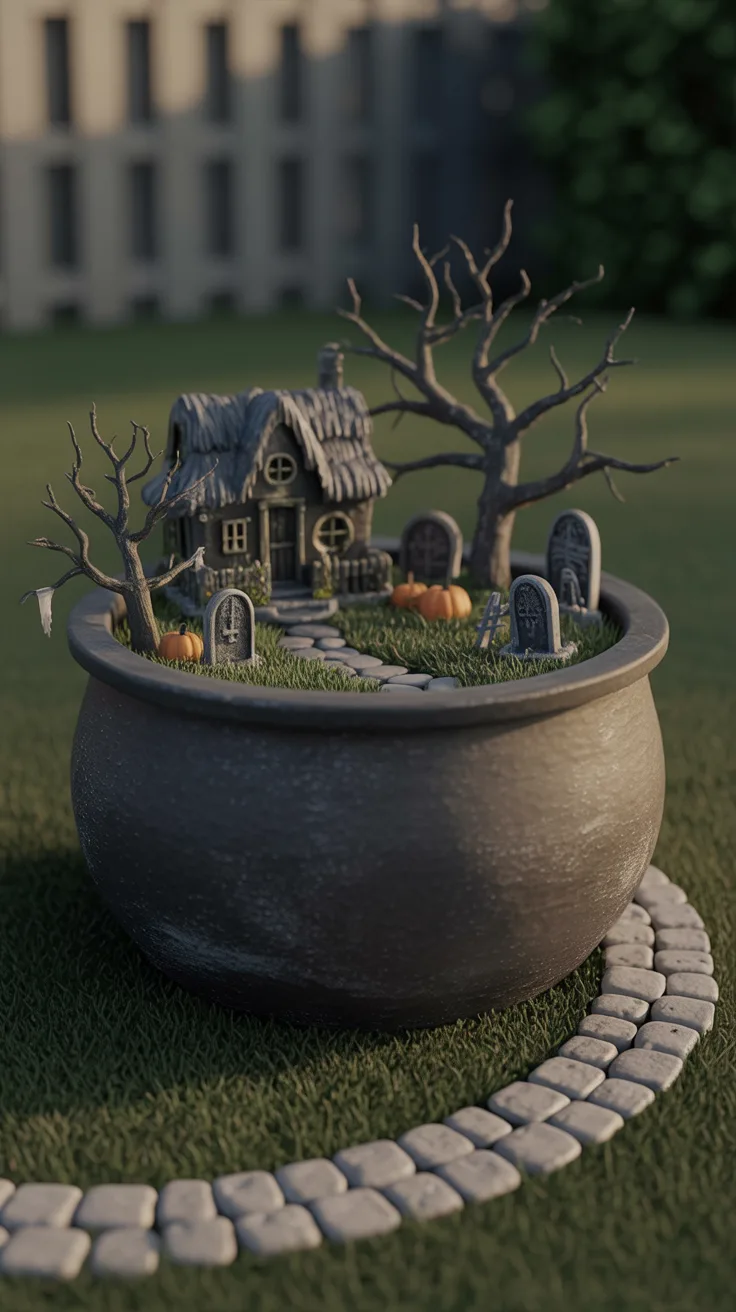
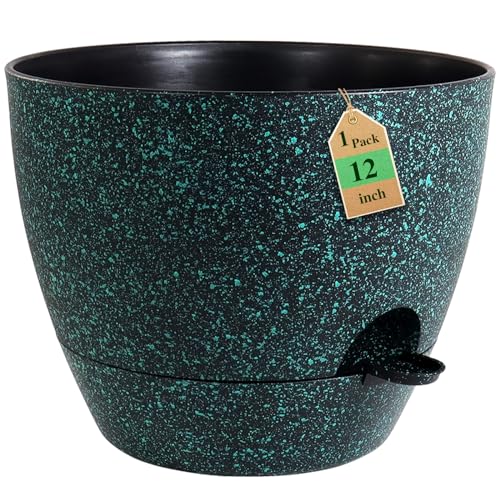
Start with a black cauldron-style container or a dark weathered planter. A round container approximately 12 to 16 inches across provides enough room for a cottage, pathway, miniature graveyard, plants, and decorations without making the project enormous.
The container is part of the design rather than simply something holding the soil. Black immediately establishes the Halloween theme and visually frames the miniature landscape.
If you’re using live plants, make sure the container has appropriate drainage for those plants. If necessary, add drainage holes before filling the planter.

View on AmazonAs an Amazon Associate, I earn from qualifying purchases.
View on AmazonAs an Amazon Associate, I earn from qualifying purchases.
What we’re creating: The cottage will sit toward the back of the container while the pathway begins near the front and curves toward it.
Step 2: Build the Raised Haunted Landscape
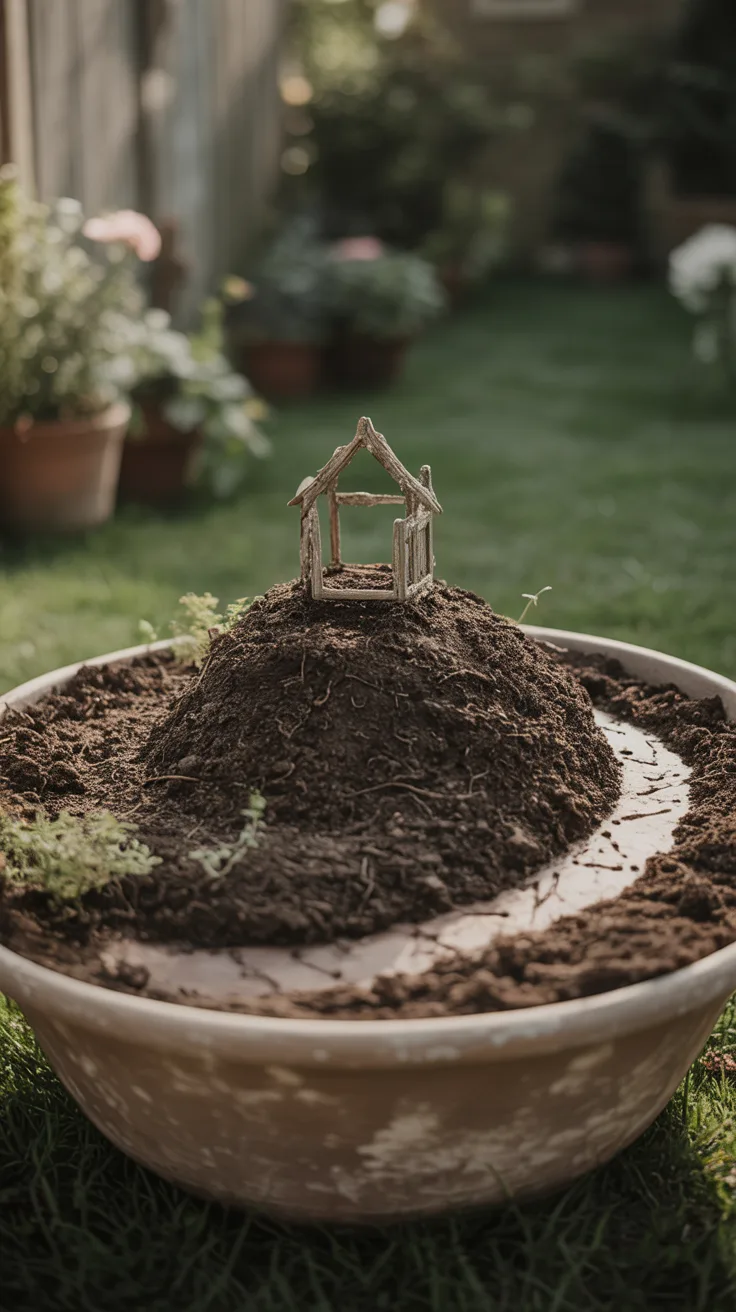
Fill the planter with well-draining potting mix, stopping approximately 1 to 2 inches below the rim.
Now begin shaping the landscape rather than leaving the soil completely flat.
- Add extra soil toward the back third of the planter.
- Create a small raised hill where the haunted cottage will eventually sit.
- Gently press the soil to stabilize the hill without heavily compacting it.
- Keep the front portion slightly lower.
- Use two fingers or the back of a spoon to mark a curved path beginning at the front edge.
- Curve the pathway toward the cottage location rather than making it perfectly straight.
The slight elevation makes the cottage more visible and gives the finished fairy garden considerably more depth.

View on AmazonAs an Amazon Associate, I earn from qualifying purchases.

View on AmazonAs an Amazon Associate, I earn from qualifying purchases.
Pro Tip: Lightly damp soil is easier to sculpt than completely dry potting mix.
Step 3: Create the Winding Gravel Path
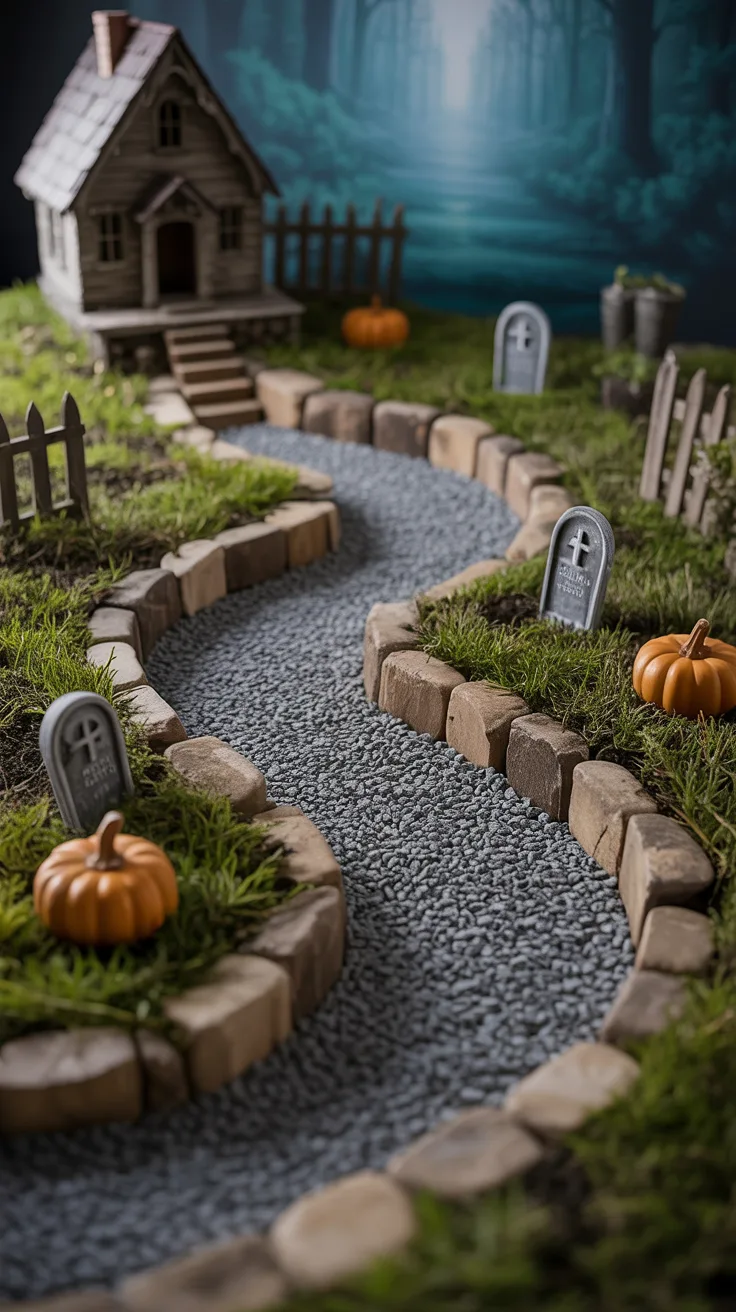
The pathway becomes the visual line that pulls your eye through the miniature garden and toward the haunted cottage.
Pour a narrow layer of fine gray or dark gravel into the path you created in the previous step.
- Begin with a slightly wider opening near the front of the planter.
- Gradually narrow the path as it approaches the cottage.
- Press the gravel lightly into the soil.
- Place several slightly larger stones randomly along the edges.
- Avoid creating perfectly straight borders.
View on AmazonAs an Amazon Associate, I earn from qualifying purchases.

View on AmazonAs an Amazon Associate, I earn from qualifying purchases.
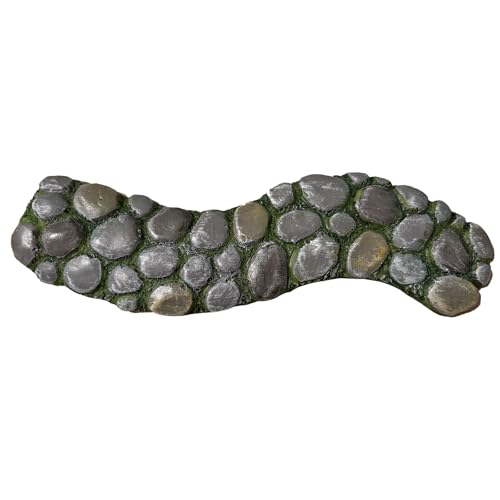
A bag of miniature fairy garden gravel makes it easy to create the winding pathway and tiny graveyard areas.
The narrowing pathway creates a subtle forced-perspective effect that can make the miniature landscape appear deeper than the container actually is.
Step 4: Plant the Dark Halloween Garden
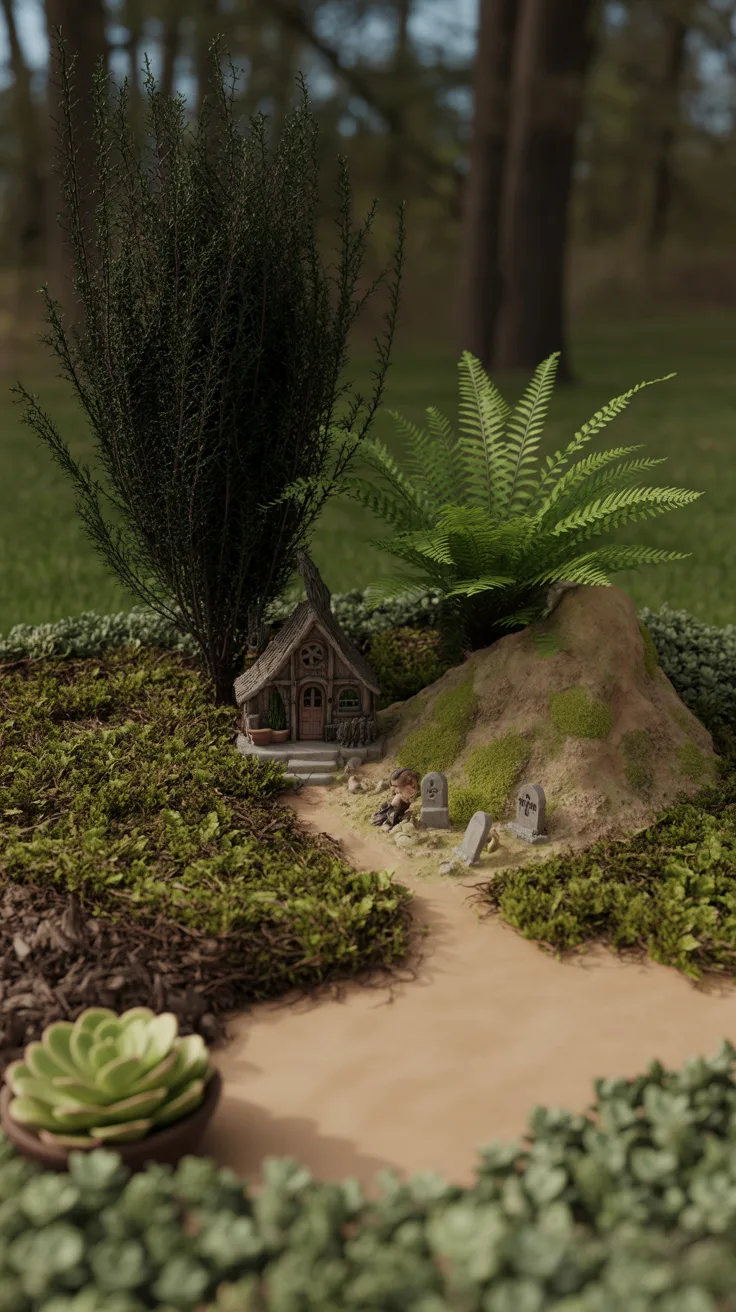
Plants should frame the miniature world rather than dominate it. Keep the tallest plants around the back and sides while preserving open space around the path and graveyard.
- Position your tallest dark plant near one back corner.
- Place a miniature fern or second plant on the opposite side of the cottage area.
- Add a small succulent near the middle or front edge.
- Plant low-growing ground cover beside portions of the pathway.
- Leave the cottage hill and graveyard area mostly open.
- Water the newly planted specimens appropriately for the varieties you’ve chosen.
Don’t worry about covering exposed soil yet. Moss will handle much of that later and helps unify all the individual elements.
Pro Tip: Set the plants on top of the soil in their nursery pots first so you can test the composition before planting anything permanently.
Step 5: Position the Haunted Cottage
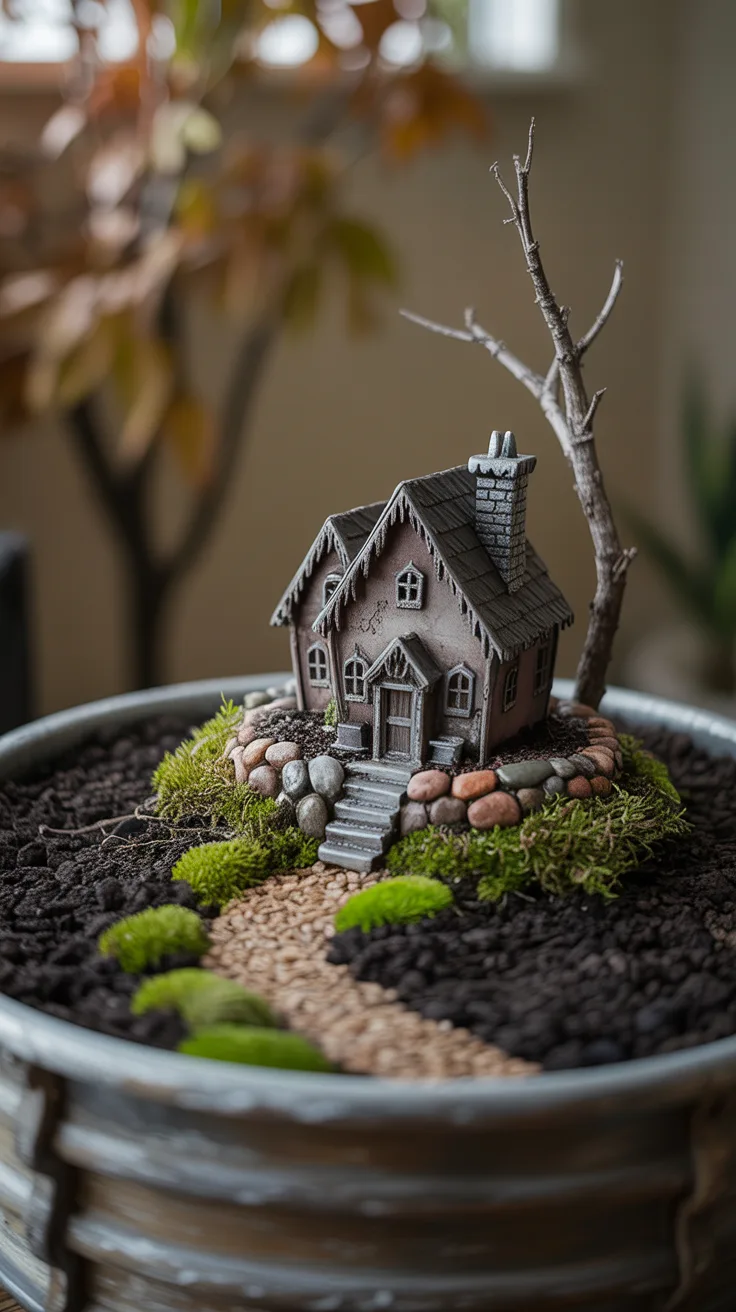
Now place the main attraction.
Position the haunted cottage on the elevated section near the back of the planter. Instead of centering it perfectly, move it slightly toward one side for a more natural composition.
- Set the cottage on the raised soil.
- Turn its entrance toward the gravel pathway.
- Press the structure gently into the soil for stability.
- Add small stones around the foundation.
- Tuck pieces of moss around the base.
- Add a tiny bare twig behind or beside the cottage to resemble an old tree.

View on AmazonAs an Amazon Associate, I earn from qualifying purchases.

View on AmazonAs an Amazon Associate, I earn from qualifying purchases.
The moss and stones are important because they prevent the house from looking like a miniature simply placed on top of a flowerpot.
Step 6: Create the Miniature Graveyard
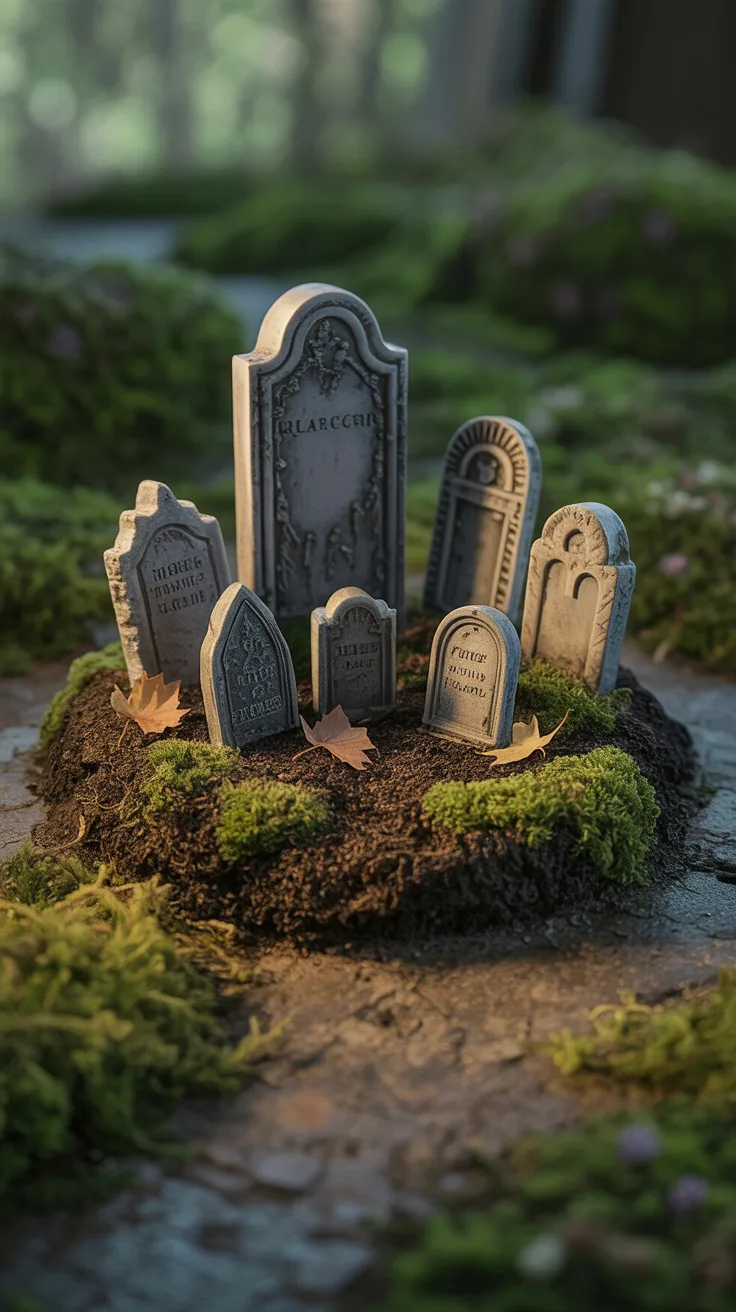
The graveyard should occupy one side of the path rather than being scattered throughout the entire garden. Grouping the gravestones together makes the scene easier to understand visually.
- Select five to seven miniature gravestones in different shapes and heights.
- Place the tallest gravestone toward the back of the cemetery area.
- Arrange smaller stones irregularly around it.
- Tilt one or two gravestones slightly instead of keeping everything perfectly upright.
- Press each gravestone gently into the soil.
- Add patches of moss around their bases.
- Scatter several tiny dried leaves between the stones.

View on AmazonAs an Amazon Associate, I earn from qualifying purchases.

View on AmazonAs an Amazon Associate, I earn from qualifying purchases.
Pro Tip: Avoid evenly spaced rows because a slightly crooked arrangement makes the cemetery appear older and more convincing.
Step 7: Add a Crooked Graveyard Fence
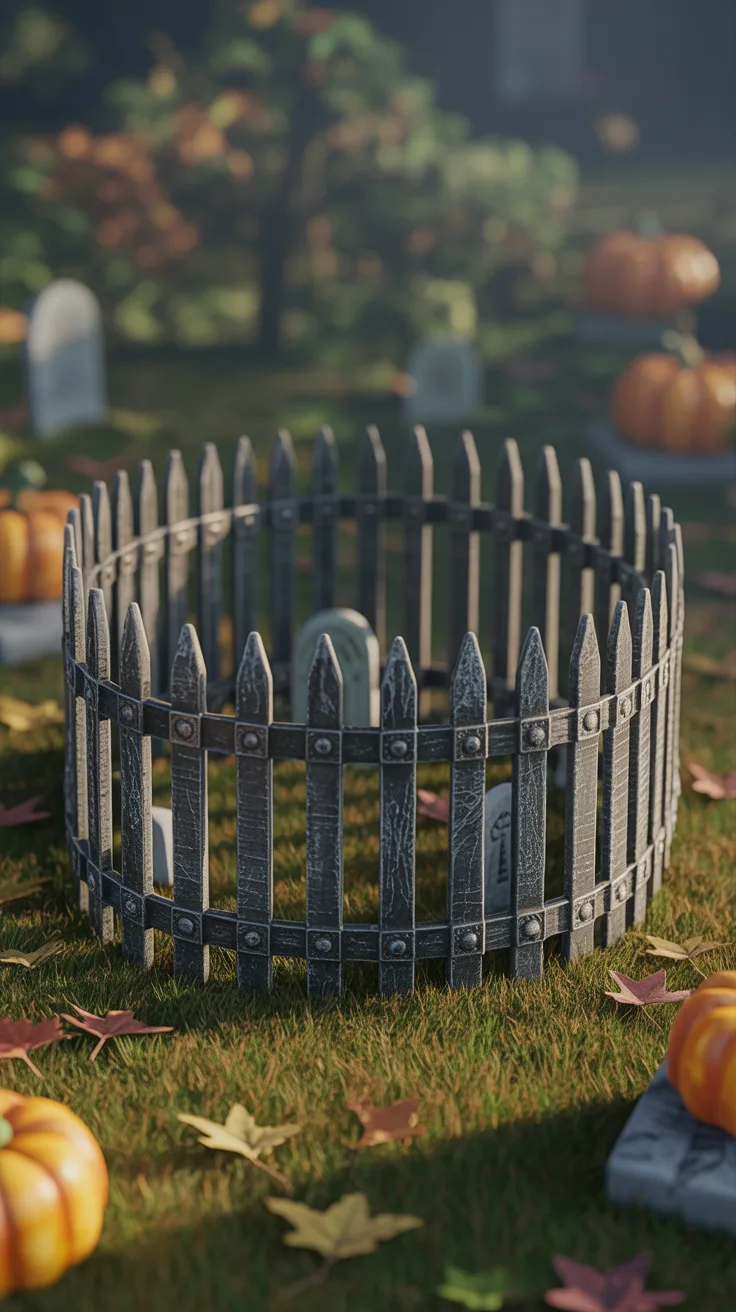
A short section of black fencing helps visually separate the graveyard from the rest of the miniature landscape.
Place the fence along the side or back of the cemetery rather than enclosing it completely. Leaving part of the graveyard exposed keeps the composition open and prevents the small garden from becoming cluttered.
If the fence looks too new, lightly dry-brush it with gray and brown acrylic paint. Concentrate the paint around edges and lower sections to imitate age and weather exposure.
DIY Twig Fence Option
- Collect several thin dry twigs.
- Cut them into short pieces of roughly similar height.
- Lay two longer twigs horizontally on a protected work surface.
- Glue the shorter pieces vertically across them.
- Allow the glue to cool completely.
- Press the finished fence gently into the soil.
Step 8: Add Moss and Overgrown Details
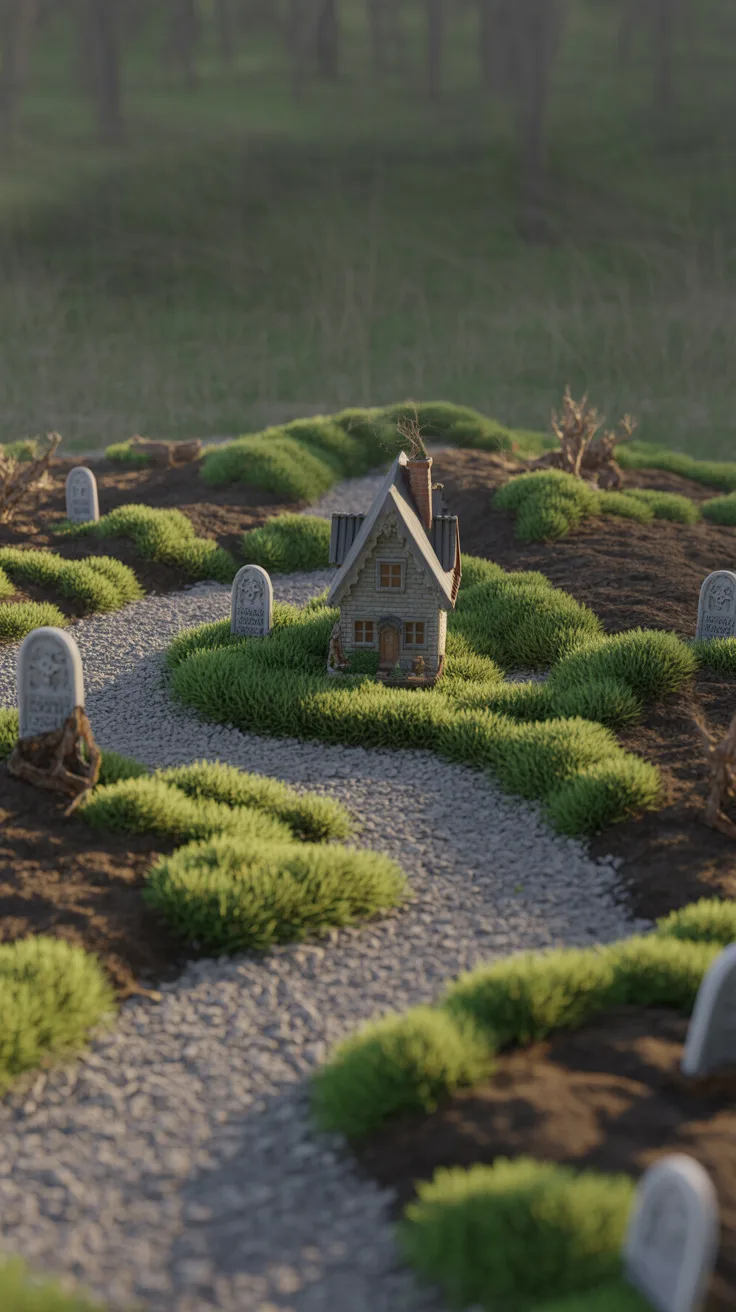
Moss is one of the easiest ways to transform separate miniature accessories into a believable landscape.
Instead of covering the entire garden, add irregular patches around the cottage, gravestones, stones, and pathway edges.
- Tear moss into small uneven pieces.
- Tuck moss around the cottage foundation.
- Add patches between gravestones.
- Place small pieces along portions of the gravel path.
- Cover awkward gaps where miniature accessories meet the soil.
- Leave some exposed earth visible for contrast.
The finished result should feel slightly overgrown rather than perfectly landscaped.
Step 9: Add Tiny Halloween Pumpkins
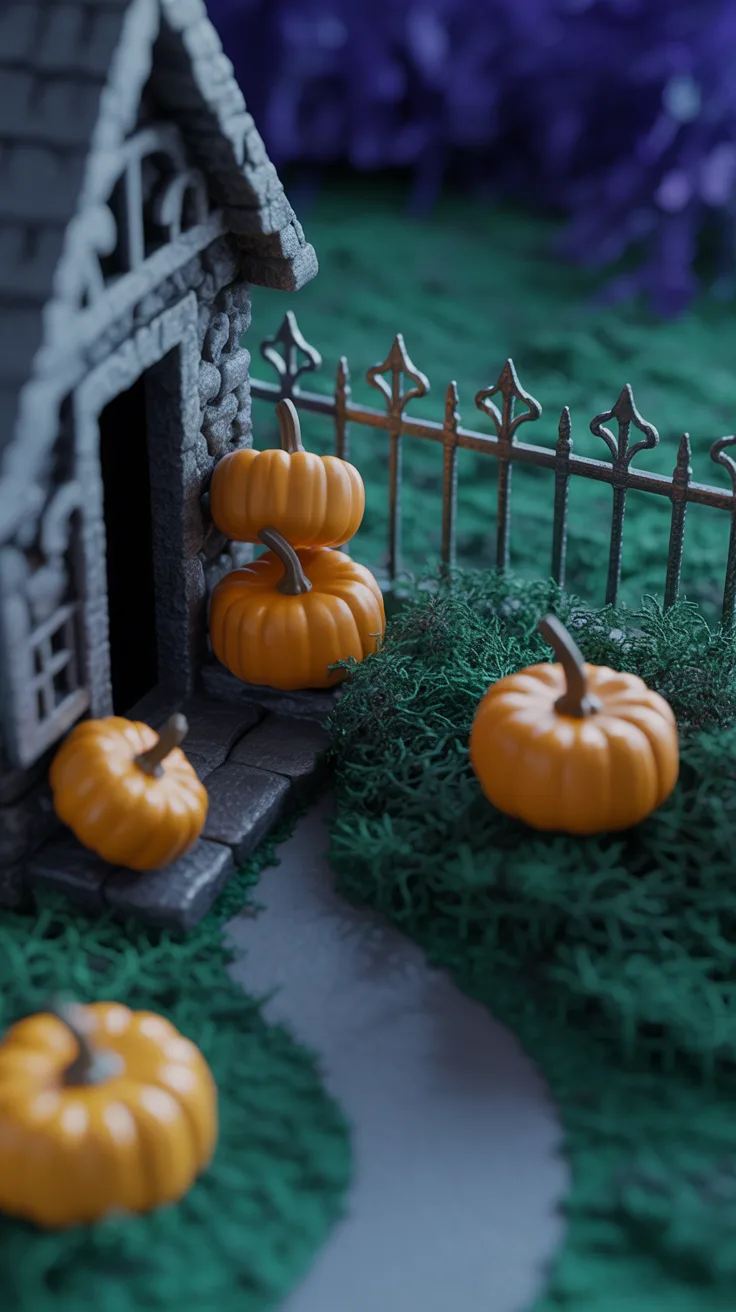
Muted orange pumpkins provide an important pop of color against the black, gray, green, and purple landscape.
Use them sparingly so the garden remains gothic rather than becoming an orange pumpkin display.
- Place two or three pumpkins beside the cottage entrance.
- Add one pumpkin near the pathway.
- Place another near the graveyard fence.
- Turn the pumpkins in slightly different directions.
- Tuck moss around a few of their bases.
DIY Miniature Pumpkin Option
- Roll orange air-dry or polymer clay into tiny balls.
- Use a toothpick to create shallow vertical grooves.
- Add a tiny brown or green stem.
- Allow the pumpkins to cure according to the clay instructions.
- Optional: brush them lightly with brown paint to create a more weathered appearance.
Step 10: Add Bare Branches and Fallen Leaves
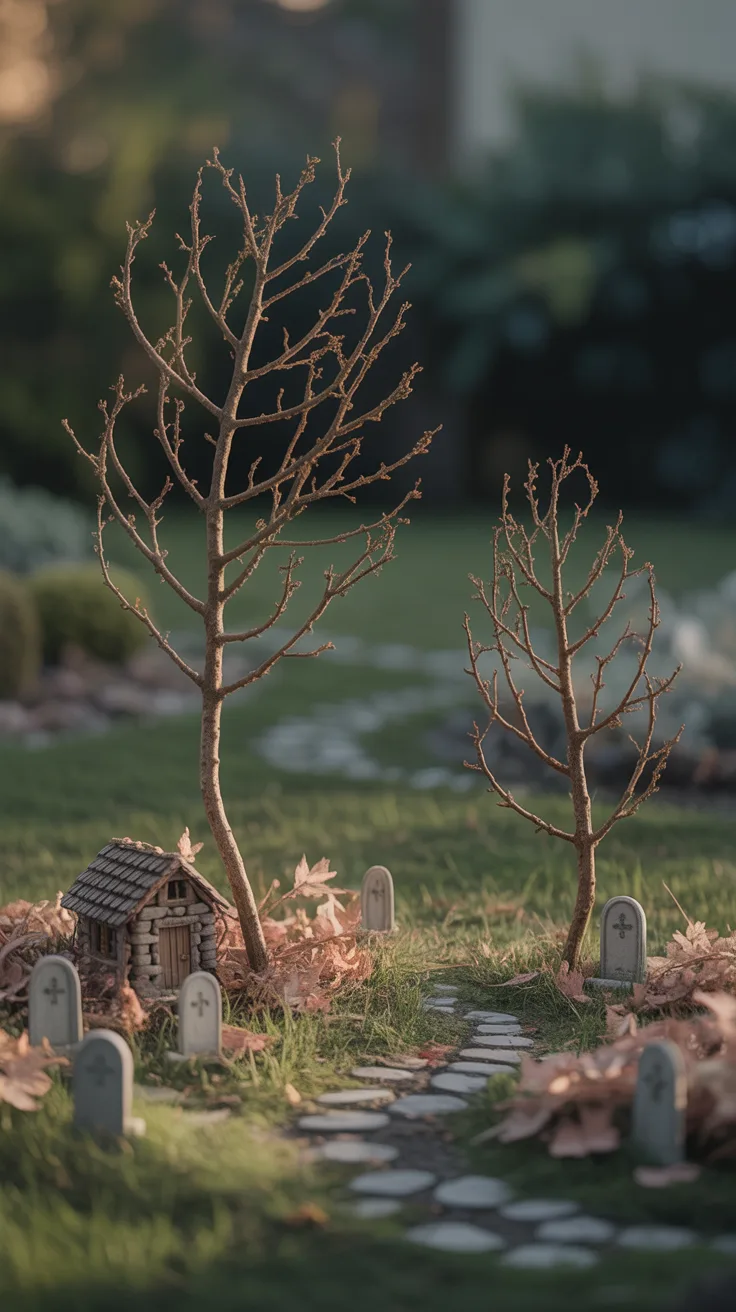
Small natural details help make the garden look like an abandoned outdoor landscape rather than a collection of miniatures.
Collect thin dry twigs with interesting branching shapes and trim them until they resemble miniature trees.
Push one taller branch into the soil beside or behind the cottage. Add a smaller one near the cemetery.
Then scatter a few tiny dried leaves around the pathway and gravestones.
Keep these details subtle because a few strategically placed natural materials usually look more realistic than covering the entire garden.
Step 11: Add Spooky Characters
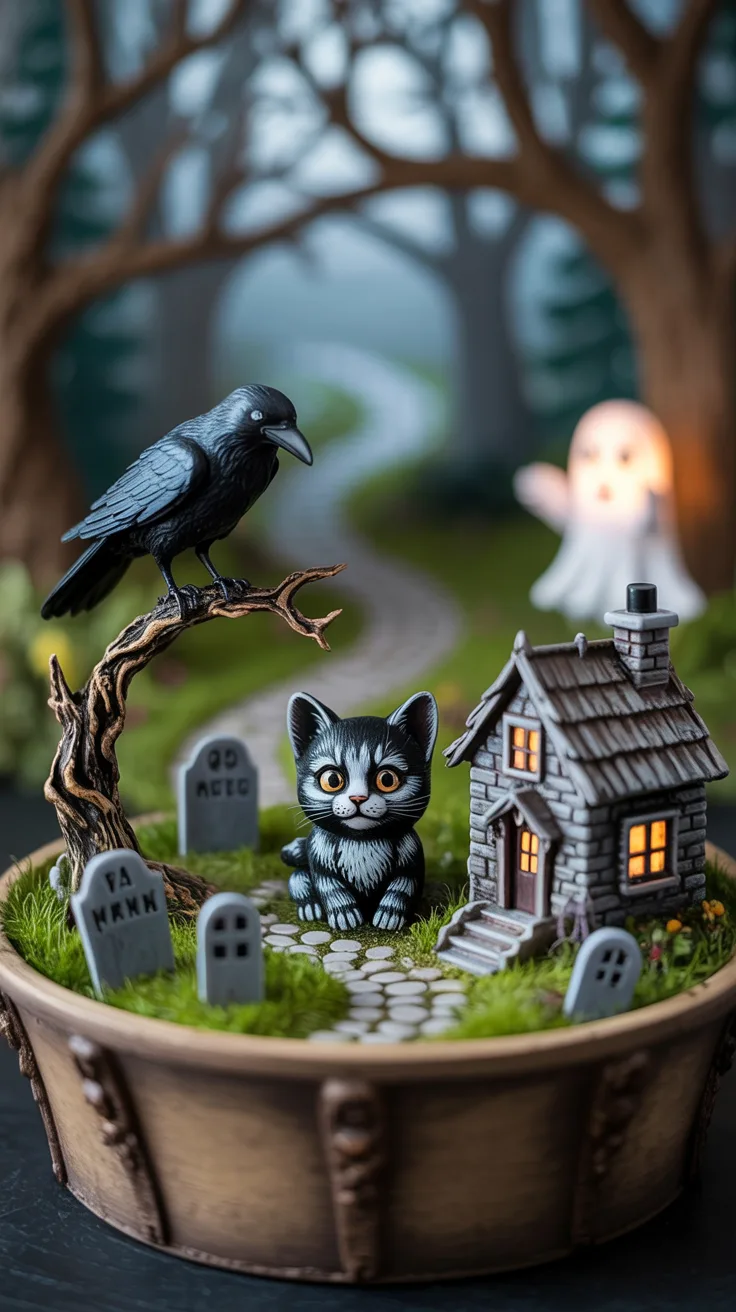
Now introduce one or two characters to give the miniature world a little personality.
A tiny black cat sitting near the cottage, a raven perched beside the cemetery, or a small ghost near the path can work beautifully.
Avoid filling the scene with every Halloween character you can find. One primary character and perhaps one smaller secondary detail are usually enough.
Pro Tip: Position characters as though something is actually happening in the scene rather than simply spacing them evenly around the container.
Step 12: Add Subtle Spiderwebs
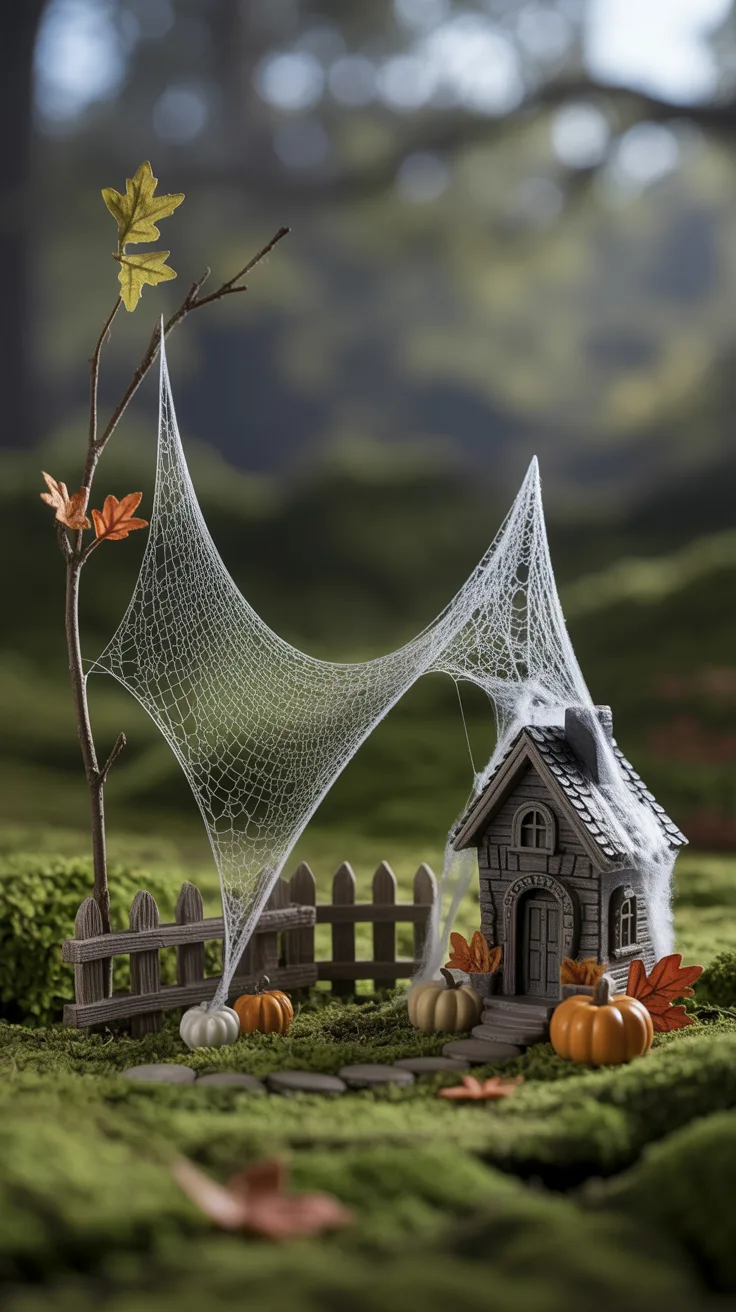
Artificial spiderweb material can look effective in miniature scenes, but the key is using much less than you think you’ll need.
- Pull off a very small amount of web material.
- Stretch it until the fibers become extremely thin.
- Connect a little between the fence and a nearby twig.
- Add another tiny section near one corner of the haunted cottage.
- Remove excess material if the web begins obscuring other details.
Thin, almost invisible strands tend to look much more convincing than thick clumps of cotton-like webbing.
Step 13: Add Warm Miniature Lights
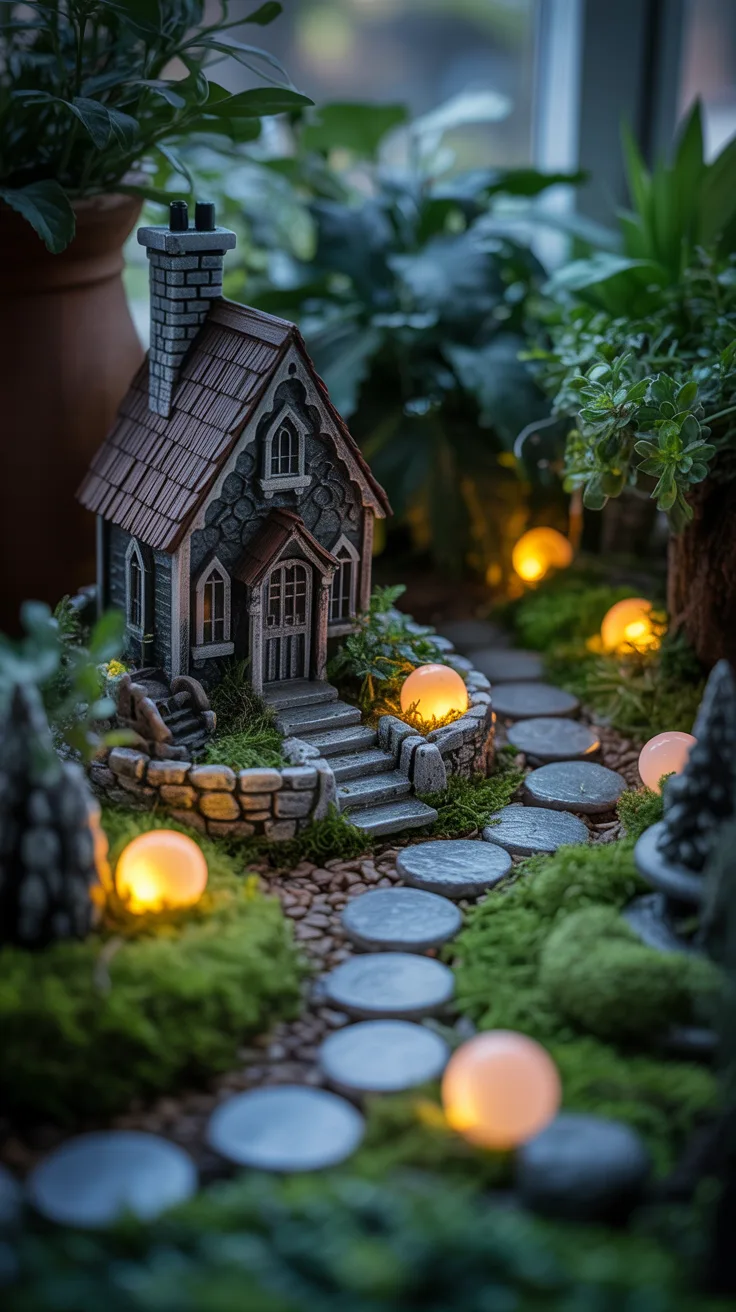
Lighting is what transforms this project after sunset.
Warm amber lights create the feeling of an inhabited haunted cottage without introducing bright colors that compete with the gothic palette.
Battery-powered warm miniature LED lights for fairy gardens can add a subtle glow around the cottage and pathway.
- Test the lights before placing them in the garden.
- Position the battery pack where it can remain accessible.
- Run the wire behind plants or along the inside edge of the planter.
- Place one or two lights close to the cottage.
- Continue several lights alongside the pathway.
- Hide visible wire beneath moss, stones, or foliage without burying components not designed for soil contact.
- Turn the lights on and view the garden in a darker room before making adjustments.
Pro Tip: Don’t outline every feature with lights because a few small pools of illumination create a much moodier result.
Step 14: Style the Final Halloween Fairy Garden
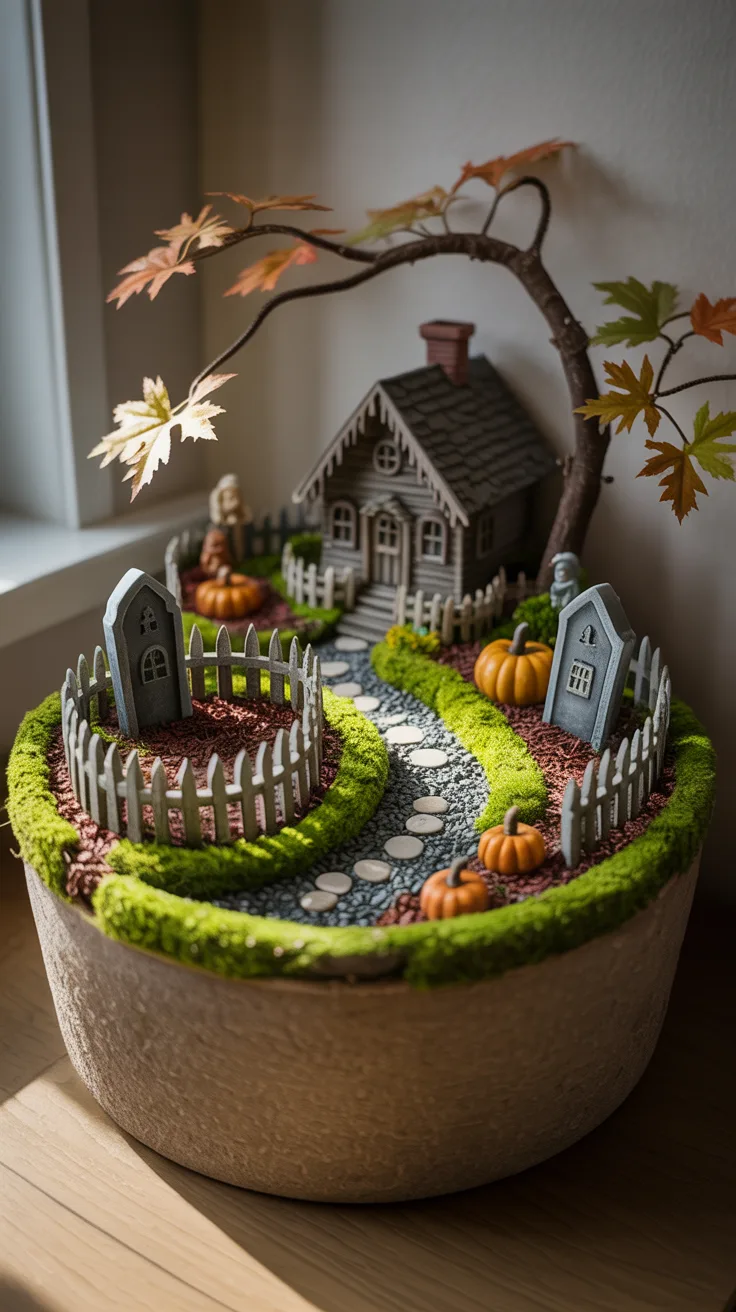
Before considering the project finished, step several feet away and look at the entire composition rather than individual decorations.
Your eye should naturally move from the front of the planter along the gravel path toward the haunted cottage. The graveyard should provide a secondary focal point without competing with the house.
Make final adjustments using this simple checklist:
- Remove decorations that make an area feel crowded
- Hide visible accessory bases with moss or stones
- Adjust crooked gravestones and fencing
- Make sure the pathway remains clearly visible
- Turn pumpkins and characters toward the main viewing angle
- Hide visible lighting wires
- Add a few final leaves where the soil looks too bare
- Check the composition with the lights both on and off
What the Finished Garden Should Look Like
The completed DIY Halloween fairy garden should resemble a tiny abandoned graveyard discovered at twilight. A crooked haunted cottage sits slightly elevated toward the back while a narrow gravel path winds toward its entrance.
On one side, irregular gravestones disappear into patches of moss behind a weathered fence. Bare branches rise above the miniature landscape while tiny pumpkins provide restrained touches of autumn orange.
Warm lights glow near the cottage and along portions of the path, while thin spiderwebs, scattered leaves, dark plants, and a tiny black cat or raven complete the scene.
The overall effect should be detailed but not crowded, with enough open ground to make the miniature world feel larger than the container holding it.
Where to Display Your Halloween Fairy Garden
This project works particularly well on a covered porch, sheltered patio, entry table, fireplace hearth, or as part of a larger Halloween display.
If you’re using live plants, choose the location based on their light and temperature requirements. Outdoor displays should also be protected from heavy rain and strong winds that could displace lightweight miniature accessories.
For an indoor version, you can replace the live plants with preserved moss and artificial miniature foliage, making the entire project much easier to display away from natural light.
How to Change the Garden After Halloween
One advantage of building the scene around landscaping rather than permanently attaching every decoration is that the planter can evolve with the seasons.
After Halloween, remove the gravestones, spiderwebs, haunted characters, and miniature pumpkins. The cottage, gravel path, moss, fencing, stones, and plants can remain as the foundation for another miniature garden.
Add miniature autumn leaves and acorns for Thanksgiving, tiny evergreens and lights for winter, or flowers and mushrooms for a spring fairy garden.
Frequently Asked Questions
How large should a Halloween fairy garden be?
A planter approximately 12 to 16 inches wide provides enough room for this particular design while remaining manageable to move and display. Larger containers allow more landscaping, but they also require additional soil, plants, and miniature accessories to look complete.
Can I recreate this Halloween fairy garden without live plants?
Yes. Preserved moss, artificial succulents, faux dark foliage, twigs, stones, and miniature accessories can recreate the same design without watering or ongoing plant maintenance.
Do I need to use a cauldron?
No. A black planter, aged terracotta pot, wooden container, galvanized tub, or other wide container can work. The important part is having enough surface area to create the cottage, pathway, graveyard, and surrounding landscape.
How do I keep the miniature decorations from falling over?
Press accessories with stakes into the soil whenever possible. Flat-bottomed structures can be stabilized with stones or partially embedded in the soil, while lightweight decorative pieces can be secured according to the material and whether the garden will be kept indoors or outside.
Can the fairy garden stay outside?
It can be displayed outdoors when the container, plants, lighting, and accessories are suitable for those conditions. A covered location is preferable because heavy rain and wind can damage or displace delicate miniature decorations.
How can I make the garden look realistic?
Use natural materials such as moss, gravel, twigs, bark, and small stones to visually connect the miniature pieces. Irregular placement also helps, since perfectly straight paths, evenly spaced gravestones, and symmetrical decorations tend to make miniature scenes look less natural.