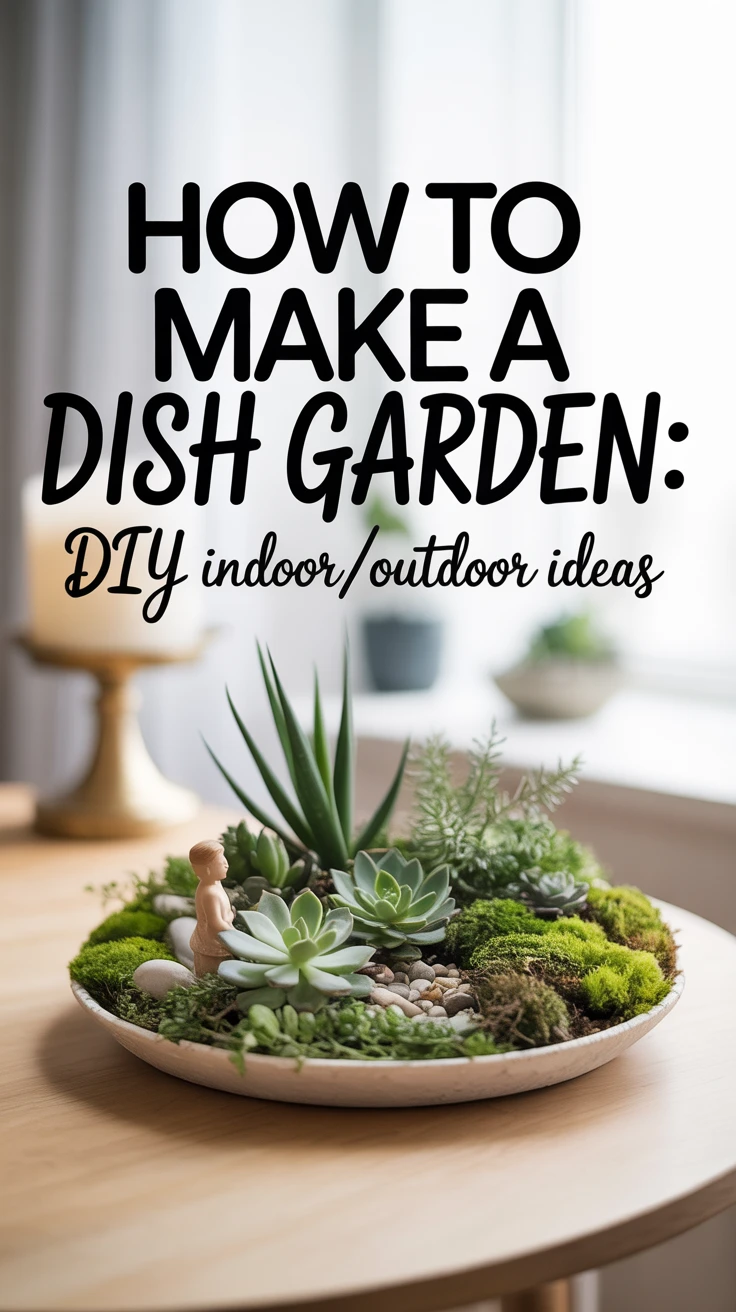
Introduction to Dish Gardening
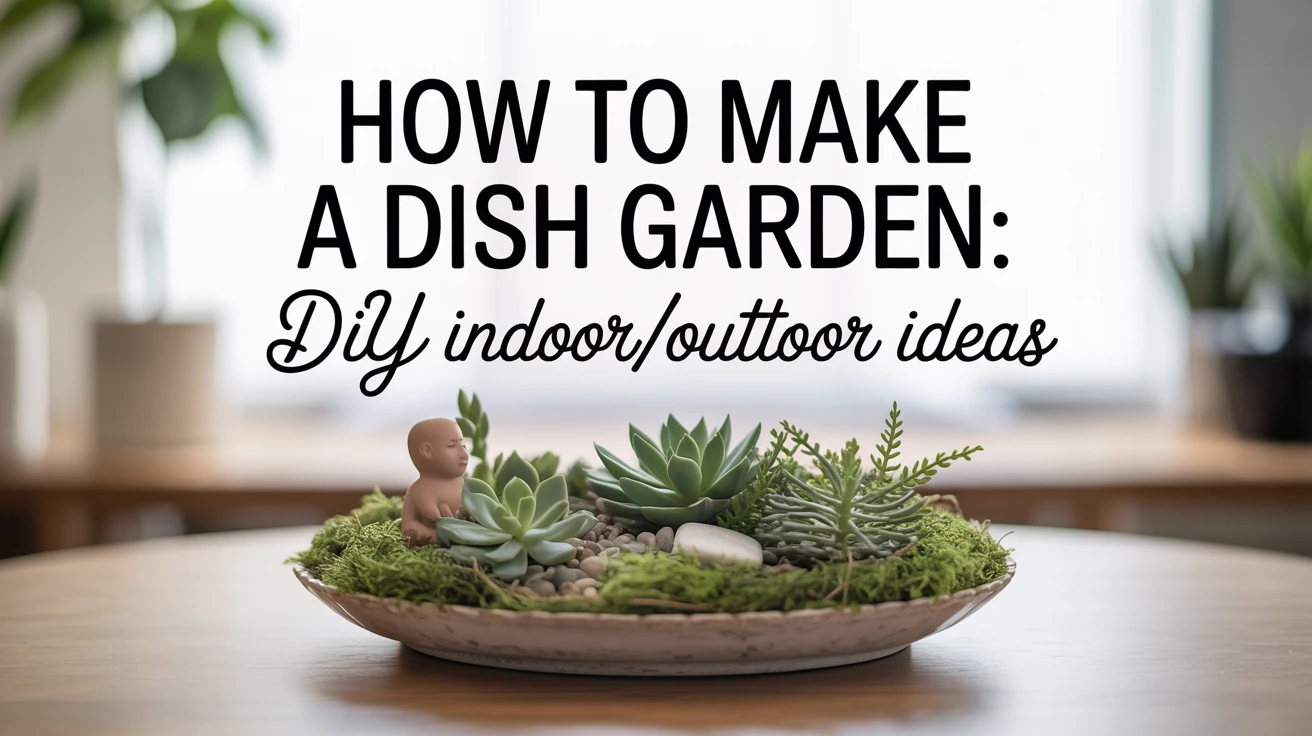
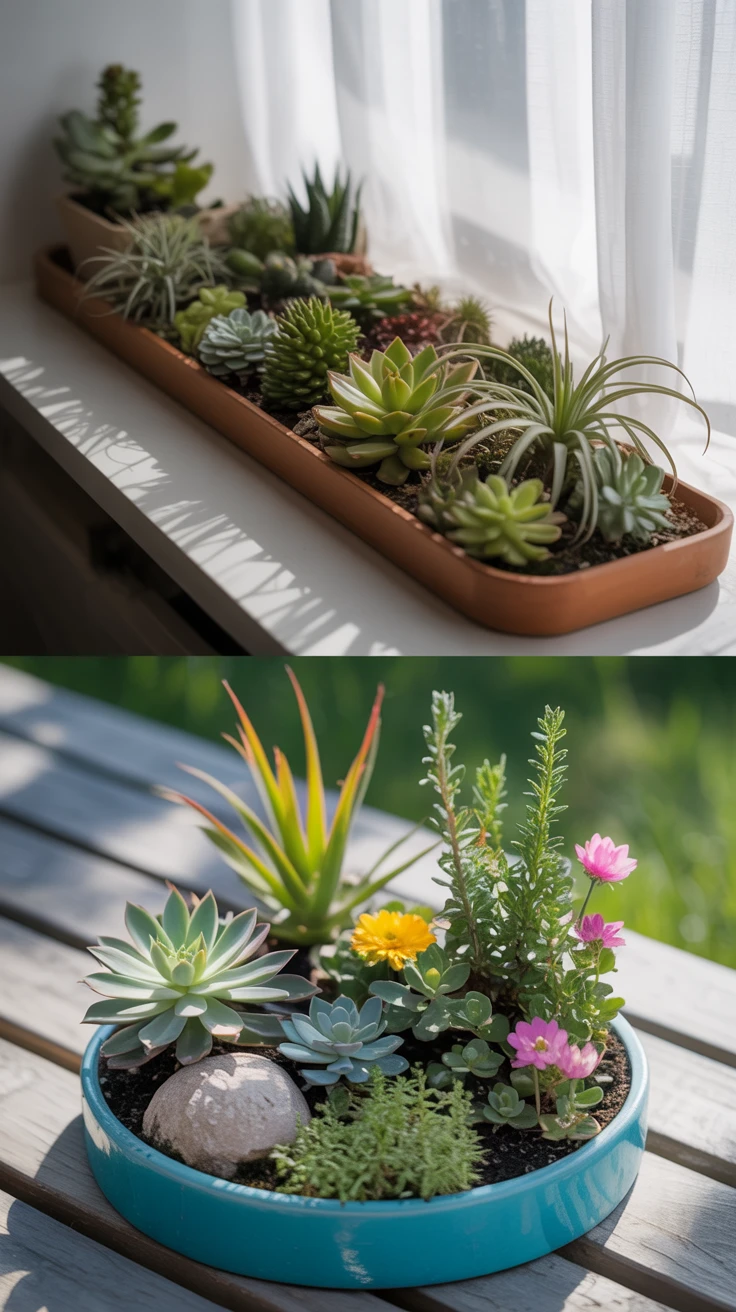
I’ve always found that there’s something magical about creating miniature landscapes in containers. That’s exactly what dish gardening is all about – arranging small plants in shallow containers to create beautiful, self-contained garden displays. When I first discovered dish gardens, I was amazed by how they transform ordinary spaces into little pockets of nature.
These versatile creations work wonderfully both indoors and outdoors, making them perfect for anyone with limited gardening space. Whether you’re a city dweller with just a windowsill to spare or someone looking to add unique decorative elements to your home, dish gardens offer endless creative possibilities.
What I love most about these miniature gardens is their accessibility – they require minimal investment, are relatively easy to maintain, and can be customized to reflect your personal style. Throughout my years of creating these little plant havens, I’ve gathered numerous ideas and techniques that I’m excited to share with you today.
Choosing the Right Container
The foundation of any successful dish garden begins with selecting the appropriate container. I learned this lesson the hard way when I first started – I chose a beautiful ceramic bowl without drainage holes and watched my first creation slowly drown! Now I know better, and you can benefit from my experience.
When selecting your container, consider these key factors:
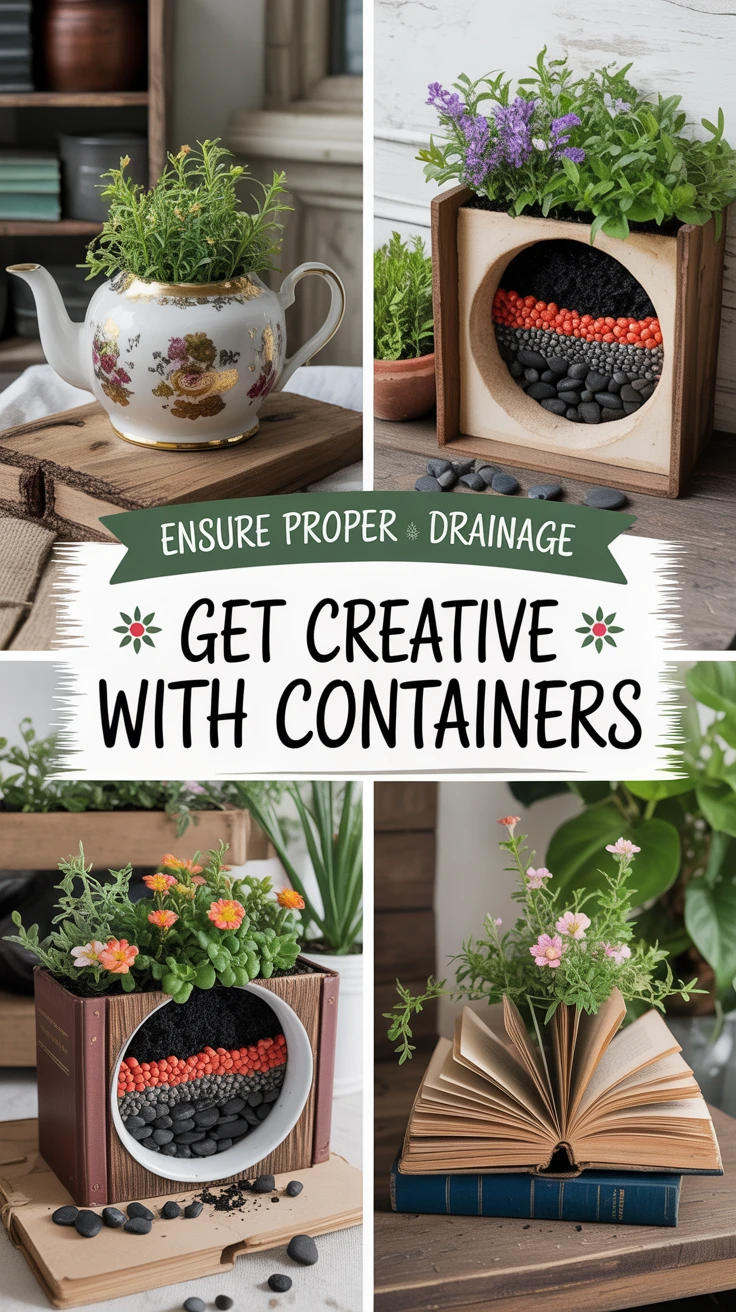
- Drainage: Adequate drainage is crucial for plant health. If your chosen container doesn’t have drainage holes, consider drilling some or adding a layer of activated charcoal at the bottom.
- Size: The container should be large enough to accommodate your chosen plants but not so large that it becomes unwieldy.
- Depth: A depth of at least 2-3 inches is necessary for most plant roots.
- Material: Options include ceramic, glass, plastic, metal, or repurposed items like teacups or wooden boxes.
- Style: Choose a container that complements your décor and the theme of your dish garden.
Pro Tip: Unconventional items often make the most interesting containers. I’ve created stunning dish gardens in vintage teapots, old toolboxes, and even hollowed-out books. Just ensure whatever you choose can handle some moisture without being damaged.
Selecting Suitable Plants for Your Dish Garden
Choosing the right plants can make or break your dish garden. I once combined plants with vastly different water needs – my succulents quickly rotted while my ferns dried out! Now I carefully select plants with similar requirements.
Here are some excellent plant options categorized by garden type:
For Indoor Dish Gardens:
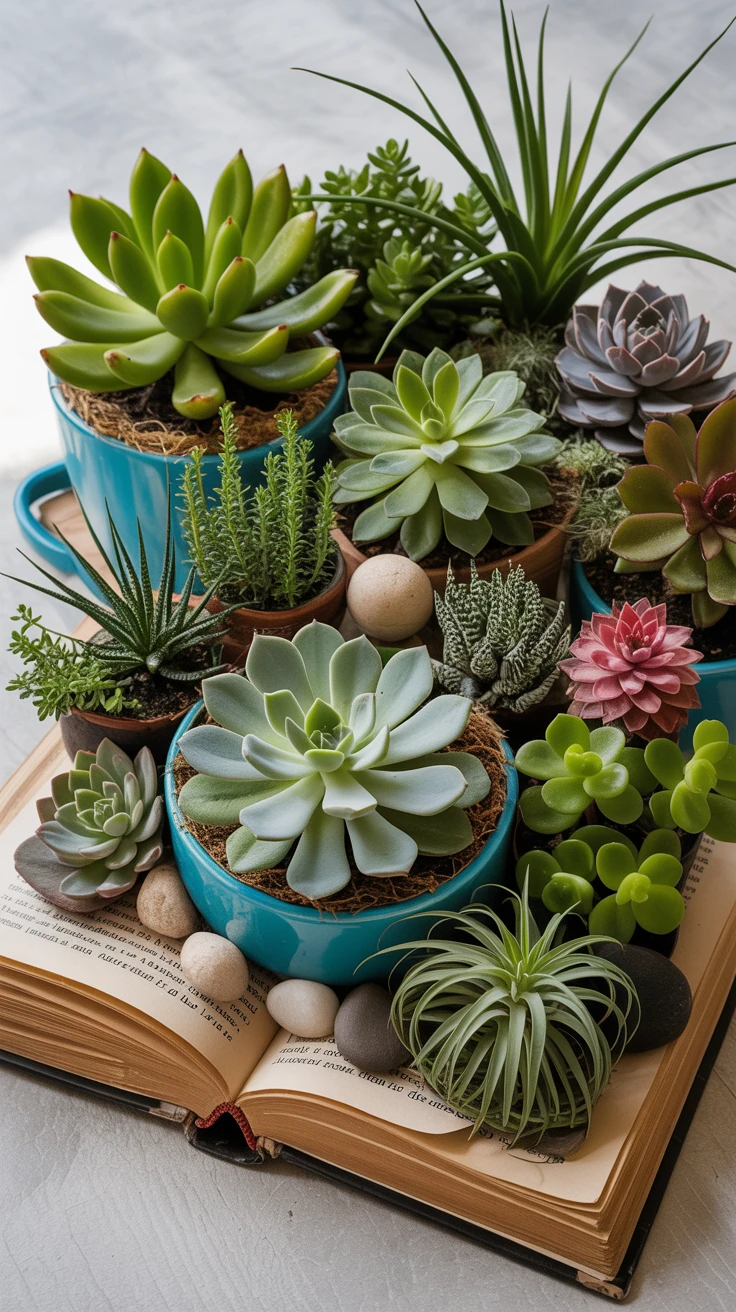
- Succulents: Echeveria, Haworthia, Sedum, Crassula (jade plant)
- Small Tropicals: Fittonia (nerve plant), Peperomia, small ferns, Pilea
- Air Plants: Tillandsia varieties require no soil
- Miniature Foliage: Small varieties of Pothos, ivy, or prayer plants
For Outdoor Dish Gardens:
- Alpine Plants: Sempervivum (hens and chicks), Saxifraga
- Small Herbs: Thyme, oregano, chives
- Miniature Flowers: Violas, small sedums, dwarf daisies
- Moss Varieties: Sheet moss, cushion moss
Pro Tip: When creating a dish garden, I always consider the “thriller, filler, spiller” approach – a taller focal plant (thriller), medium-sized plants to fill space (filler), and trailing plants to cascade over edges (spiller). This creates visual interest and dimension.
Creative DIY Dish Garden Ideas
Over the years, I’ve experimented with countless dish garden ideas, and I’ve found that themed gardens often become the most cherished. They tell a story and create a cohesive visual experience.
Here are some of my favorite themed dish garden concepts:
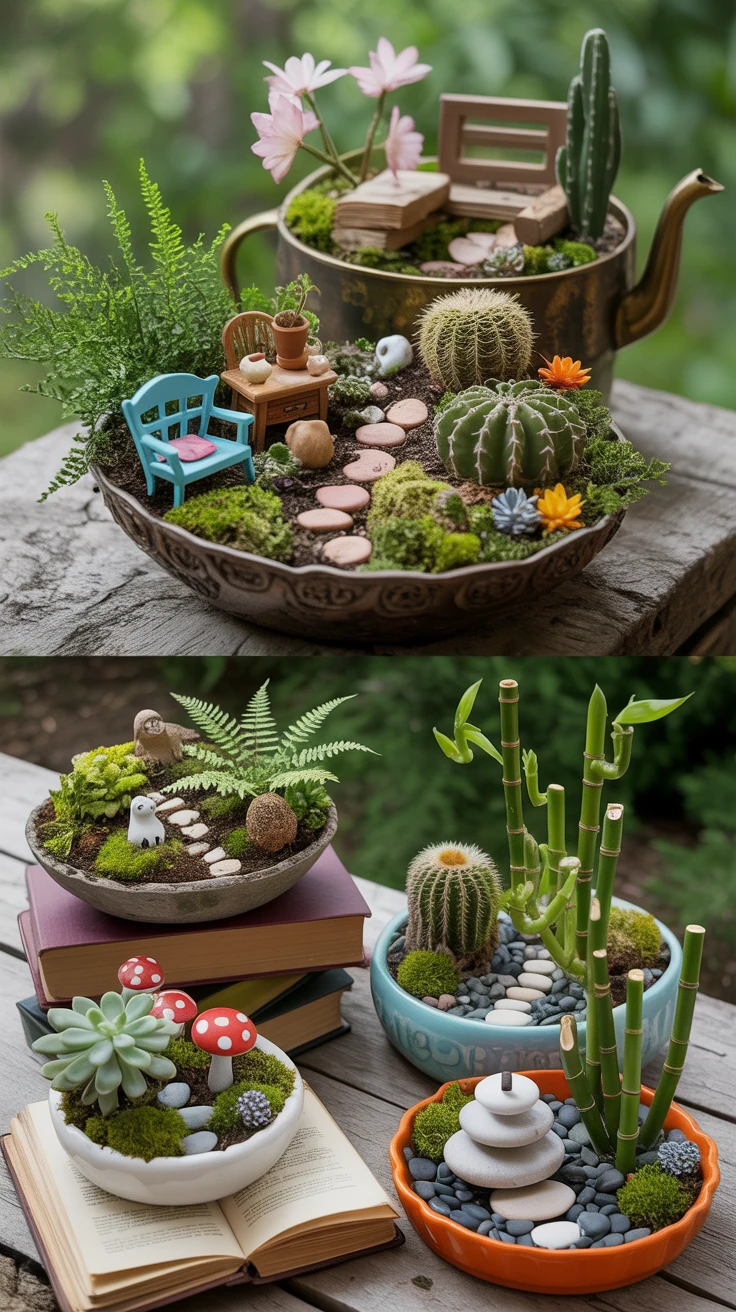
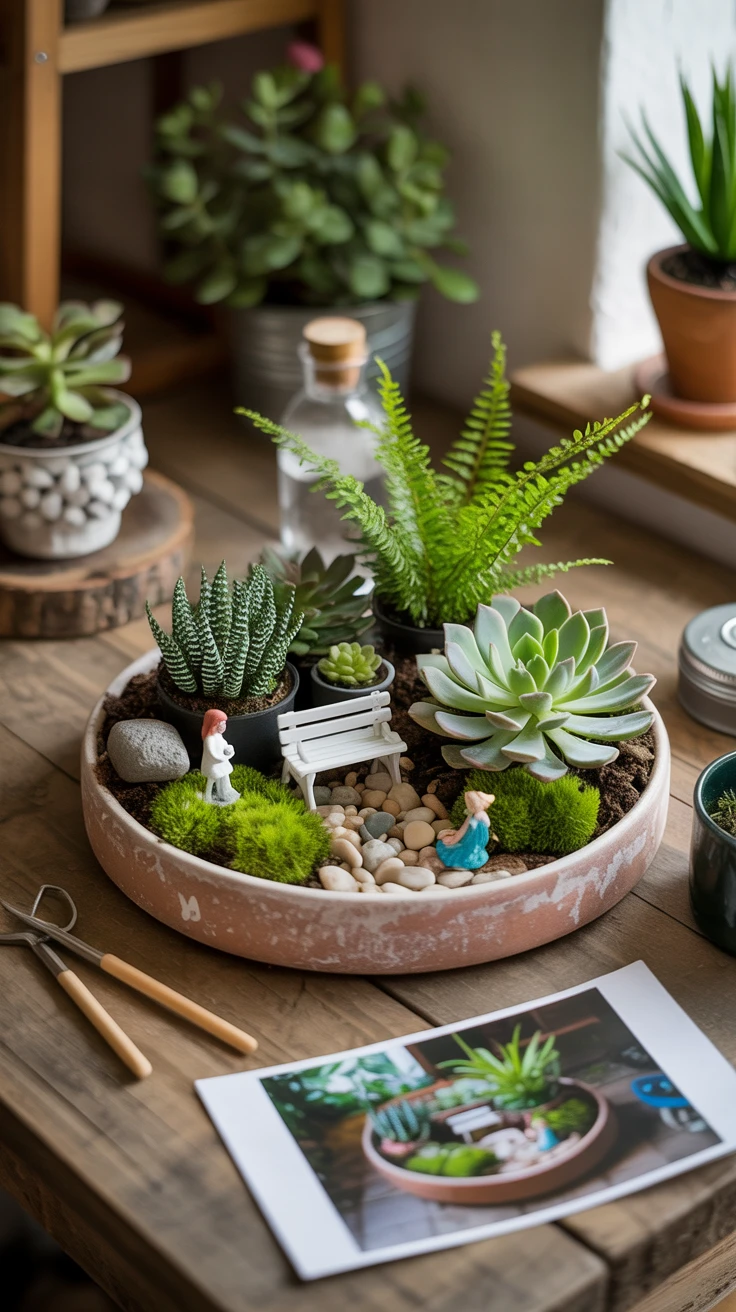
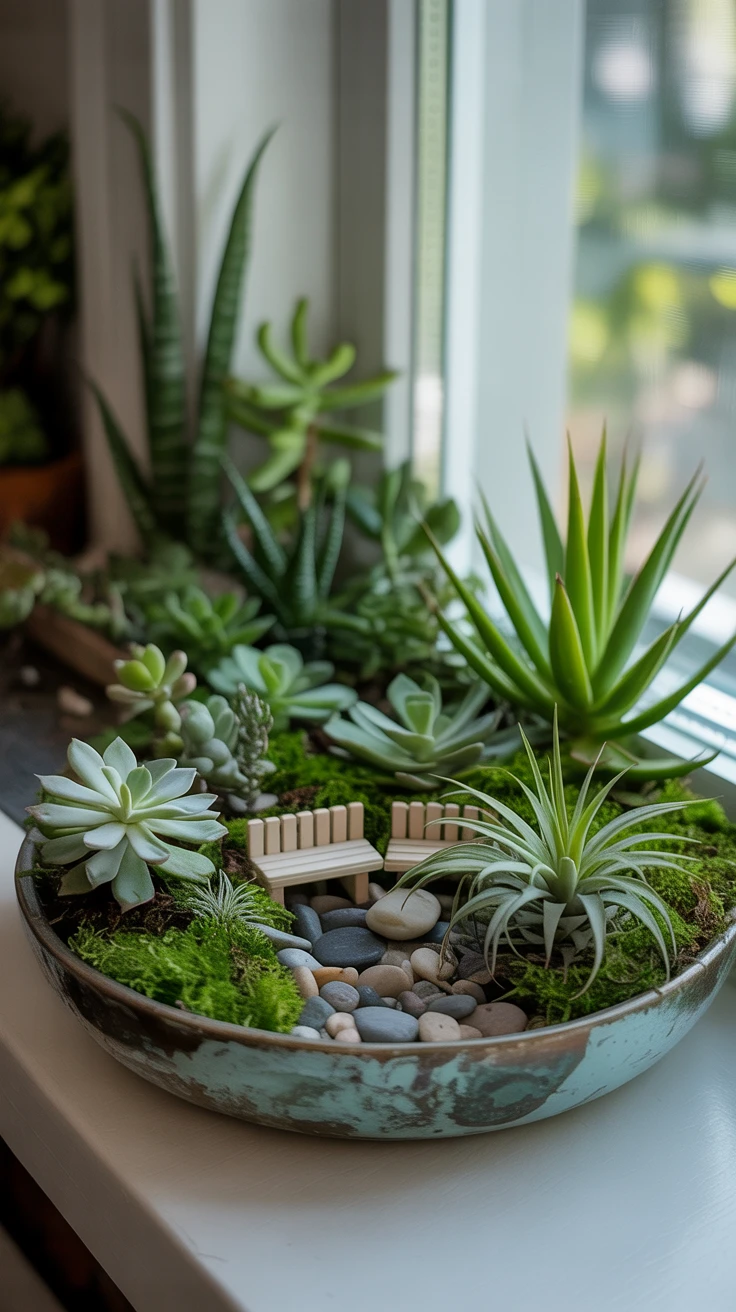
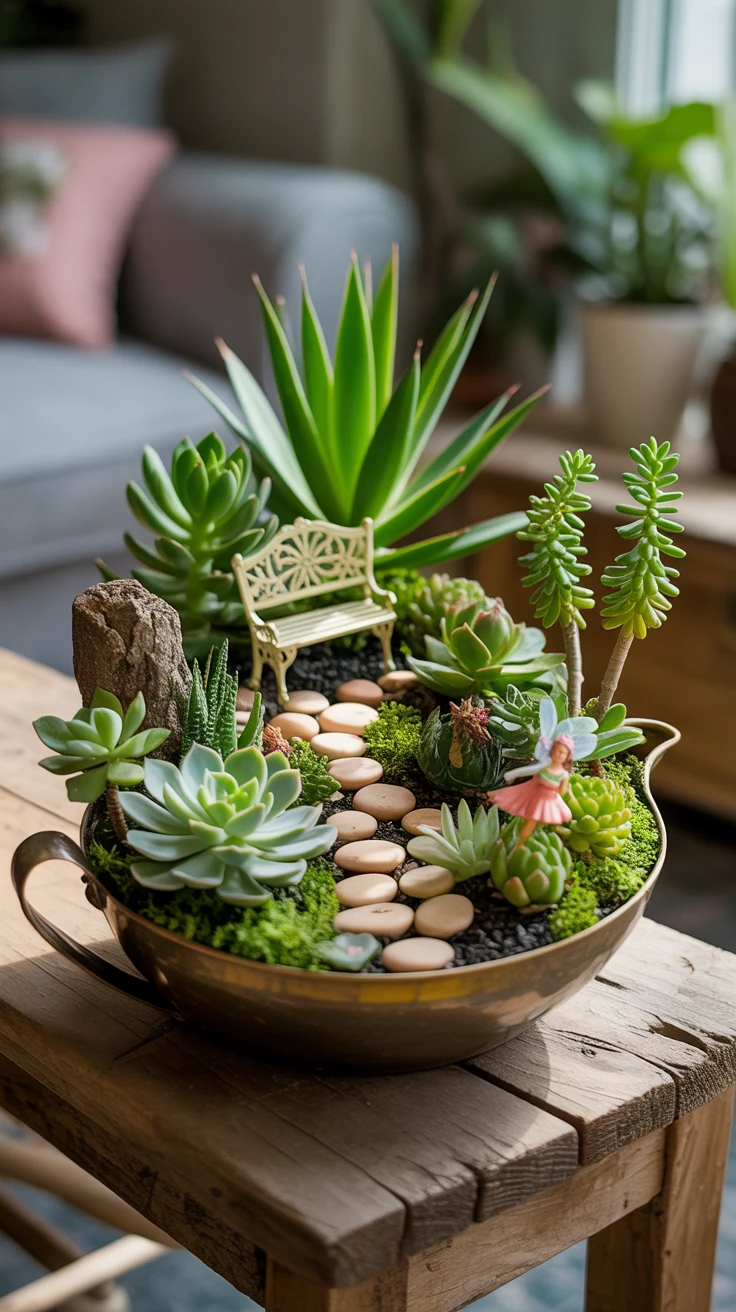
- Fairy Garden: Incorporate miniature furniture, tiny pathways, and small figurines among moss and small flowering plants.
- Desert Oasis: Combine various cacti and succulents with sand, colored stones, and perhaps a small ceramic animal.
- Woodland Scene: Use ferns, moss, small woodland plants, and miniature mushroom decorations.
- Zen Garden: Create a peaceful arrangement with small bamboo, stones, and a miniature pagoda.
- Seasonal Displays: Design gardens that celebrate holidays or seasons with appropriate plants and decorations.
- Edible Garden: Plant miniature herbs and edible flowers for a functional and beautiful display.
Pro Tip: I always keep a box of miniature decorative elements – tiny benches, bridges, stones, and figurines – to enhance my dish gardens. These small touches often become conversation starters and add personality to your creation.
Steps to Assemble a Dish Garden
Creating a DIY dish garden is a straightforward process once you understand the basic principles. Let me walk you through how I assemble mine:
- Prepare Your Container: Clean your container thoroughly and add drainage holes if needed.
- Add Drainage Layer: Place a 1/2 inch layer of small pebbles, gravel, or broken pottery pieces at the bottom.
- Add Activated Charcoal (Optional): A thin layer helps prevent odors and bacterial growth.
- Add Potting Medium: Use appropriate soil for your chosen plants (cactus mix for succulents, regular potting soil for tropicals).
- Plan Your Design: Before planting, arrange plants while still in their pots to visualize the final layout.
- Plant Largest Plants First: Typically, these go toward the back or center.
- Add Remaining Plants: Work from largest to smallest, creating layers and depth.
- Add Decorative Elements: Incorporate stones, moss, figurines, or other decorative items.
- Water Appropriately: Give plants a light watering, being careful not to oversaturate.
- Final Touches: Add a top dressing of small pebbles, colored sand, or moss to complete the look.
Pro Tip: I always take a photo of my arrangement before I start planting. This serves as a reference if I get confused during the planting process. It’s especially helpful for more complex designs.
Indoor vs. Outdoor Dish Gardens
Understanding the differences between indoor and outdoor environments has been crucial to my success with dish gardens. Each setting presents unique challenges and opportunities.
For indoor dish gardens, I focus on plants that thrive in stable temperatures and potentially lower light conditions. My indoor creations usually feature succulents, small tropicals, and air plants that adapt well to indoor environments. I’ve found that these gardens require less frequent watering but benefit from occasional misting to maintain humidity.
In contrast, my outdoor dish gardens need to withstand temperature fluctuations, precipitation, and direct sunlight. I select hardier plants like sempervivums, small sedums, and alpine plants that can handle these variable conditions. These gardens generally need more frequent monitoring as they’re exposed to the elements.
Pro Tip: For outdoor dish gardens that I want to enjoy year-round, I create them in containers that can be easily moved indoors during extreme weather. This flexibility has saved many of my favorite creations from frost damage or summer heat stress.
Maintenance and Care Tips
Proper maintenance is essential for keeping your dish garden looking its best. Through trial and error, I’ve developed these care routines:
- Watering: Water sparingly, allowing the soil to dry slightly between waterings. For succulents, water even less frequently.
- Light: Most dish gardens need bright, indirect light. Rotate periodically for even growth.
- Pruning: Trim overgrown plants and remove dead leaves promptly to maintain appearance.
- Fertilizing: Feed with diluted liquid fertilizer every 4-6 weeks during growing season.
- Pest Control: Inspect regularly for pests. Treat with insecticidal soap or neem oil if needed.
- Refreshing: Every 6-12 months, consider replacing or dividing plants that have outgrown the container.
Pro Tip: I keep a small pair of scissors or pruning shears specifically for my dish gardens. These allow me to make precise cuts when maintaining plants, which is much gentler than pinching with fingers and helps prevent disease spread.
Pro Tips for Creating Stunning Dish Gardens
After years of creating DIY dish gardens, I’ve gathered some insider knowledge that elevates my creations from nice to spectacular:
Consider scale and proportion carefully. I once made the mistake of using plants that quickly outgrew their container, creating a lopsided, overcrowded mess. Now I research mature sizes and growth rates before selecting plants.
Create depth with terracing. Using small stones or pieces of wood to create different levels within your dish garden adds visual interest and makes even small containers look more expansive.
Incorporate negative space. Not every inch needs to be filled—allowing some “breathing room” creates a more professional, balanced look.
Use odd numbers. I’ve found that grouping plants or decorative elements in odd numbers (3, 5, 7) is more visually appealing than even-numbered groupings.
Pro Tip: I photograph my dish gardens immediately after creation and then again every few months. This visual record helps me see what combinations work best over time and how different plants develop in container settings. It’s become an invaluable learning tool.
Frequently Asked Questions
What types of plants are best for beginners?
For beginners, I recommend starting with succulents like Echeveria, Haworthia, and Sedum. These plants are forgiving if you occasionally forget to water them and come in a variety of shapes and colors. Small pothos, spider plants, and peperomia are also good options for indoor dish gardens as they’re relatively easy to maintain.
How often should I water my dish garden?
The watering frequency depends on your plant selection, container type, and environment. For succulent dish gardens, I typically water every 2-3 weeks, ensuring the soil dries completely between waterings. For tropical plant dish gardens, I check the soil weekly and water when the top inch feels dry. Always adjust based on your specific conditions – I’ve learned that observation is key.
Can I use any container for my dish garden?
While you can get creative with containers, they should ideally have drainage holes or a drainage layer. If using containers without holes (like glass bowls), I add a substantial layer of pebbles at the bottom and water very carefully to prevent root rot. The container should also be proportionate to your plants and have enough depth for root development – generally at least 2-3 inches deep.
How do I prevent pests in my dish garden?
Prevention is much easier than treatment! I inspect new plants carefully before adding them to dish gardens, keep the garden clean by removing dead leaves promptly, avoid overwatering, and ensure good air circulation. For minor infestations, I use a cotton swab dipped in rubbing alcohol to remove pests directly, or spray with diluted neem oil for larger problems.
Can dish gardens survive in low light conditions?
Yes, but plant selection is crucial. In low light areas, I’ve had success with plants like pothos, snake plants, ZZ plants, peace lilies, and certain ferns. Avoid succulents and cacti in low light conditions – I made this mistake once and watched my beautiful arrangements slowly stretch and fade. If you’re determined to keep a dish garden in a low light area, consider adding a small grow light.