
Introduction
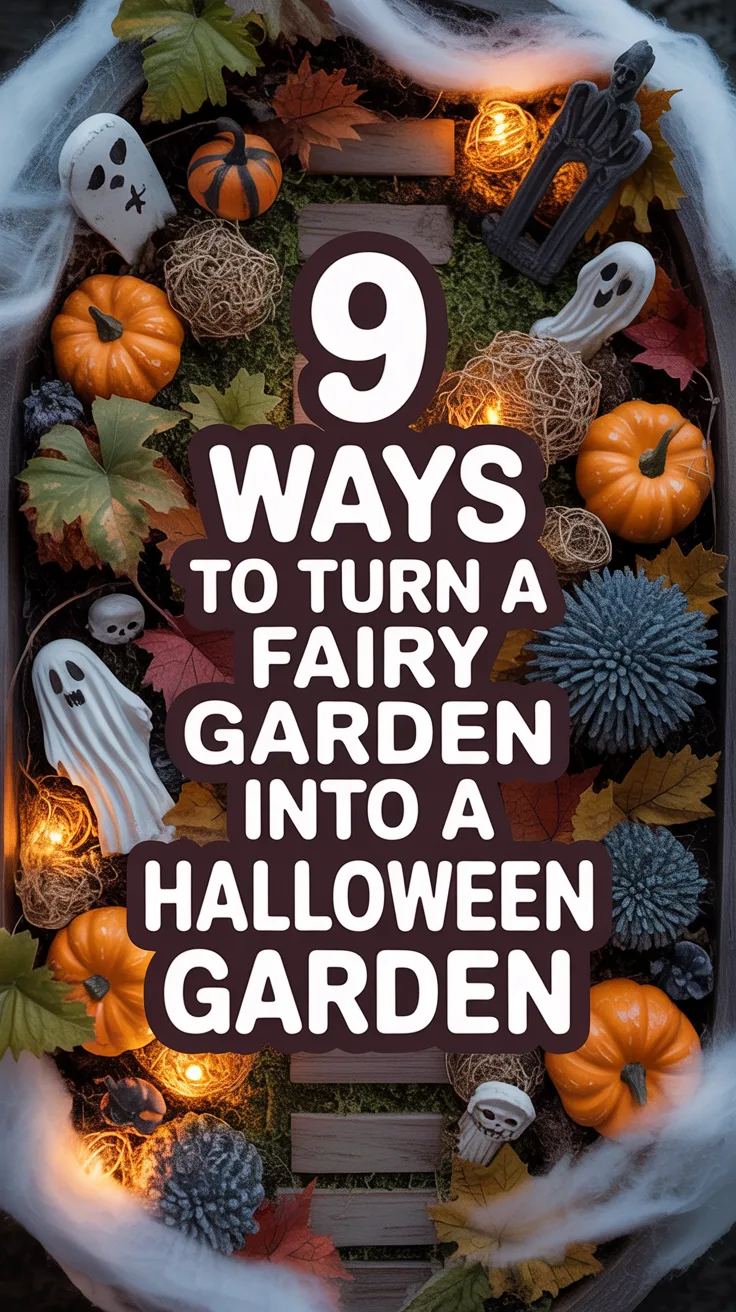
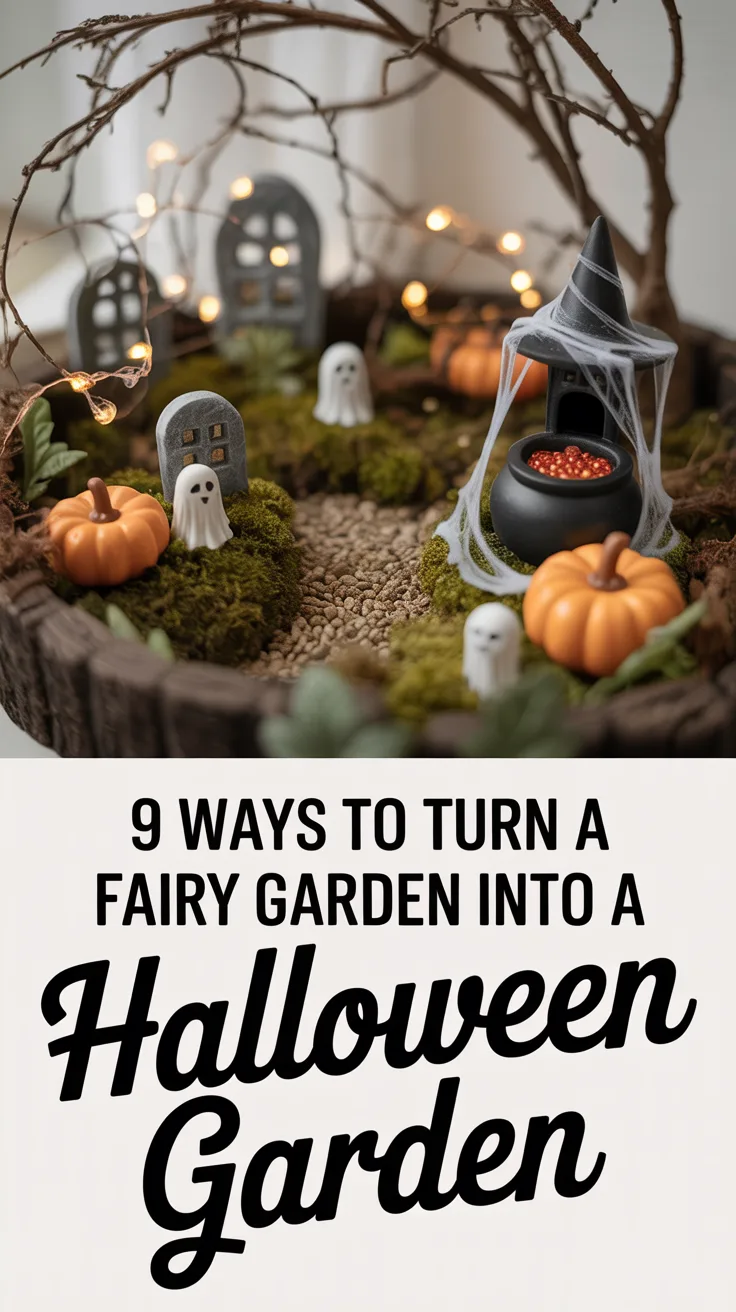
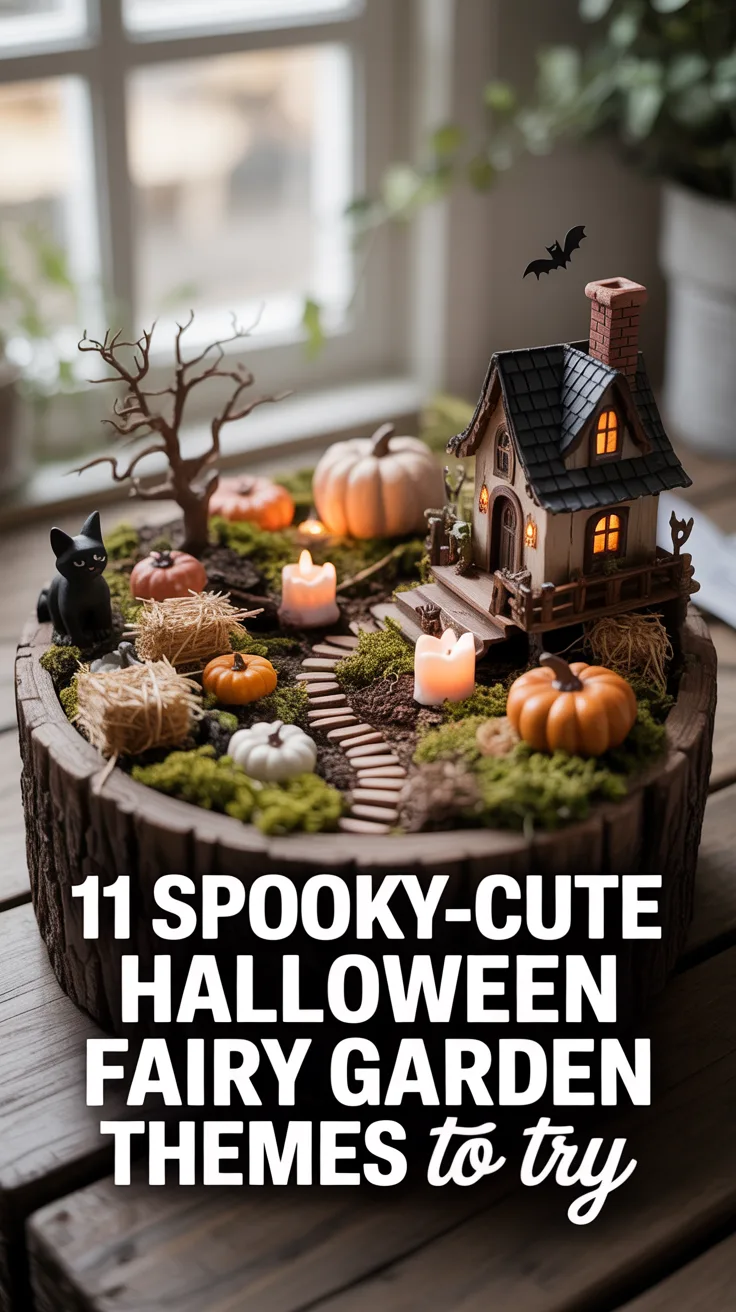
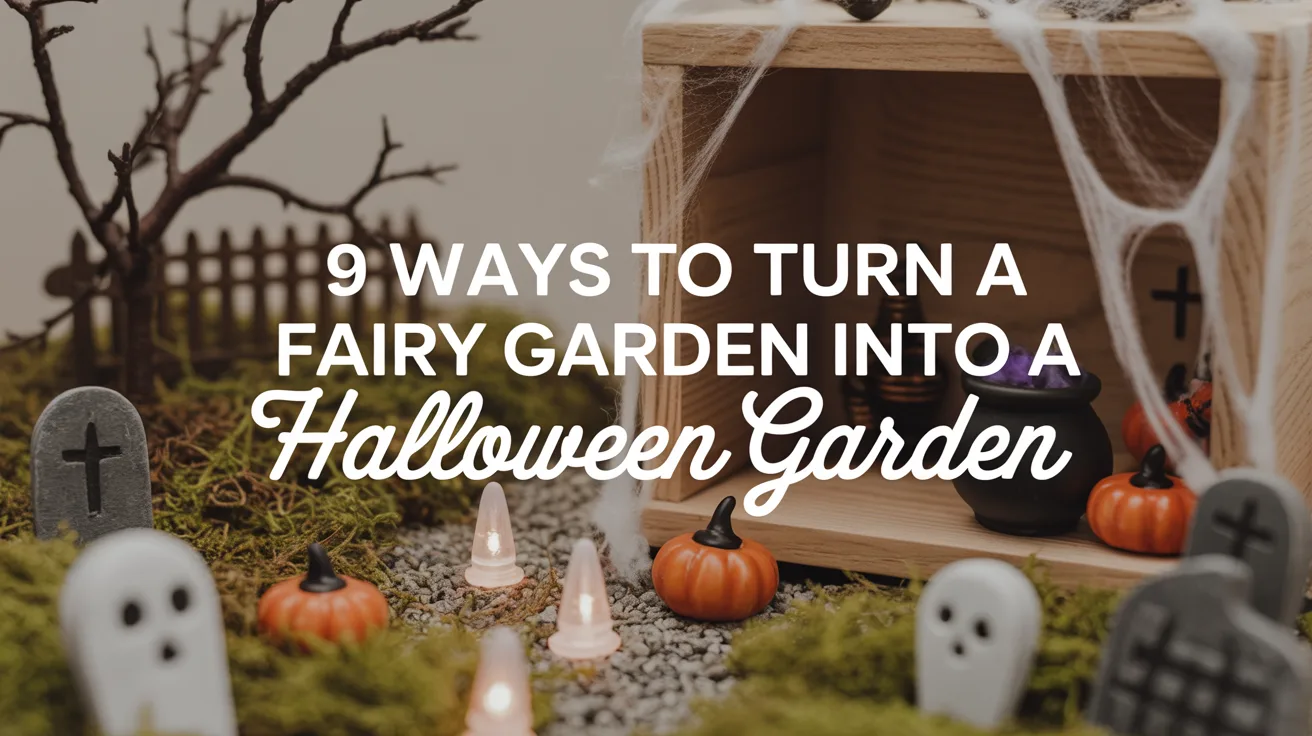
Fairy gardens capture the imagination with their whimsical miniature landscapes, but when autumn arrives, there’s no need to pack away these enchanting creations. Transforming a fairy garden Halloween display offers the perfect opportunity to embrace the spooky season while preserving the magical foundation already in place. Rather than dismantling months of careful design work, a few strategic additions and swaps can convert any fairy garden into a haunted miniature wonderland.
The beauty of a seasonal transformation lies in its simplicity. Most existing fairy garden elements—the pathways, structures, and landscaping—serve as an ideal backdrop for Halloween decorations. With the right accessories and a touch of creativity, that charming fairy cottage becomes a witch’s hideaway, and the peaceful garden path turns into a spine-tingling trail through a haunted landscape.
1. Add Miniature Pumpkins and Gourds
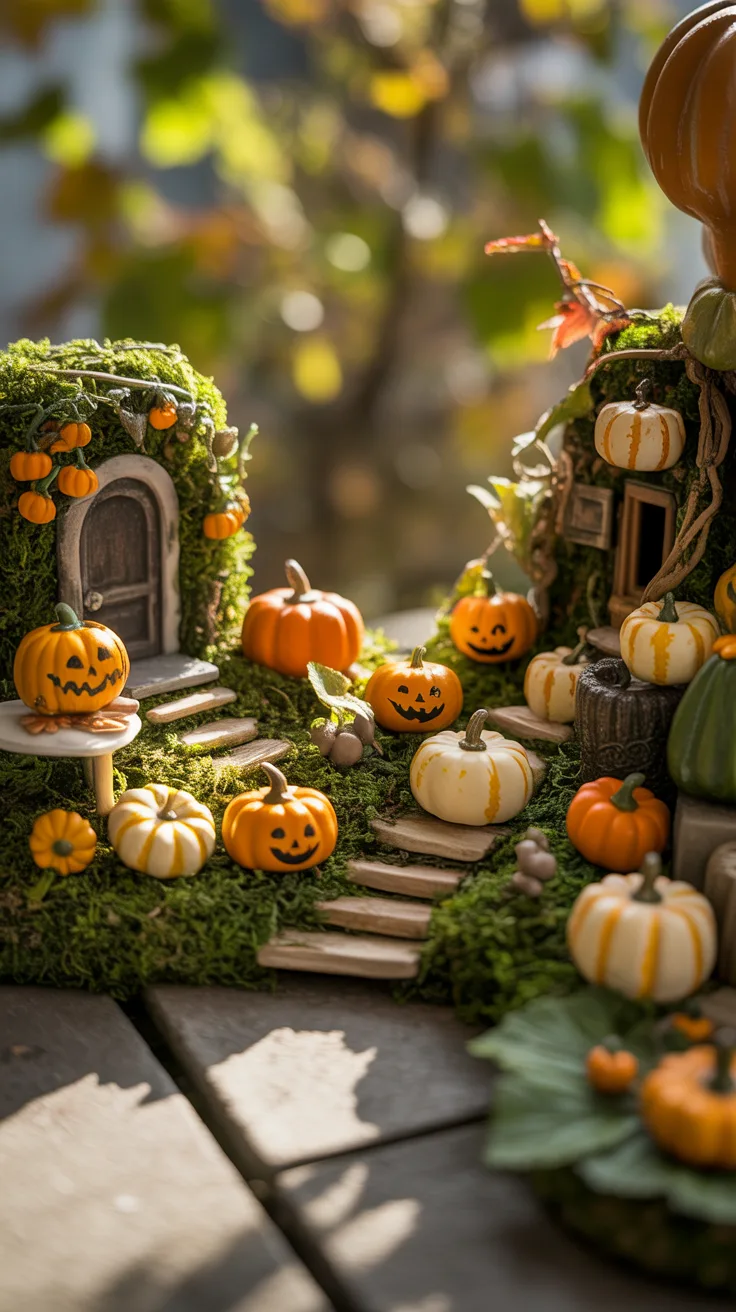
Nothing signals Halloween quite like pumpkins, and miniature versions bring instant seasonal charm to any fairy garden. Tiny ceramic, resin, or polymer clay pumpkins scattered throughout the garden create focal points that draw the eye. Position them near doorways, along pathways, or clustered in small patches to mimic a fairy-sized pumpkin harvest.
You can quickly add seasonal detail with miniature Halloween pumpkins for fairy gardens.
For added authenticity, consider using real mini pumpkins or gourds if the garden is outdoors. Varieties like Jack Be Little or Baby Boo pumpkins measure just two to three inches across, making them perfectly proportioned for fairy-scale displays. These natural additions last several weeks in cool weather and add organic texture to the scene.

View on AmazonAs an Amazon Associate, I earn from qualifying purchases.

View on AmazonAs an Amazon Associate, I earn from qualifying purchases.
Pro Tip: Paint tiny faces on miniature pumpkins using acrylic paint and a fine brush to create jack-o’-lanterns without the mess of actual carving.
2. Incorporate Ghostly Figures and Spirits
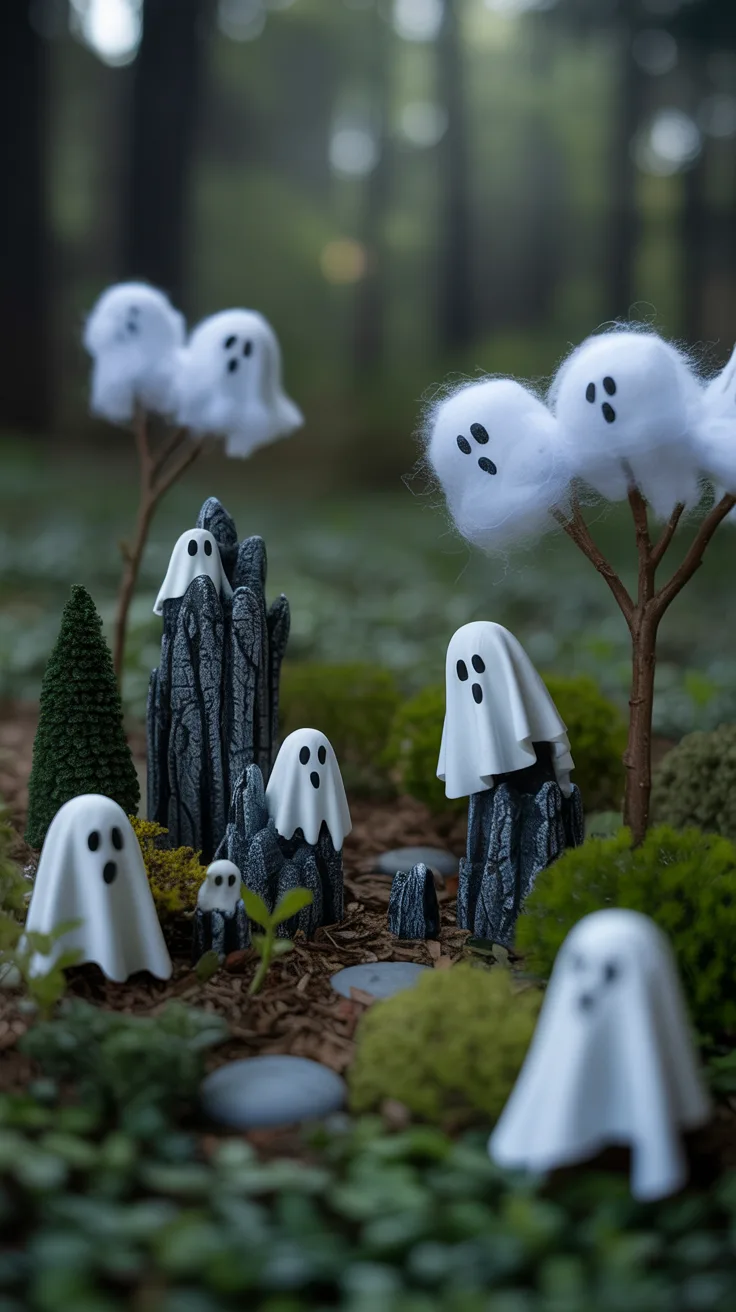
Ghosts add an ethereal quality to any fairy garden Halloween transformation. Small ghost figurines crafted from white polymer clay, fabric, or even cotton balls create the impression of spirits wandering through the miniature landscape. Position these spectral visitors peeking around corners, floating near trees, or hovering above garden beds.
DIY ghost options include:
- White fabric scraps draped over small beads and stiffened with fabric stiffener
- Air-dry clay shaped into simple ghost forms with painted faces
- Small white pom-poms with googly eyes attached
- Translucent resin figures for a more ethereal appearance

View on AmazonAs an Amazon Associate, I earn from qualifying purchases.

View on AmazonAs an Amazon Associate, I earn from qualifying purchases.
3. Install Miniature Gravestones and Cemetery Elements
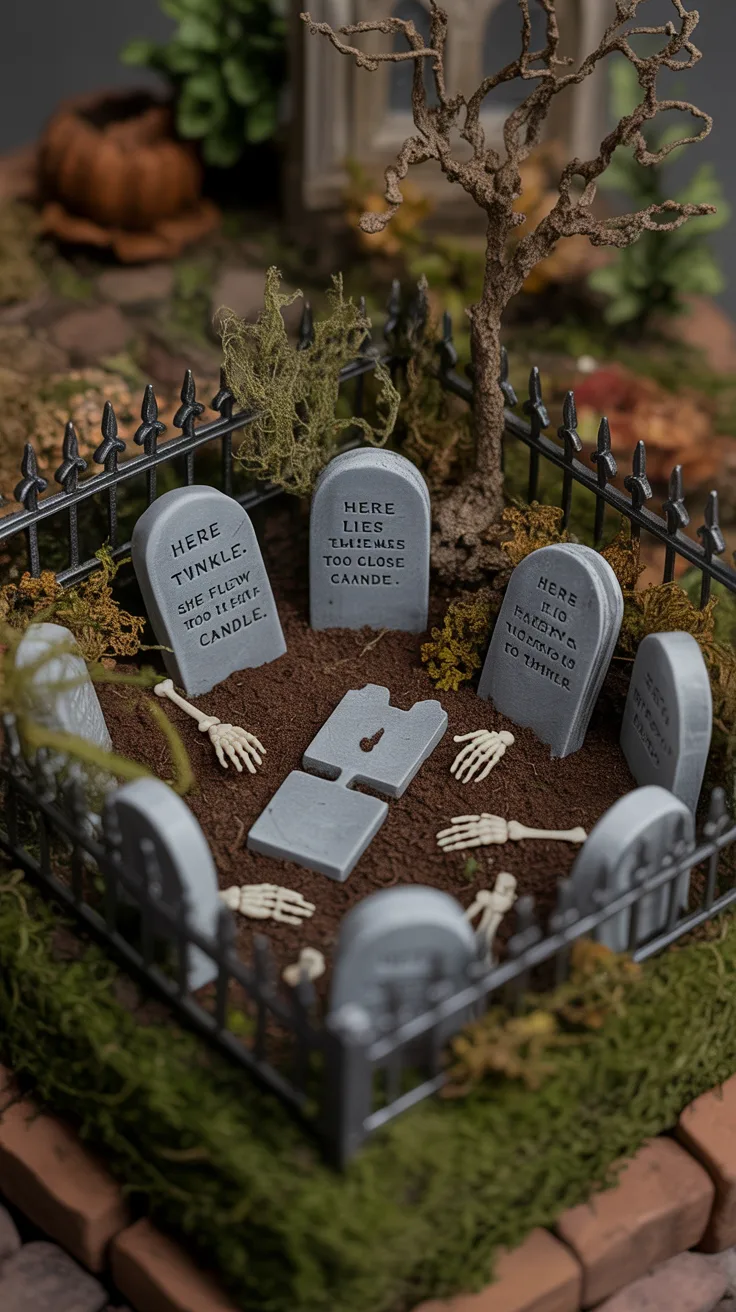
A tiny graveyard section transforms any fairy garden into a properly haunted space. Miniature gravestones crafted from gray polymer clay, small flat stones, or carved foam board add an unmistakably Halloween atmosphere. Arrange these markers in a dedicated corner of the garden, perhaps surrounded by dried moss or tiny dead-looking plants.
Ready-made miniature Halloween gravestones can make it easy to create a tiny cemetery scene.
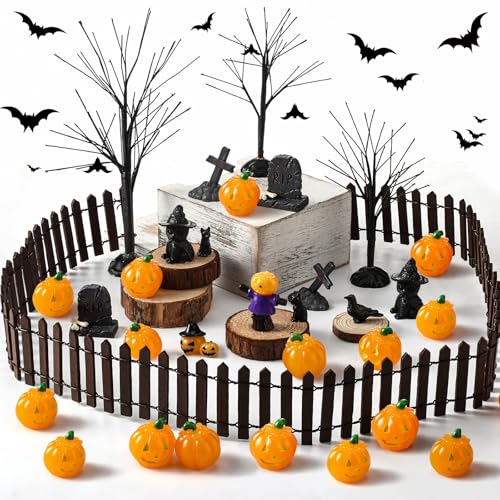
Enhance the cemetery aesthetic with additional elements like miniature iron fencing, small crosses, or tiny skeleton hands emerging from the soil. Weathering techniques using gray and black paint create an aged, abandoned appearance that heightens the spooky effect.

View on AmazonAs an Amazon Associate, I earn from qualifying purchases.
View on AmazonAs an Amazon Associate, I earn from qualifying purchases.
Pro Tip: Write humorous fairy-themed epitaphs on gravestones using a fine-tip permanent marker, such as “Here Lies Twinkle—She Flew Too Close to the Candle.”
4. Swap Greenery for Autumn and Halloween Materials
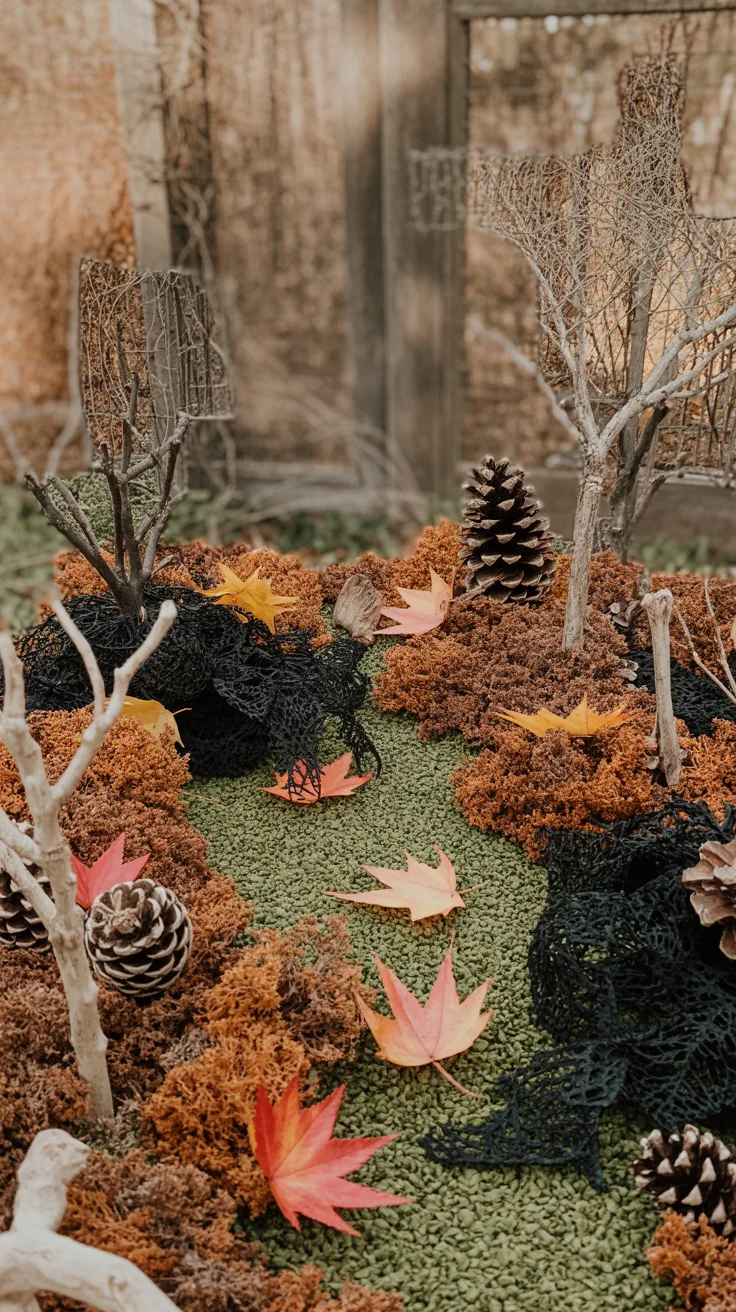
Replacing lush summer greenery with autumn-themed materials instantly shifts the garden’s mood. Remove bright green moss and replace it with dried brown moss, orange and red preserved leaves, or even small amounts of Spanish moss for a creepy, abandoned look. These natural materials create an atmosphere of decay that suits the Halloween theme perfectly.
Consider incorporating:
- Dried leaves in fall colors crushed into small pieces
- Twigs arranged as bare, skeletal trees
- Black-dyed moss for shadowy areas
- Small pinecones as oversized fairy-scale decorations
- Dried seed pods for unusual, slightly eerie textures
5. Add Spooky Lighting Elements
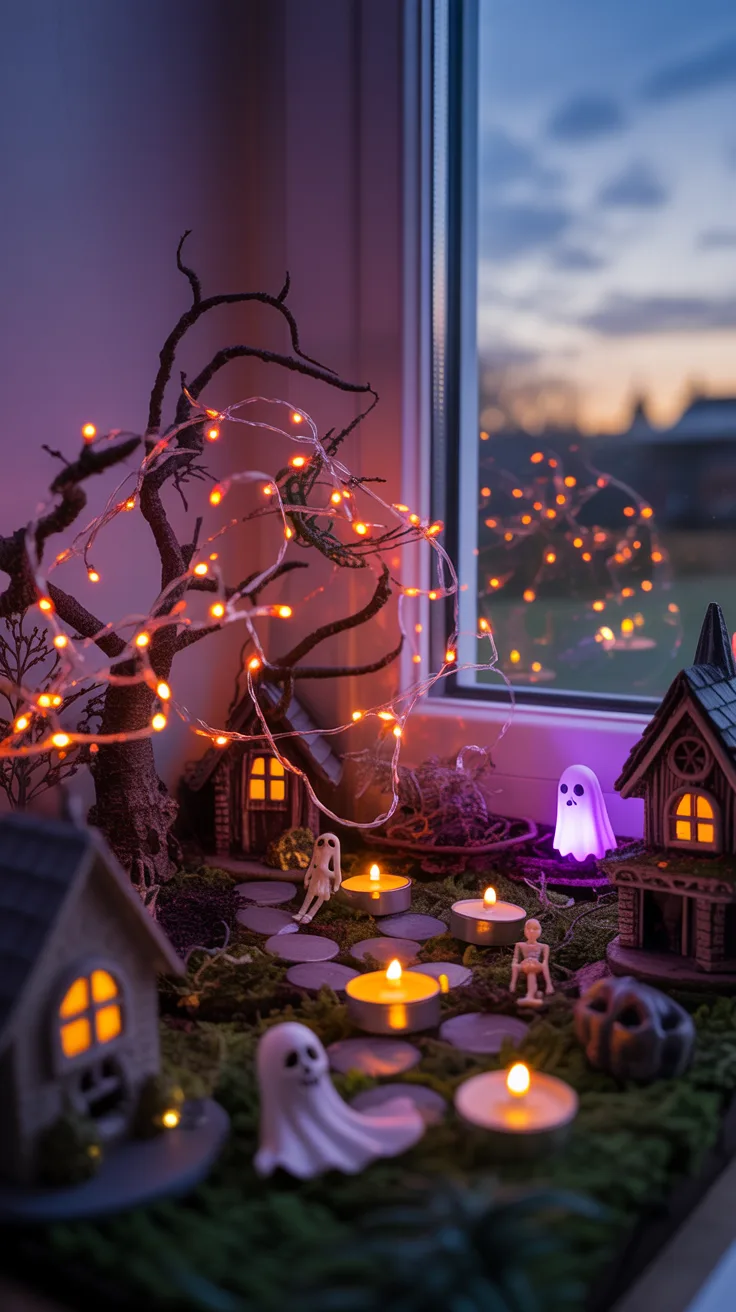
Lighting transforms a daytime fairy garden into a nighttime Halloween spectacle. Tiny LED string lights in orange or purple cast an eerie glow across the miniature landscape. Battery-operated tea lights placed inside fairy houses create the illusion of candlelit windows, while small LED spotlights can highlight specific spooky features.
For an outdoor display consider waterproof orange or purple fairy lights.
Waterproof fairy lights work well for outdoor gardens, and many options include timer functions for automatic evening illumination. For indoor displays, consider placing the garden near a window where it can be appreciated both day and night during the Halloween season.
Pro Tip: Wrap tiny LED lights with orange or purple tissue paper to create colored lanterns that cast atmospheric shadows throughout the garden.
6. Introduce Creepy Crawly Accessories
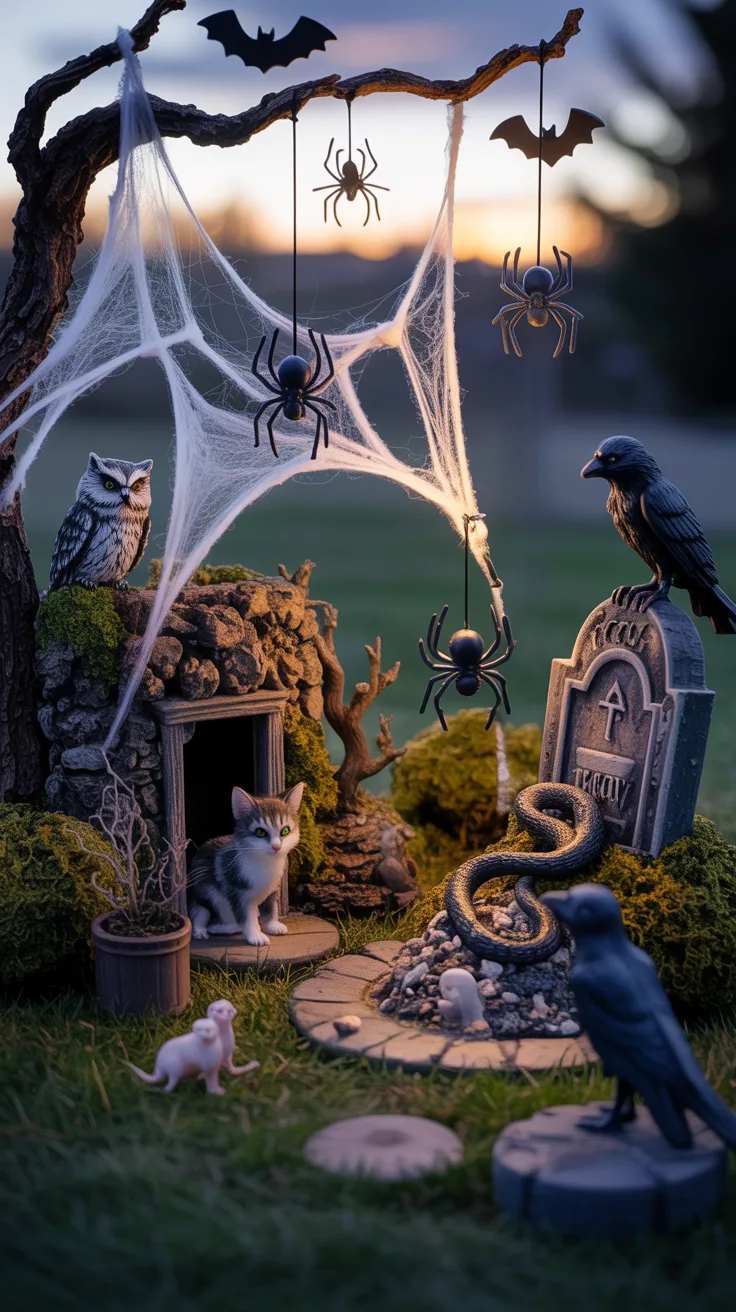
Spiders, bats, and other creepy creatures bring movement and life to a fairy garden Halloween scene. Miniature plastic spiders positioned on webs made from stretched cotton or fine white thread create classic Halloween imagery. Tiny bat figures hanging from branches or perched on rooftops add to the nocturnal atmosphere.
Other creature options include:
- Small black cats guarding doorways
- Miniature owls perched on branches
- Tiny rats or mice near garbage or food items
- Snake figures coiled among rocks
- Crow or raven figurines on fences or gravestones
7. Transform Fairy Houses into Haunted Structures
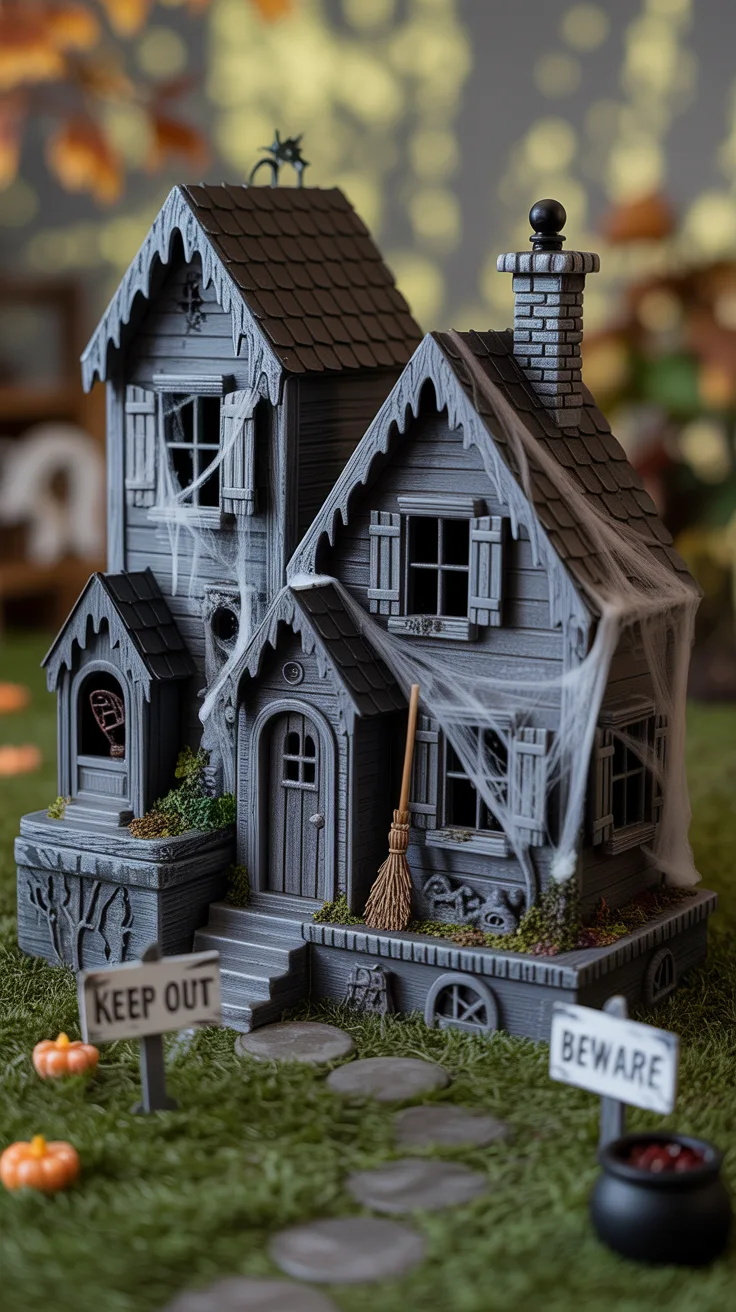
Existing fairy houses need only minor modifications to become haunted dwellings. Adding cobweb material around windows and doors suggests abandonment, while small “broken” shutters or crooked accessories create a dilapidated appearance. A coat of gray or black wash over bright colors mutes cheerful tones into something more sinister.
Temporary additions that don’t permanently alter structures include:
- Removable window clings featuring cracks or spooky silhouettes
- Small witch’s broom propped against the door
- Tiny cauldron placed near the entrance
- Miniature “Keep Out” or “Beware” signs
8. Create a Witch’s Corner
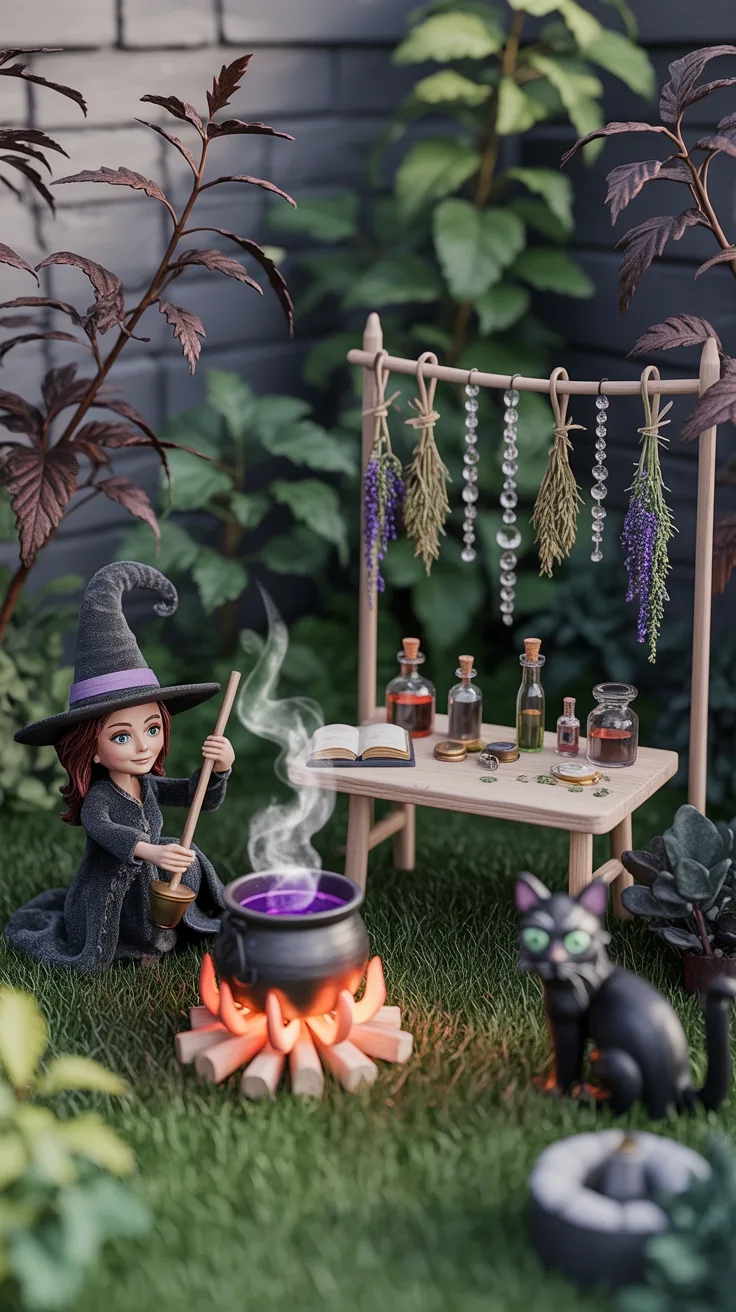
Dedicating a section of the garden to witch-themed elements adds narrative depth to the Halloween transformation. A small cauldron over a pretend fire, miniature potion bottles, tiny spell books, and a witch figurine establish this area as a magical workspace. Surround the space with mysterious plants and perhaps a black cat familiar.
A set of miniature witch cauldrons and potion accessories can help complete this themed corner.
The witch’s corner can include a small table with brewing supplies, hanging dried herbs made from tiny plant clippings, and crystal-like beads representing magical ingredients. This themed area creates a story within the garden that visitors of all ages enjoy discovering.
Pro Tip: Use clear nail polish mixed with food coloring to create miniature potion bottles from small glass beads or vial charms.
9. Add a Haunted Pathway with Bone and Skull Details
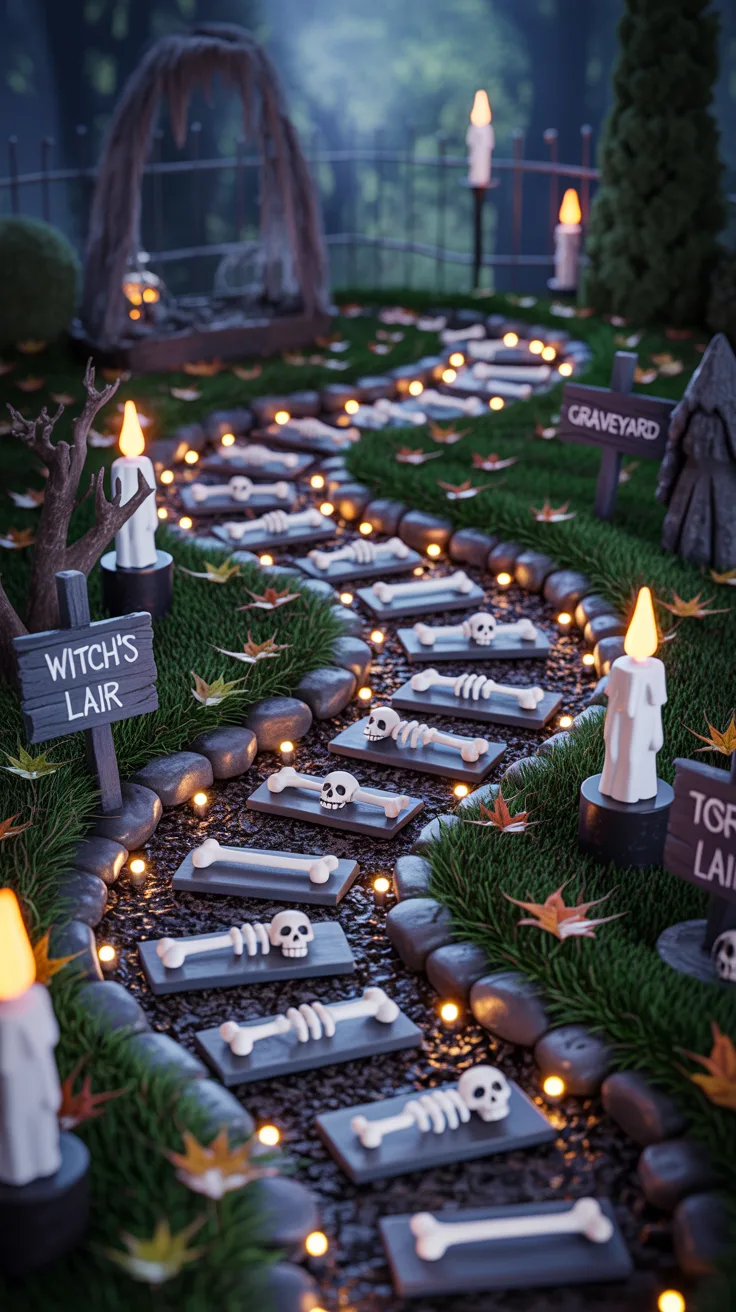
Transforming existing garden pathways with Halloween elements guides visitors through the spooky scene. Tiny skull beads, miniature bone shapes, or small white stones painted to resemble skeletal remains scattered along paths create an unsettling trail. Flickering LED candles placed at intervals suggest a guided tour through haunted territory.
Enhance pathways further by adding:
- Small footprint stamps in the soil suggesting mysterious visitors
- Tiny fallen leaves covering parts of the path
- Miniature lanterns or torches lining the walkway
- Small signs pointing toward “Witch’s Lair” or “Graveyard”
Frequently Asked Questions
How long before Halloween should the fairy garden transformation begin?
Starting two to three weeks before Halloween allows time to gather materials, make adjustments, and enjoy the display throughout the season. This timeline also provides opportunity to add elements gradually rather than completing everything at once.
Can real plants survive in a Halloween-themed fairy garden?
Yes, many plants thrive in autumn conditions and complement Halloween themes. Dark-colored succulents, black mondo grass, and purple oxalis add living elements that enhance the spooky atmosphere while remaining healthy through the season.
What materials work best for outdoor fairy garden Halloween decorations?
Weather-resistant materials like resin, ceramic, metal, and treated wood withstand outdoor conditions. Avoid paper, untreated fabric, and water-soluble paints that deteriorate quickly when exposed to rain or morning dew.
How can the original fairy garden be preserved during the Halloween transformation?
Store removed fairy accessories in labeled containers for easy reinstallation after Halloween. Use removable adhesives and avoid permanent modifications to structures, allowing the garden to return to its original state once the season ends.
Are there child-friendly alternatives to scary Halloween fairy garden elements?
Absolutely. Focus on friendly ghosts, smiling jack-o’-lanterns, cute black cats, and harvest themes rather than gruesome or frightening elements. This approach creates a Halloween atmosphere appropriate for young fairy garden enthusiasts.