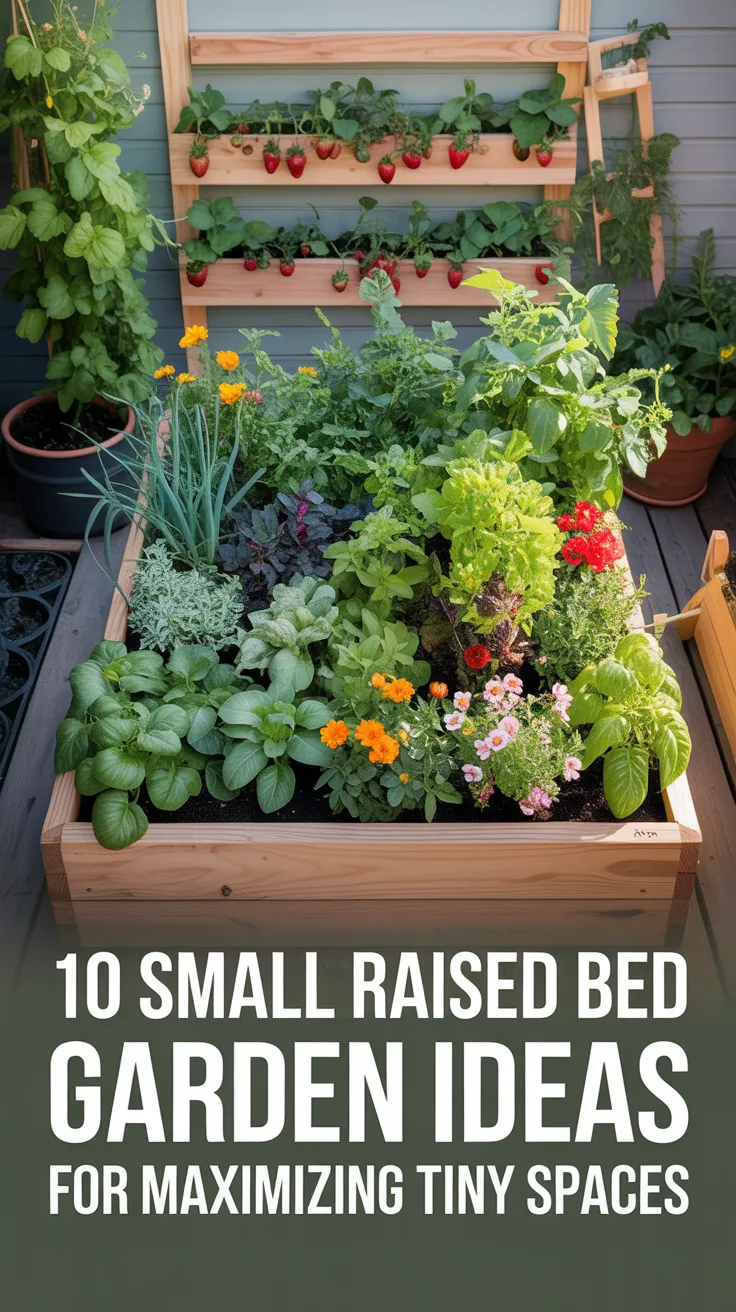
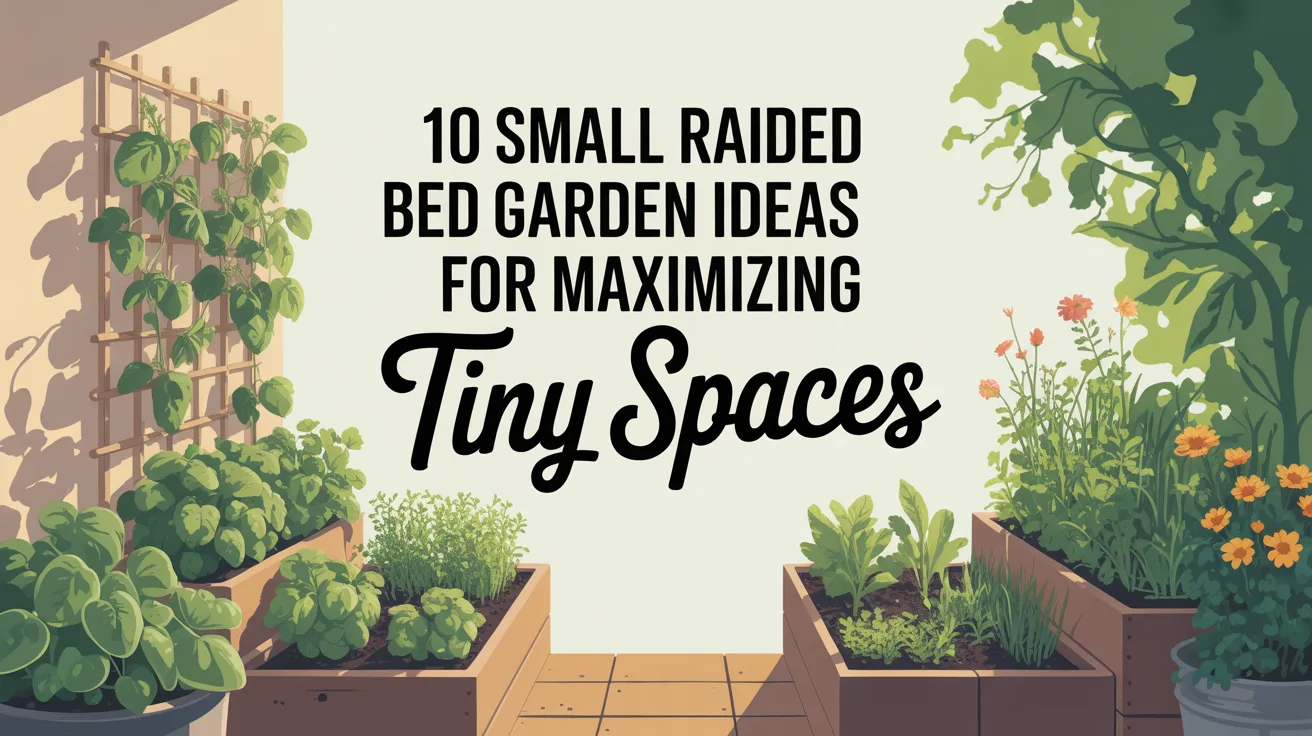
Introduction to Small Raised Bed Gardens
When I first moved into my tiny urban apartment with nothing but a cramped balcony and a sliver of a backyard, I thought my gardening dreams were over. Boy, was I wrong! Small raised bed gardens completely transformed how I think about growing food in limited spaces, and I’m excited to share what I’ve learned over the past five years of experimenting, failing, and eventually thriving.
The beauty of raised bed gardening lies in its flexibility. You’re not at the mercy of your existing soil quality, you can garden at a comfortable height, and honestly, there’s something incredibly satisfying about creating a contained little ecosystem that produces fresh vegetables and herbs just steps from your kitchen door. Whether you’re working with a postage-stamp backyard, a sunny patio, or even a rooftop, these ideas will help you maximize every square inch.
Choosing the Right Location for Your Small Raised Bed Garden
I learned this lesson the hard way during my first season. I placed my raised bed in what I thought was a lovely shaded corner—perfect for hot summer days, right? Wrong. My tomatoes stretched toward the light like desperate yoga practitioners, and my peppers barely produced a handful of fruit all season.
The golden rule is simple: aim for at least six hours of direct sunlight daily. Walk around your space at different times throughout the day and observe where the sun hits. Take note of shadows cast by buildings, fences, or trees. Morning sun is particularly valuable because it dries dew quickly, reducing the risk of fungal diseases.
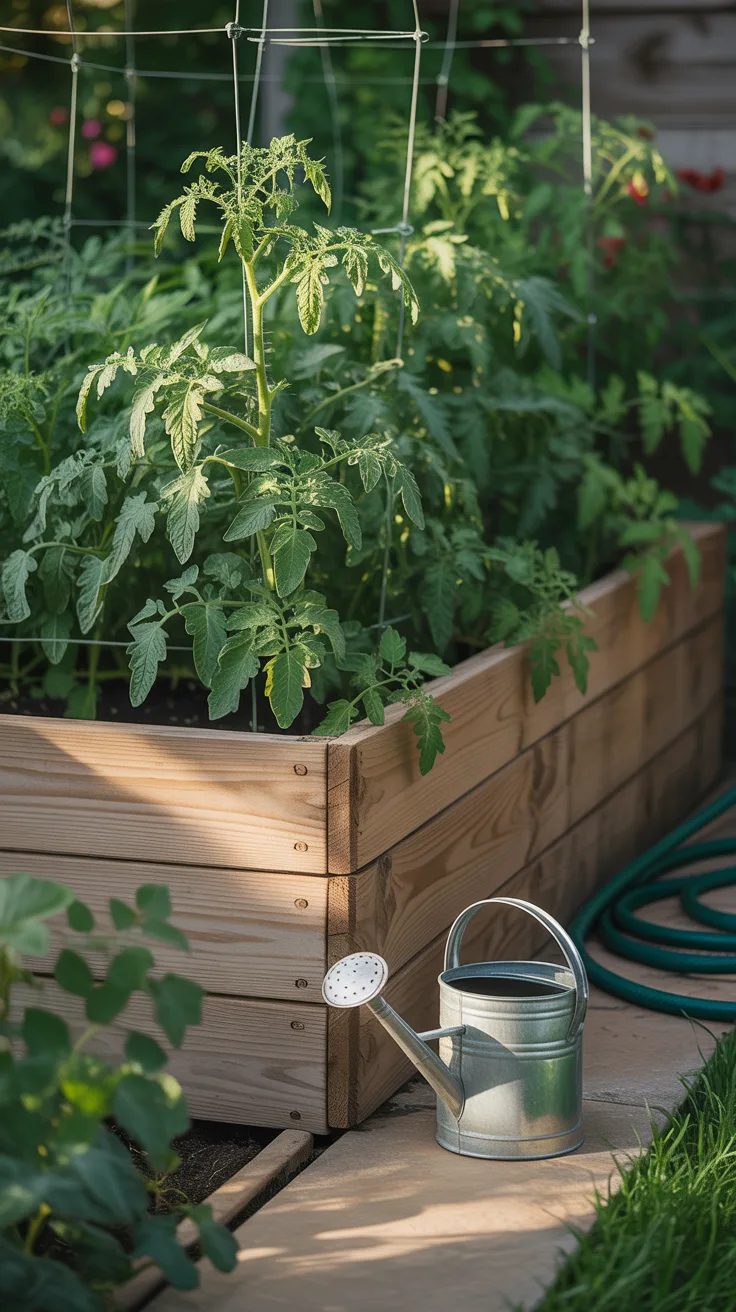
Pro Tip: Place your raised bed near a water source if possible. Trust me, hauling watering cans across your yard gets old fast, especially during those scorching summer weeks when plants need daily attention.
Also consider accessibility. You’ll want to reach all sides of your bed for planting, weeding, and harvesting. I recommend leaving at least 18 inches of walking space around each bed—your back will thank you later.
Selecting the Ideal Materials
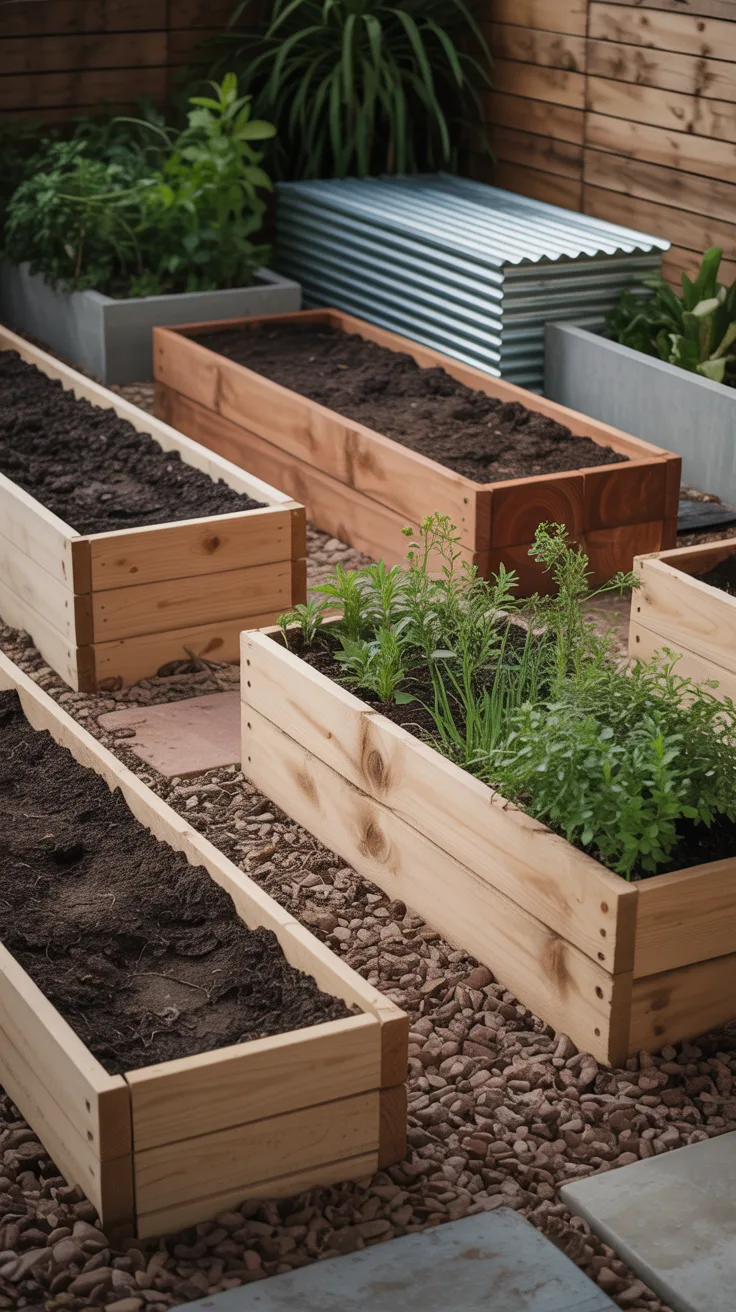
Choosing the right materials for your raised bed is more important than you might think. I’ve experimented with several options over the years, and each has its place depending on your budget, aesthetic preferences, and how long you want the bed to last.
| Material | Pros | Cons | Lifespan |
|---|---|---|---|
| Untreated Cedar | Naturally rot-resistant, beautiful appearance | Higher cost upfront | 10-15 years |
| Pine (Untreated) | Affordable, easy to find | Rots within a few years | 3-5 years |
| Concrete Blocks | Extremely durable, no assembly needed | Heavy, industrial look | 20+ years |
| Galvanized Steel | Modern aesthetic, long-lasting | Can heat up in direct sun | 15-20 years |
| Recycled Composite | Eco-friendly, won’t rot | Can be expensive | 15+ years |
Whatever you choose, avoid pressure-treated lumber from before 2003, which may contain harmful chemicals. Modern pressure-treated wood uses safer compounds, but I personally stick with untreated cedar for peace of mind when growing food.
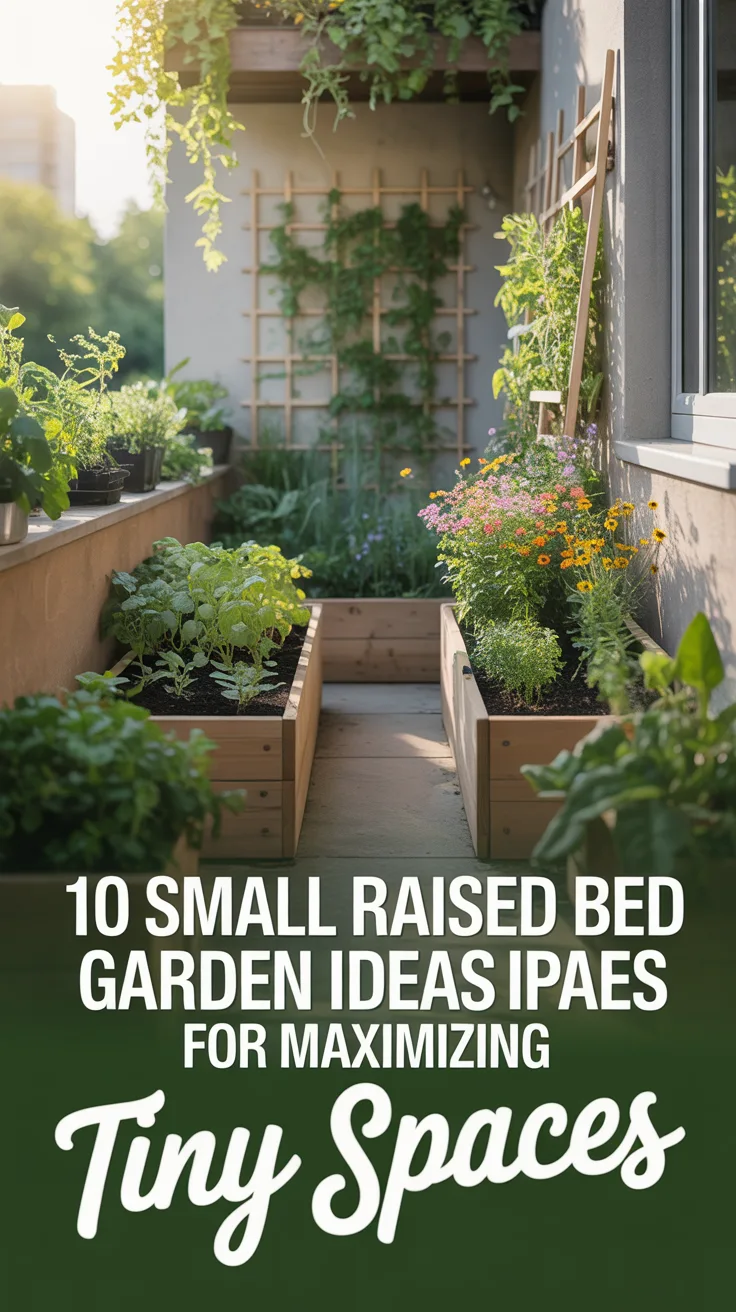
Maximizing Space with Vertical Gardening

Here’s where things get exciting for us small-space gardeners. When you can’t grow out, grow up! Vertical gardening has literally doubled my harvest in the same footprint, and it adds incredible visual interest to your garden.
Consider incorporating these vertical elements:
- Trellises: Perfect for cucumbers, pole beans, peas, and small melons
- Tomato cages: Keep indeterminate tomatoes contained and productive
- Wall-mounted planters: Ideal for herbs and strawberries along fences
- Hanging baskets: Great for trailing cherry tomatoes or herbs
- Obelisks: Add height and elegance while supporting climbing plants
Pro Tip: Position your vertical structures on the north side of your raised bed so they don’t shade your lower-growing plants. I made this mistake once and ended up with leggy lettuce that bolted way too early.
Companion Planting Strategies
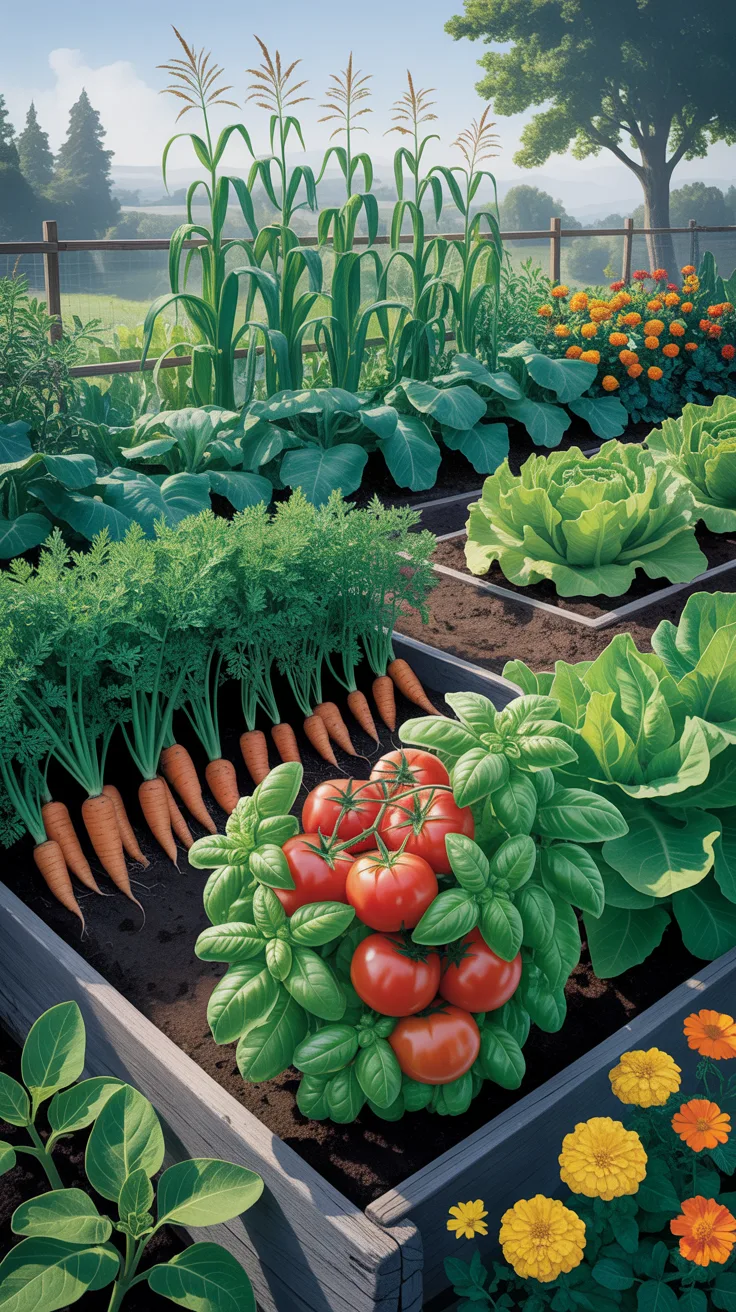
Companion planting is like creating a harmonious neighborhood in your garden. Some plants genuinely help each other thrive, while others are terrible neighbors that should be kept apart. Learning these relationships has made a noticeable difference in my harvests.
Some of my favorite companion combinations include:
- Tomatoes + Basil: Basil may improve tomato flavor and repels aphids and hornworms
- Carrots + Onions: The strong scent of onions deters carrot flies
- Corn + Beans + Squash: The classic “Three Sisters” method where each plant supports the others
- Lettuce + Tall Plants: Lettuce appreciates the shade from taller neighbors in summer
- Marigolds + Everything: These cheerful flowers repel numerous pests and attract beneficial insects
On the flip side, keep fennel away from almost everything—it’s the antisocial plant of the garden world. And don’t plant members of the onion family near beans or peas, as they can stunt their growth.
Incorporating Edible Flowers
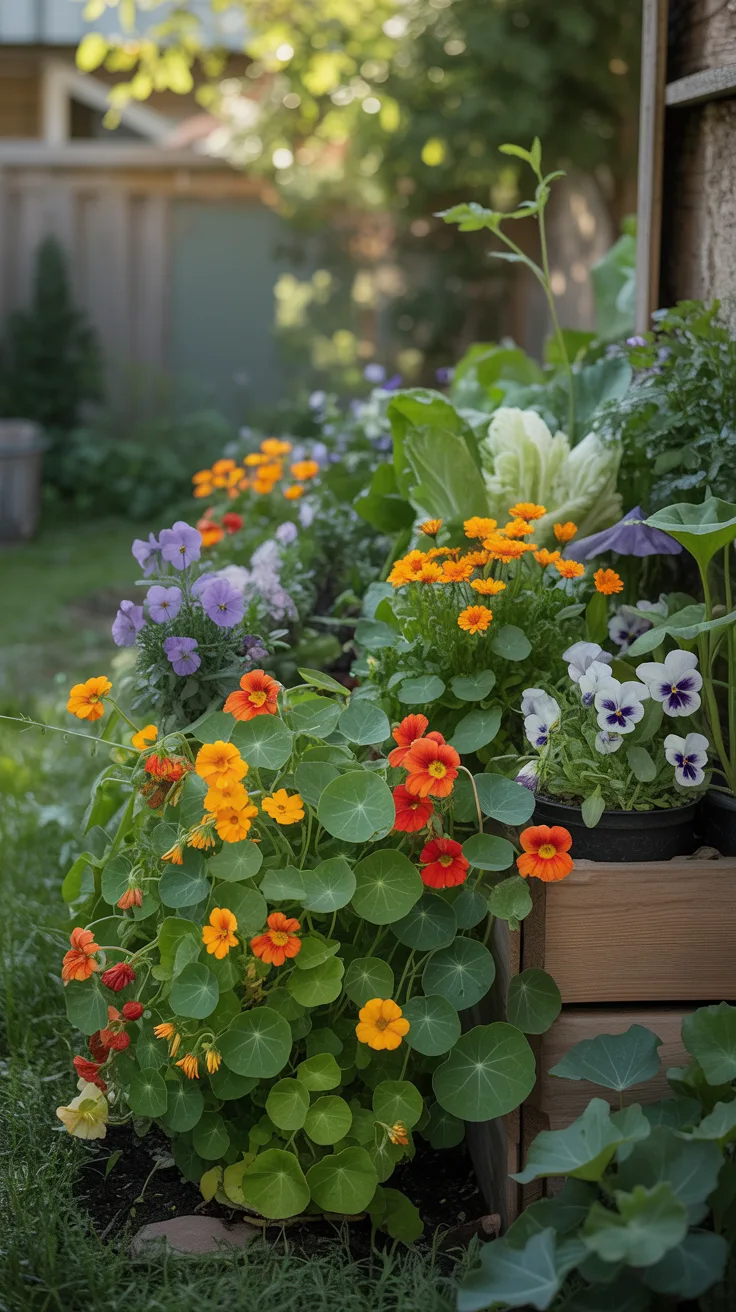
One of my favorite discoveries has been adding edible flowers to my small raised bed gardens. They’re not just pretty faces—they serve multiple practical purposes while making your garden look absolutely stunning.
Nasturtiums are my personal favorites. Their peppery leaves and flowers add a kick to salads, they attract aphids away from your vegetables (acting as a trap crop), and they trail beautifully over the edges of raised beds. Calendula, with its sunny orange and yellow blooms, has mild medicinal properties and can be used in salves. Violas and pansies add delicate color to spring salads and desserts.
Pro Tip: Plant edible flowers along the edges of your raised beds where they won’t compete with vegetables for prime real estate. They’ll soften the hard lines of your bed while attracting pollinators that boost your vegetable yields.
Implementing Crop Rotation

Even in a small raised bed, crop rotation matters. I’ll admit I ignored this advice for my first two years, and by season three, my tomatoes were struggling with disease and my yields had dropped noticeably.
The basic principle is simple: don’t plant the same family of vegetables in the same spot year after year. Different plant families have different nutrient needs and attract different pests. Rotating crops helps break pest and disease cycles while keeping your soil balanced.
In a small space, I divide my bed into quadrants and rotate through four groups: leafy greens, fruiting vegetables (tomatoes, peppers), root vegetables, and legumes (which actually add nitrogen back to the soil). Each year, everything shifts one position clockwise.
Keep a simple garden journal—even just notes on your phone—to track what you planted where. Future you will be grateful when planning next season’s garden.
Efficient Watering Techniques
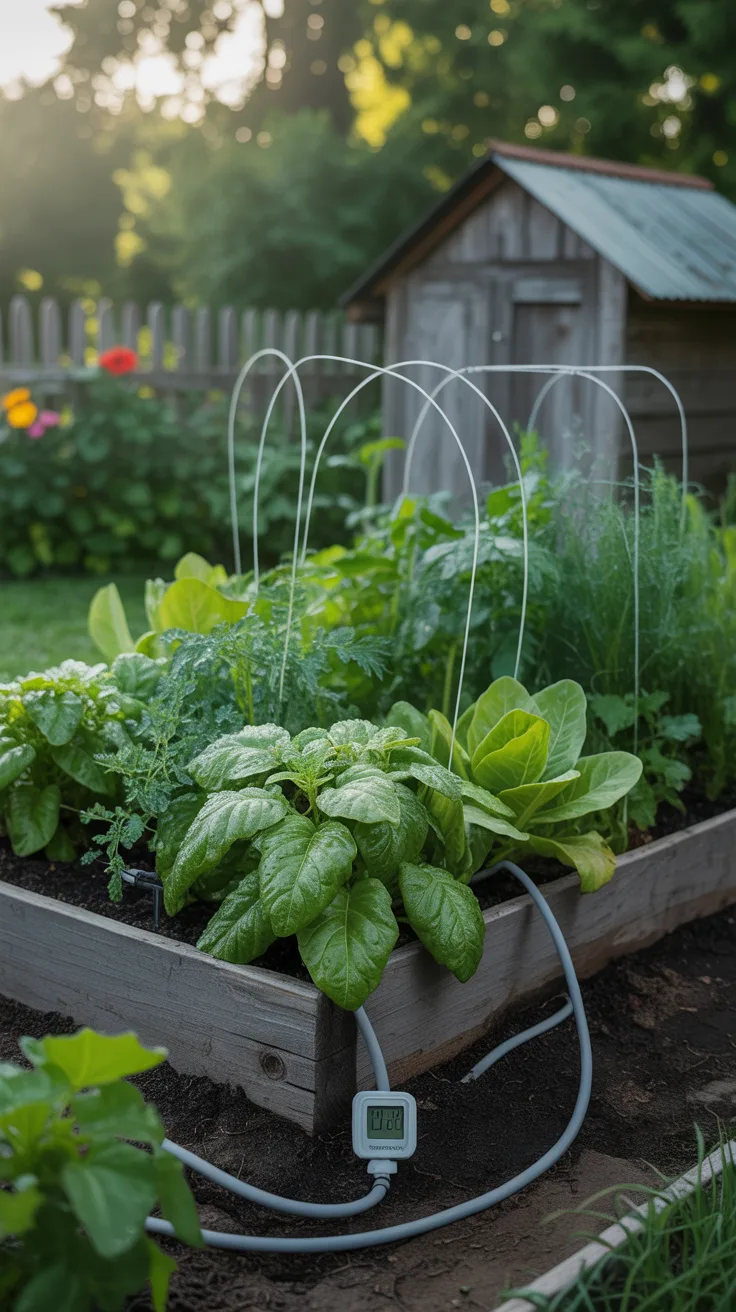
Watering seems straightforward until you realize you’ve been doing it wrong for an entire season. Raised beds drain faster than in-ground gardens, which is usually a benefit but means you need to stay on top of moisture levels.
I’ve found drip irrigation to be a game-changer for my small raised beds. A simple soaker hose connected to a timer costs under $50 and saves hours of hand-watering while delivering water directly to the roots where plants need it most. Surface watering with a hose often leads to wet foliage, which invites fungal problems.
The finger test remains my go-to method for checking moisture: stick your finger two inches into the soil. If it’s dry at that depth, it’s time to water. Most vegetables prefer consistent moisture—about one inch per week—rather than alternating between drought and flood conditions.
Pro Tip: Water in the early morning when possible. This gives plants time to absorb moisture before the heat of the day and allows foliage to dry, reducing disease risk.
Using Mulch for Soil Health
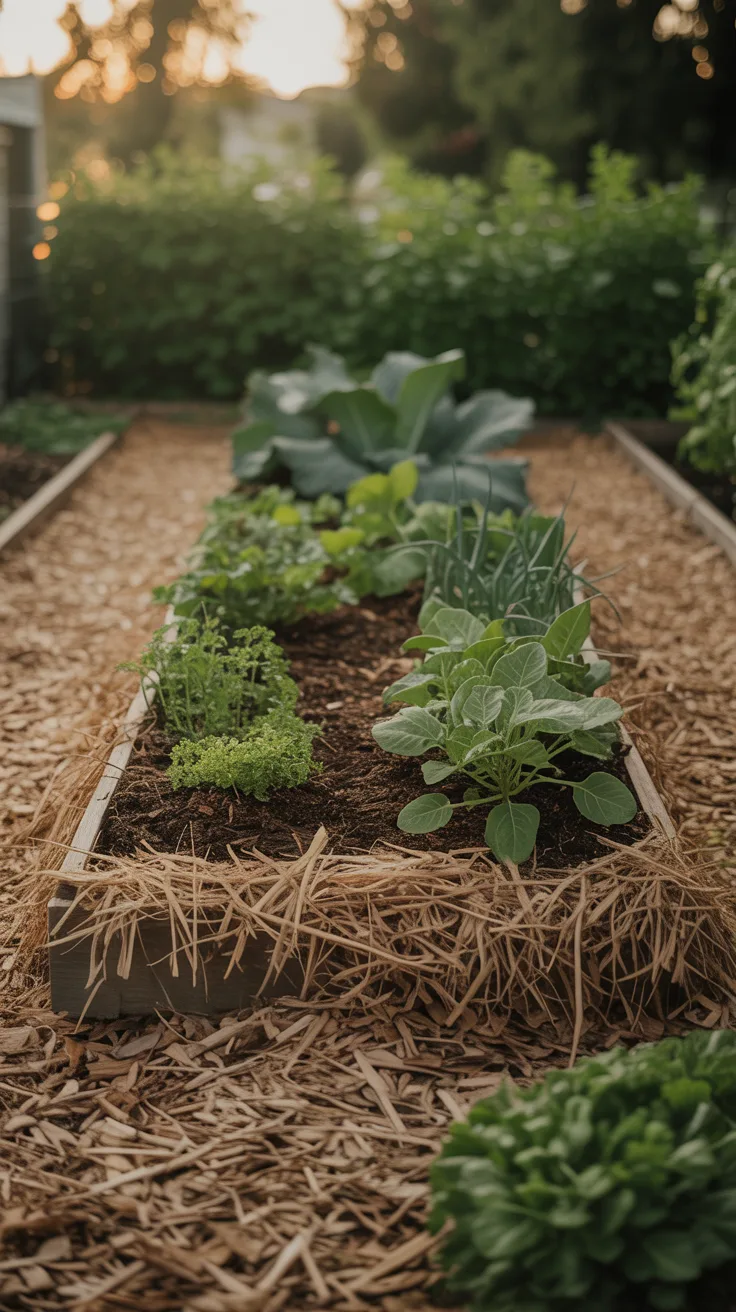
Mulching is the closest thing to a gardening cheat code I’ve discovered. A two to three-inch layer of organic mulch conserves moisture, suppresses weeds, regulates soil temperature, and slowly adds nutrients as it breaks down.
My preferred mulches for small raised bed gardens include straw (not hay, which contains weed seeds), shredded leaves, and grass clippings from untreated lawns. Wood chips work well for pathways but can temporarily tie up nitrogen as they decompose, so I keep them away from young vegetable plants.
One mistake I made early on was piling mulch directly against plant stems. This creates a moist environment that invites rot and pests. Always leave a small gap around the base of each plant.
Overcoming Common Challenges
Every gardener faces setbacks, and small-space gardening comes with its own unique challenges. Here’s how I’ve learned to handle the most common issues:
Pest problems: Regular inspection is your best defense. I walk through my garden every morning with my coffee, checking undersides of leaves and looking for early signs of trouble. Hand-picking pests and using organic solutions like neem oil have kept most problems manageable.
Soil depletion: Small beds work hard, so they need regular replenishment. I add compost at the beginning of each season and side-dress heavy feeders like tomatoes mid-season. A yearly soil test helps identify specific deficiencies.
Space constraints: Succession planting has been revolutionary for me. As soon as one crop finishes, I immediately plant another. Spring lettuce gives way to summer beans, which are followed by fall brassicas. The bed never sits empty.
Pro Tip: Start a small compost bin or tumbler near your raised bed. Kitchen scraps transform into garden gold, and you’ll always have nutrient-rich amendments on hand.
Frequently Asked Questions
What are the best plants for small raised bed gardens?
Focus on compact, high-yielding varieties. Cherry tomatoes, salad greens, radishes, bush beans, peppers, and herbs like basil and cilantro all thrive in raised beds. Look for varieties labeled “compact,” “patio,” or “bush” for the best results in limited space.
How deep should a raised bed be?
For most vegetables, 12 inches is sufficient. However, 18 inches gives root crops like carrots and potatoes more room and provides better drainage. If you’re placing your bed on concrete or a rooftop, aim for at least 18 inches.
Can I use a raised bed on a balcony?
Absolutely! Just ensure your balcony can support the weight—a 4×4 foot bed filled with soil can weigh several hundred pounds. Use lightweight potting mix instead of garden soil, and consider placing the bed on furniture coasters for easier movement.
How do I prevent pests in my raised bed garden?
Combine multiple strategies: practice companion planting, encourage beneficial insects with flowers, inspect plants regularly, use row covers for vulnerable crops, and maintain healthy soil that produces strong, pest-resistant plants.
Is it necessary to line a raised bed?
It depends on your situation. Hardware cloth on the bottom prevents burrowing pests like gophers. Landscape fabric can prevent soil loss but may impede drainage. If your bed sits on soil, I generally skip the lining to allow beneficial organisms to move freely between the ground and your bed.