Introduction
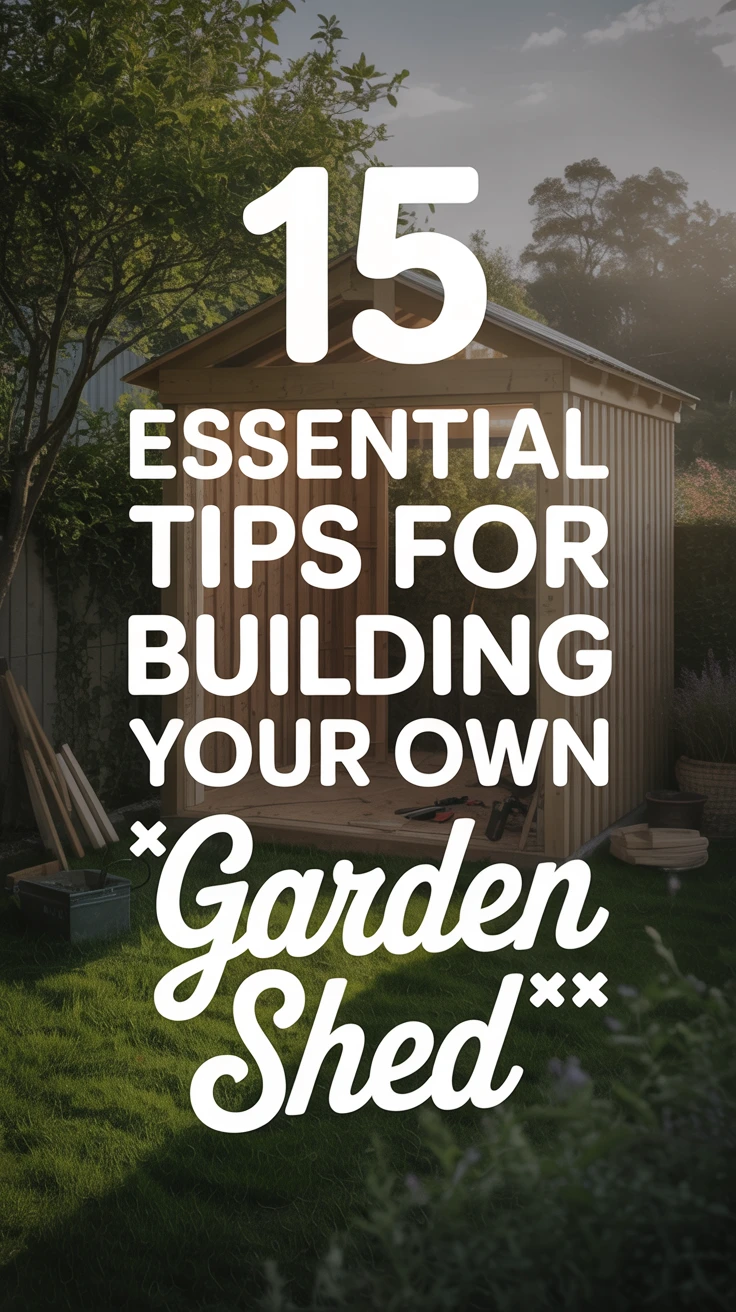
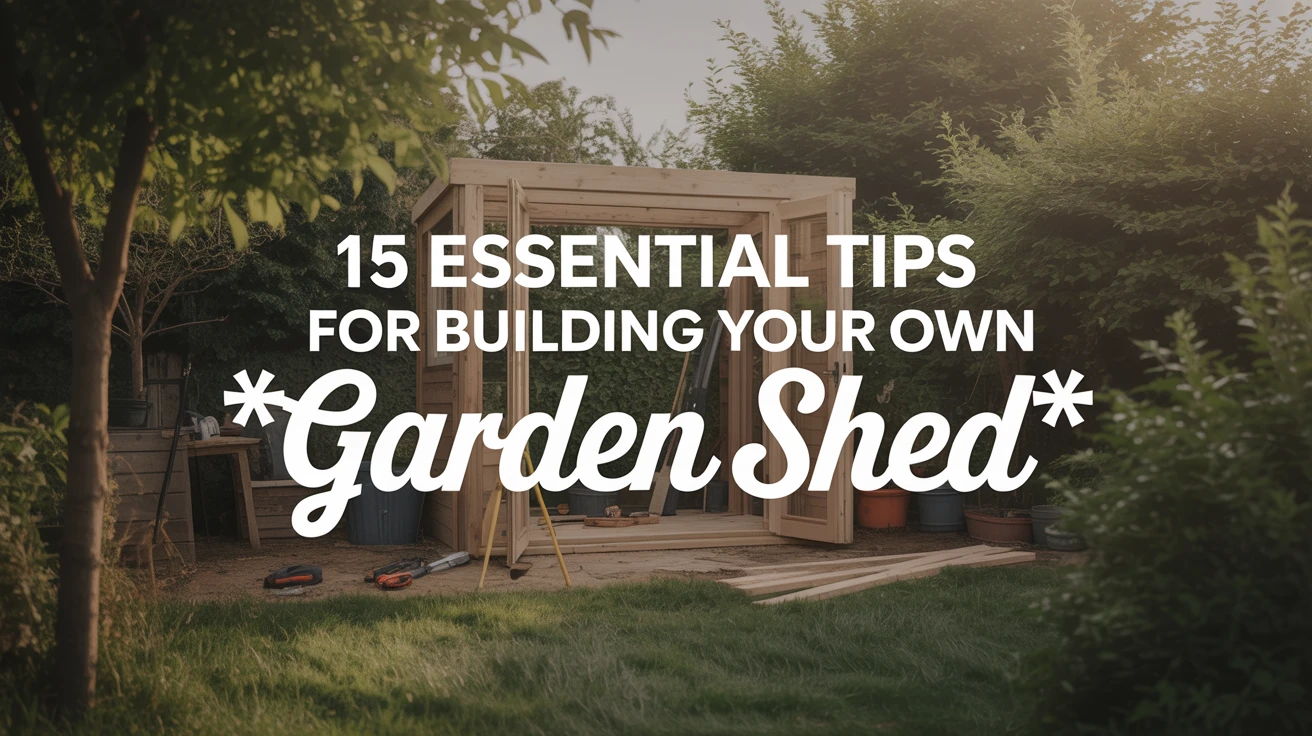
Building your own garden shed can be one of the most rewarding DIY projects you’ll ever undertake. As someone who’s built several sheds over the years, I can tell you that a well-constructed shed not only provides valuable storage space but also enhances your garden’s appearance and functionality. Whether you’re looking to store garden tools, create a potting station, or even set up a small workshop, these shed building tips will guide you through the process. I’ve learned many lessons the hard way—from forgetting to check local building codes to selecting materials that couldn’t withstand our harsh winters. In this guide, I’ll share 15 essential tips to help you avoid common mistakes and build a garden shed that will stand the test of time.
1. Getting Started: Planning Your Shed
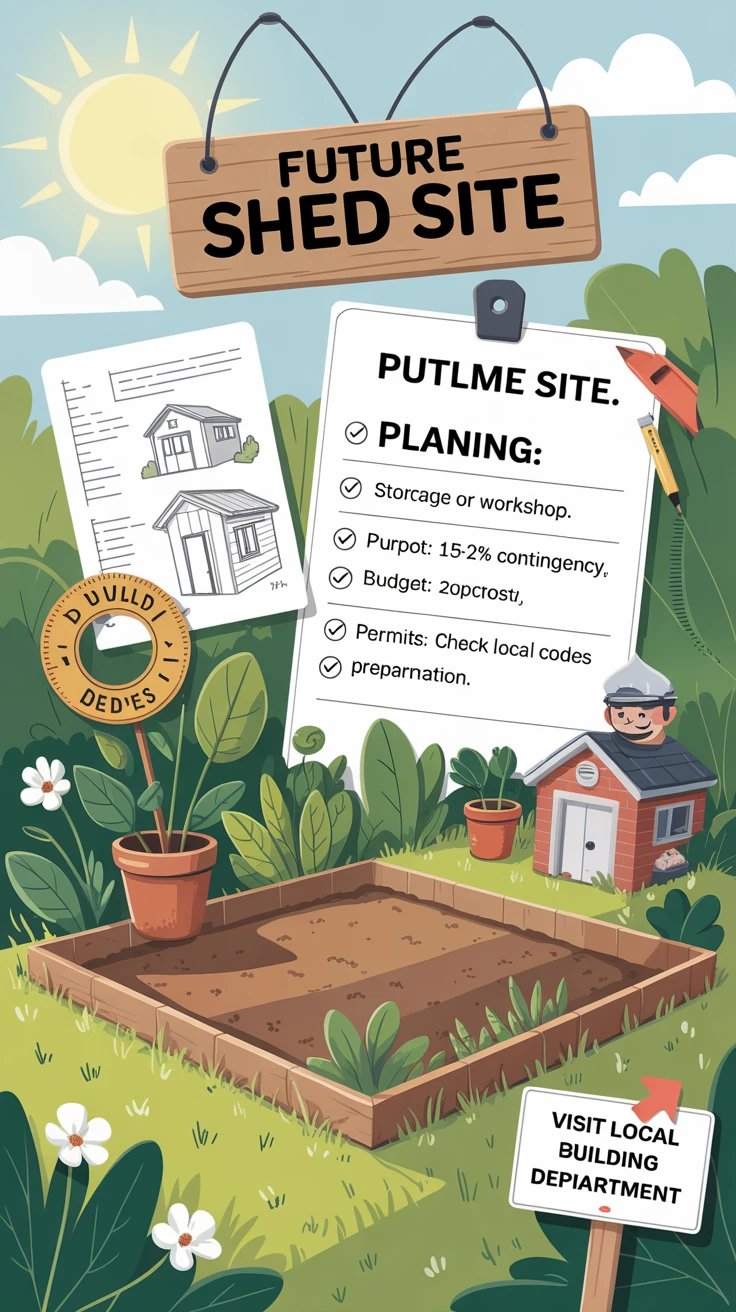
Before picking up a hammer, I always stress the importance of thorough planning. My first shed project went sideways when I realized halfway through that I needed a permit from the local authorities.
- Determine the exact purpose of your shed (storage, workspace, or both)
- Set a realistic budget with a 15-20% contingency for unexpected costs
- Research local building codes and obtain necessary permits
- Sketch your shed design with precise measurements

View on AmazonAs an Amazon Associate, I earn from qualifying purchases.

View on AmazonAs an Amazon Associate, I earn from qualifying purchases.
Pro Tip: Visit your local building department early in the planning process. I once had to modify my entire design because I didn’t realize my property had specific setback requirements that limited where I could place structures.
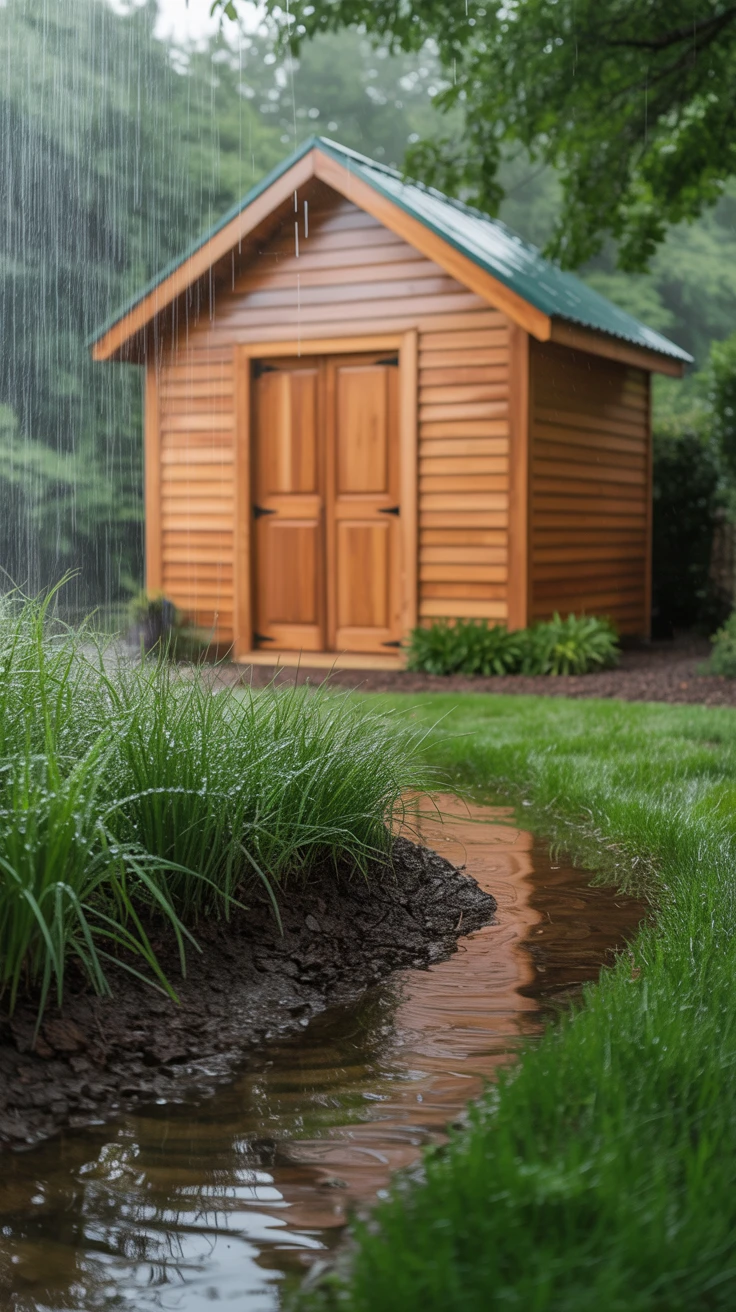
2. Finding the Perfect Spot: Location Matters
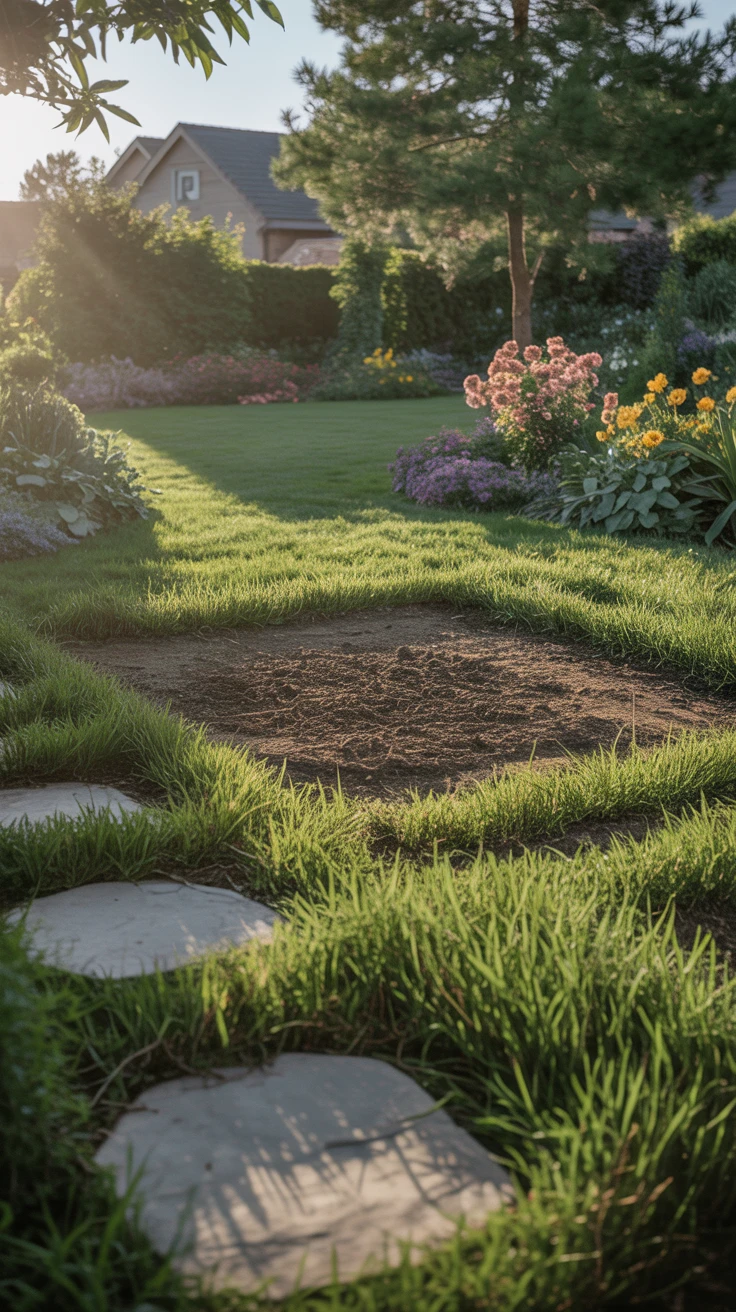
The location of your shed significantly impacts its functionality and longevity. I once built a beautiful shed in a low-lying area of my yard, only to discover it flooded with every heavy rainfall.
- Choose level ground or be prepared to level it yourself
- Consider proximity to your house and garden for convenience
- Evaluate sun exposure based on how you’ll use the shed
- Check for overhead obstacles like tree branches or power lines
Pro Tip: After selecting your location, observe it during different weather conditions. I recommend watching how water flows through your yard during rain and noting where puddles form—these are areas to avoid.
3. Material Matters: Choosing Wisely
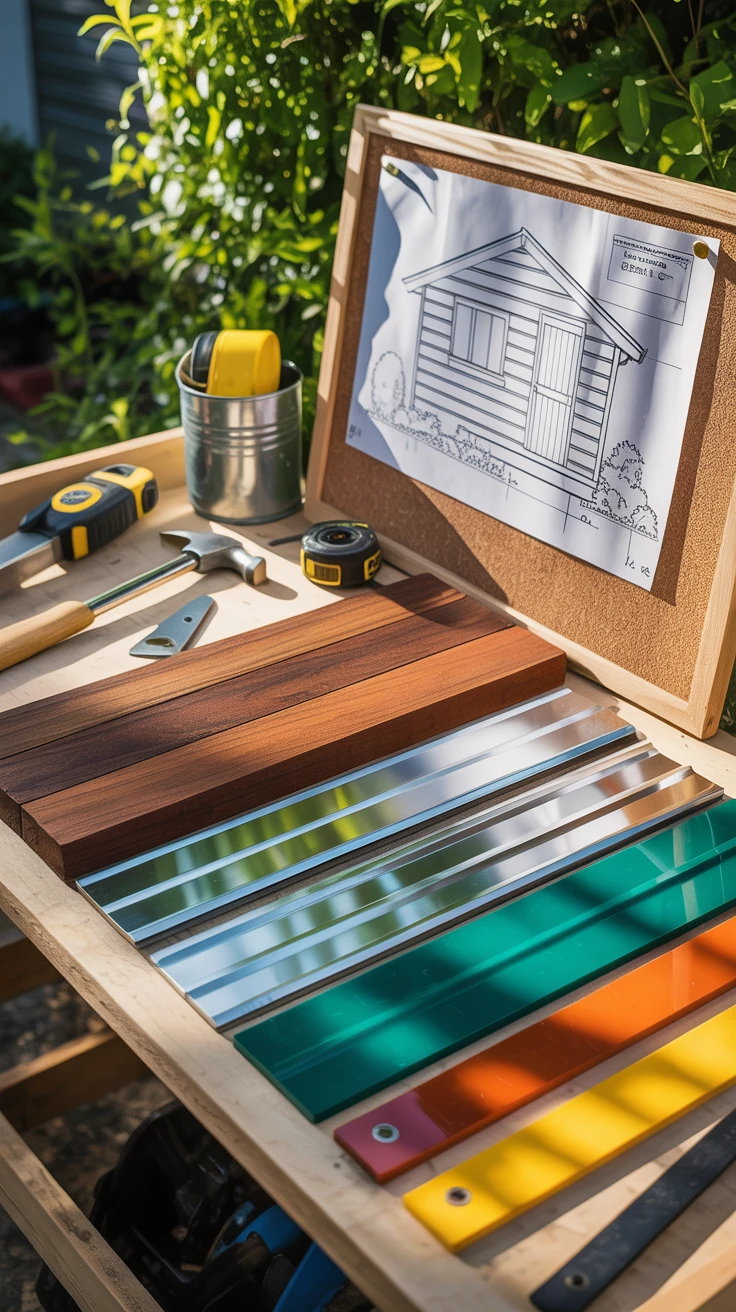
Selecting the right materials for your shed building project involves balancing cost, durability, and aesthetics. I’ve experimented with various materials over the years and found each has its place depending on your needs and climate.
- Wood: Traditional, customizable, but requires regular maintenance
- Metal: Durable and fire-resistant, but can be prone to rust in humid climates
- Plastic/Resin: Low maintenance and weather-resistant, but less structural strength
- Composite: Combines wood fibers with plastic for durability with a natural look
Pro Tip: If you choose wood, consider pressure-treated lumber for the foundation and frame, even if you use standard lumber for the rest. I learned this lesson when I had to replace the entire floor of my first shed after just five years due to moisture damage.

View on AmazonAs an Amazon Associate, I earn from qualifying purchases.

View on AmazonAs an Amazon Associate, I earn from qualifying purchases.
4. Design Decisions: Crafting Your Vision
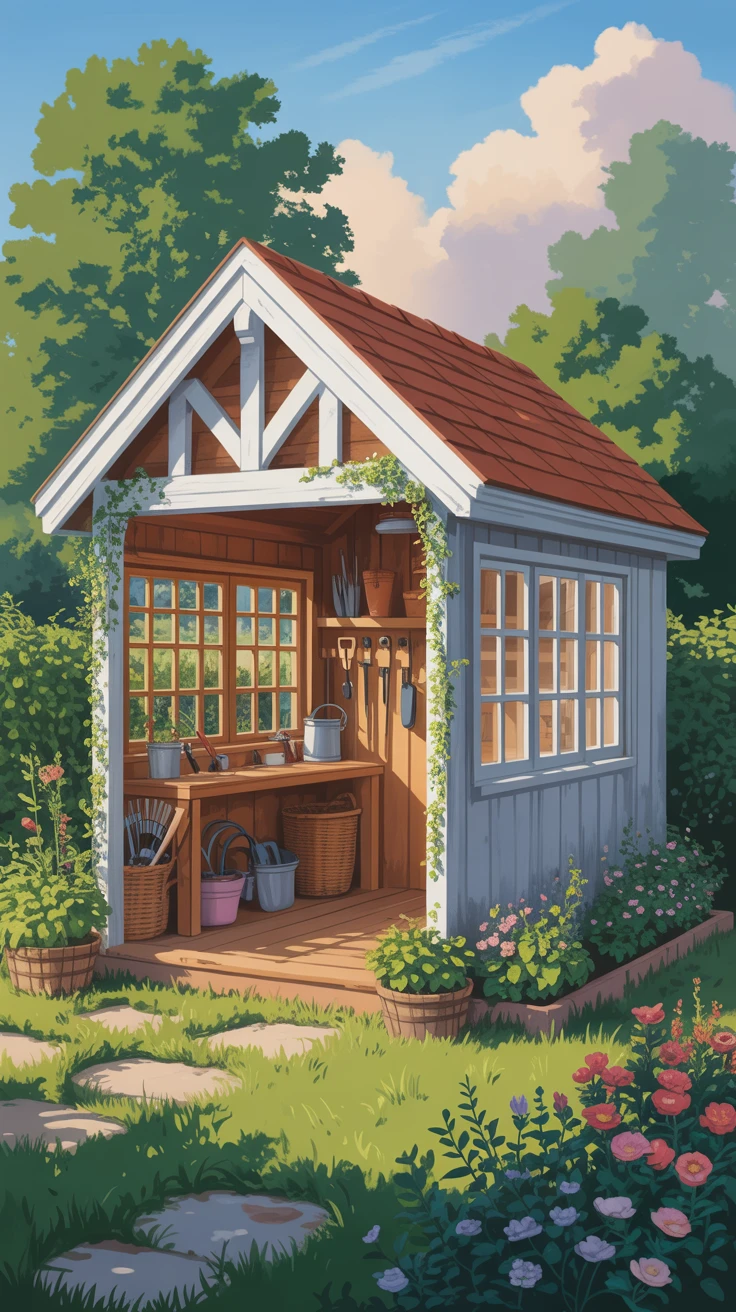
Your shed’s design should balance functionality with aesthetic appeal. The best shed designs complement your home’s architecture while meeting your specific needs.
- Choose a roof style that matches your home (gable, gambrel, saltbox, etc.)
- Plan for adequate headroom, especially if you’ll be working inside
- Consider window placement for natural light and ventilation
- Design door width based on what you’ll need to move in and out
Pro Tip: Create a 3D model or detailed sketch of your shed before starting. I use free online design tools to visualize the finished product and identify potential issues before they become expensive mistakes.
5. Foundation First: Start with a Solid Base
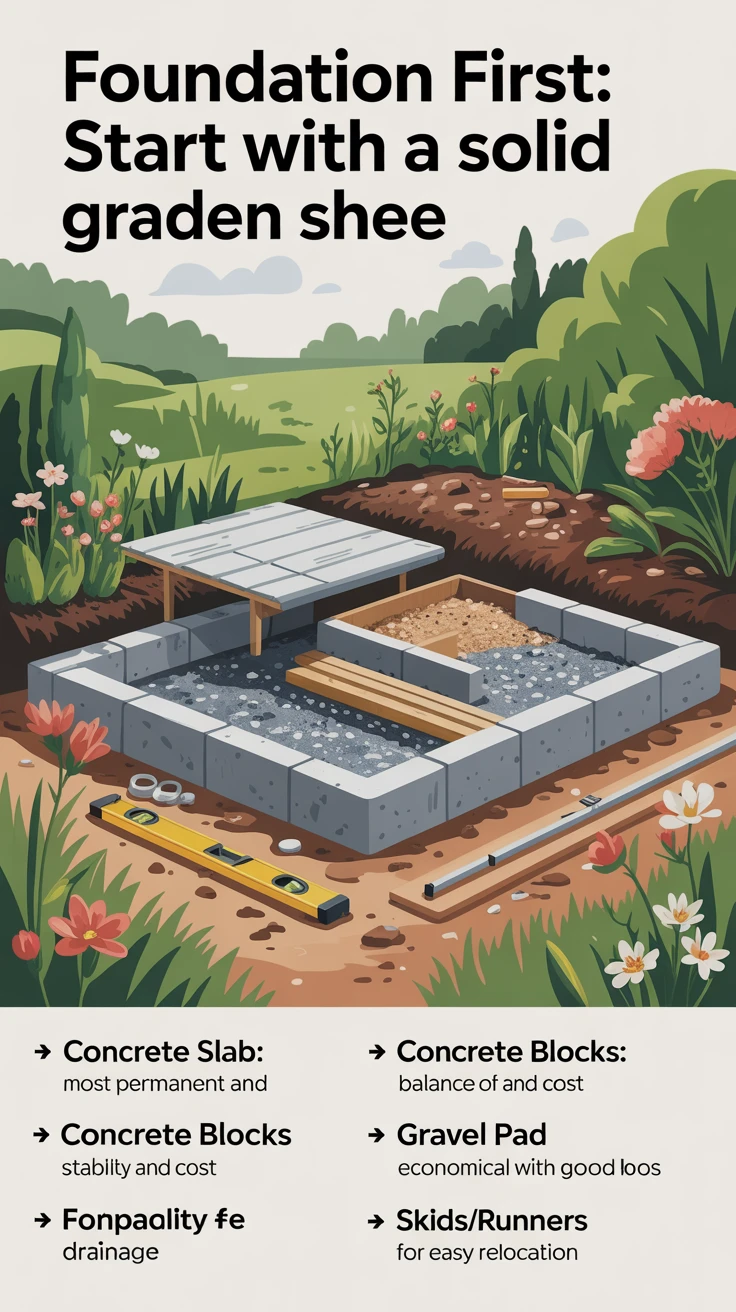
A solid foundation is crucial for any shed building project. I’ve seen beautiful sheds develop serious structural issues simply because they were built on inadequate foundations.
- Concrete slab: Most permanent and stable option
- Concrete blocks: Good balance of stability and cost
- Gravel pad: Economical and provides good drainage
- Skids/Runners: Allows for potential relocation later
Pro Tip: Whatever foundation type you choose, ensure it extends at least 6 inches beyond your shed’s footprint on all sides. I once built a shed on a perfectly-sized foundation only to discover that water runoff from the roof eroded the surrounding soil, eventually undermining the foundation itself.
6. Frame It Right: Constructing the Skeleton
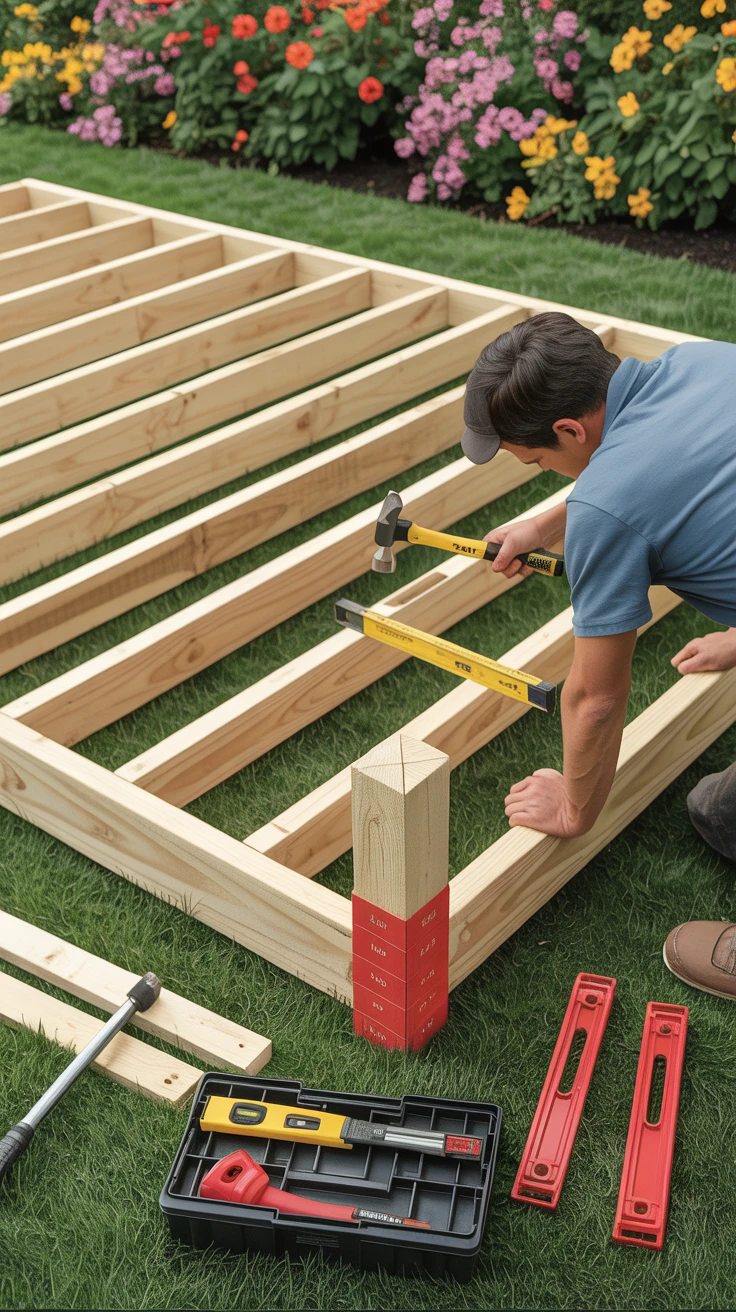
The frame is your shed’s backbone, providing structural integrity and determining how square and plumb your finished building will be.
- Use pressure-treated 2x4s or 2x6s for ground contact areas
- Space wall studs 16 inches on center for standard construction
- Ensure all corners are square using the 3-4-5 triangle method
- Use hurricane ties or framing connectors in areas with high winds
View on AmazonAs an Amazon Associate, I earn from qualifying purchases.

View on AmazonAs an Amazon Associate, I earn from qualifying purchases.
Pro Tip: Take your time getting the floor frame perfectly level and square—I use a water level for accuracy. Any errors at this stage will compound as you build upward, potentially causing doors and windows to fit poorly.
7. Top It Off: Roofing Essentials
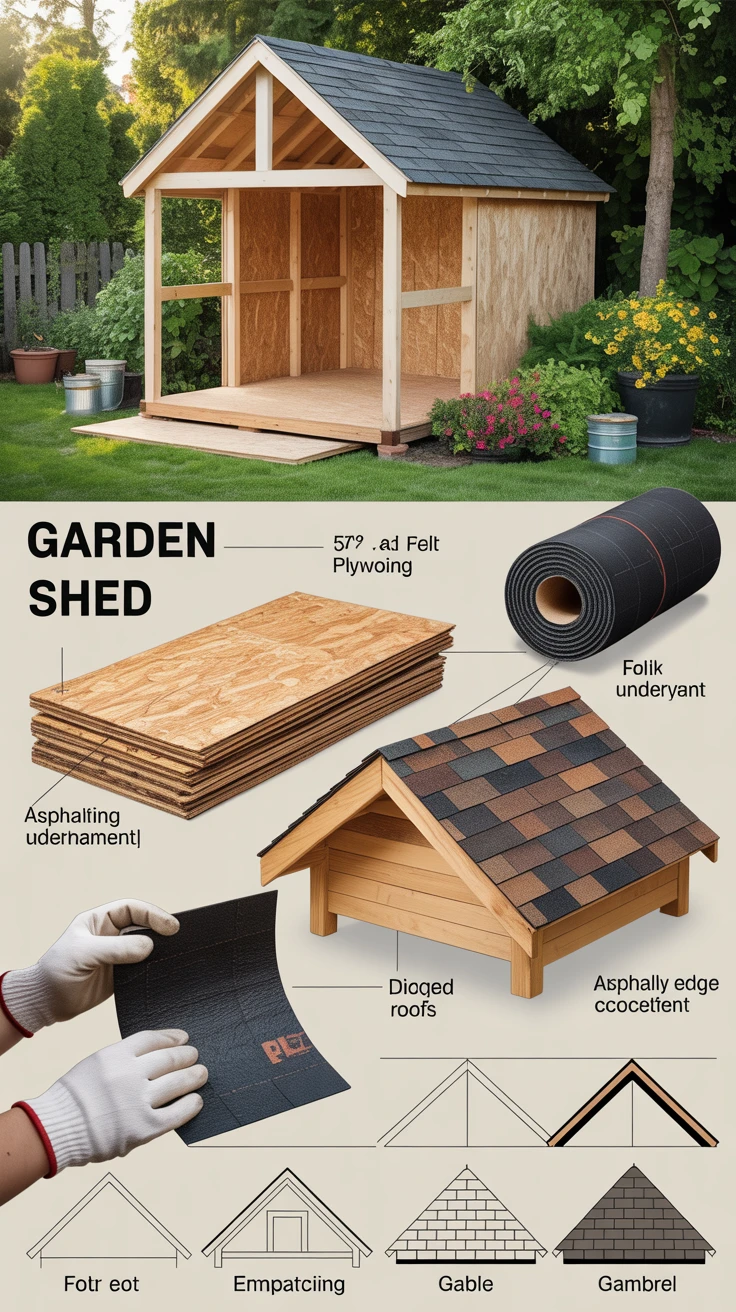
Your shed roof must withstand years of weather while keeping the contents dry. This is one area where cutting corners can lead to significant problems down the road.
- Install proper roof sheathing (typically 1/2″ or 5/8″ plywood)
- Use roofing felt underlayment before adding final roofing material
- Consider asphalt shingles for ease of installation and good weather resistance
- Ensure adequate roof overhang to protect walls from water damage
Pro Tip: For added protection, I install drip edge flashing along all roof edges. This simple addition prevents water from wicking back under the roofing material and causing rot in the roof sheathing—a lesson I learned after having to replace an entire section of roof on an older shed.
8. Stay Dry: Weatherproofing Wisdom
Proper weatherproofing extends your shed’s life and protects whatever you store inside. This step is especially important for those implementing shed building tips in areas with extreme weather.
- Install house wrap or building paper before siding
- Caulk all exterior joints and seams
- Apply water-repellent finishes to wood exteriors
- Ensure proper ventilation to prevent condensation
Pro Tip: Create a small drainage slope away from your shed by grading the surrounding soil. After heavy rains flooded my first shed, I now ensure at least a 1-inch drop for every foot extending 3-4 feet from the foundation.
9. Opening Up: Doors and Windows
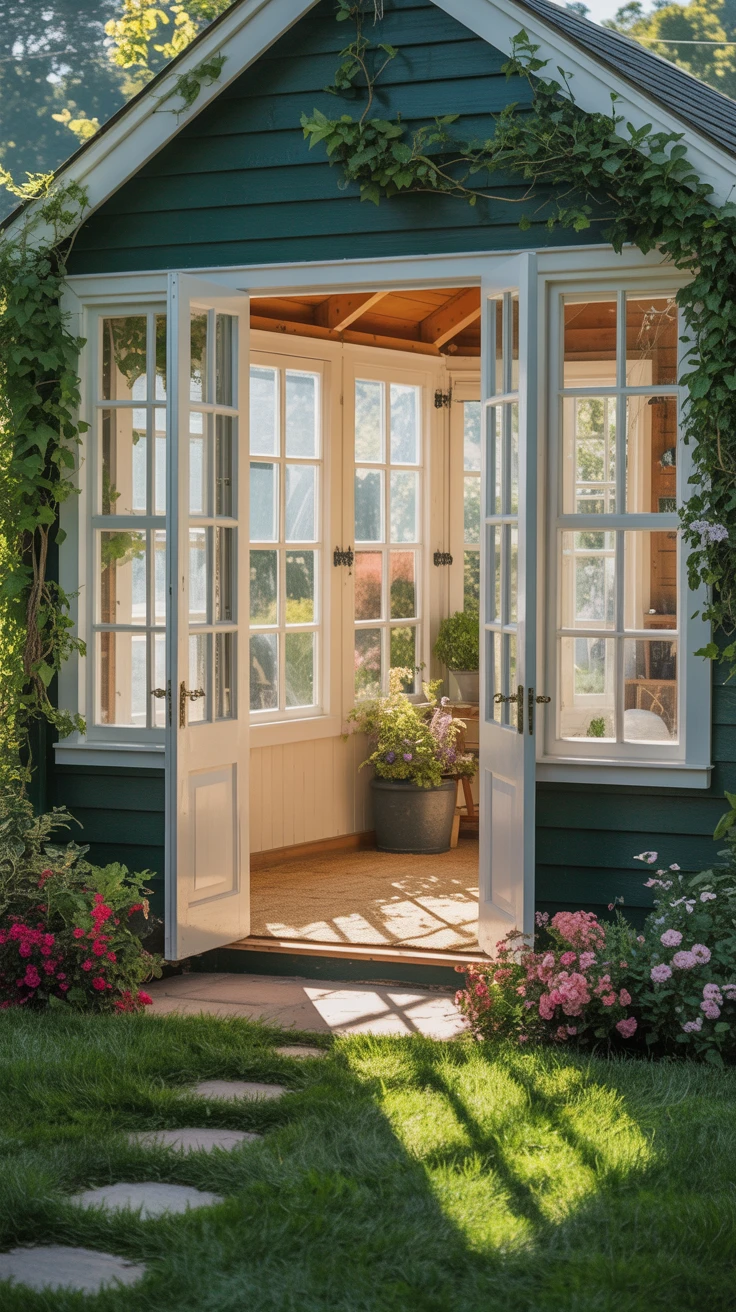
Doors and windows impact both functionality and appearance. I’ve found that spending a bit more here pays dividends in daily usability.
- Consider double doors for easier access with large equipment
- Install windows that open for ventilation
- Use weather stripping around all openings
- Ensure doors have quality hinges and latching mechanisms
Pro Tip: Hang doors with slightly wider gaps at the bottom than the top to prevent sticking during humid weather. I’ve had to plane down several shed doors that swelled shut during rainy seasons.
10. Let There Be Light: Electrical Considerations
Adding electricity to your shed transforms it from simple storage to a functional workspace. However, this is one area where professional help may be necessary.
- Consult an electrician about running power to your shed
- Consider solar-powered alternatives for basic lighting needs
- Plan outlet locations based on how you’ll use the space
- Install exterior lighting for nighttime access
Pro Tip: Run electrical conduit underground at least 18 inches deep (check local codes for exact requirements). I once had to re-do an entire electrical installation because I didn’t bury the line deep enough to meet code requirements.
11. Final Flourishes: Painting and Details
The finishing touches make your shed both attractive and weather-resistant. This is where your shed building project really comes to life.
- Use exterior-grade primer before painting
- Apply at least two coats of quality exterior paint
- Consider complementary colors that match your home
- Add trim details for a polished look
Pro Tip: Paint all six sides of trim boards before installation, including cut ends. This extra step prevents moisture absorption and extends the life of your trim—something I now do religiously after having to replace prematurely rotted trim on previous projects.
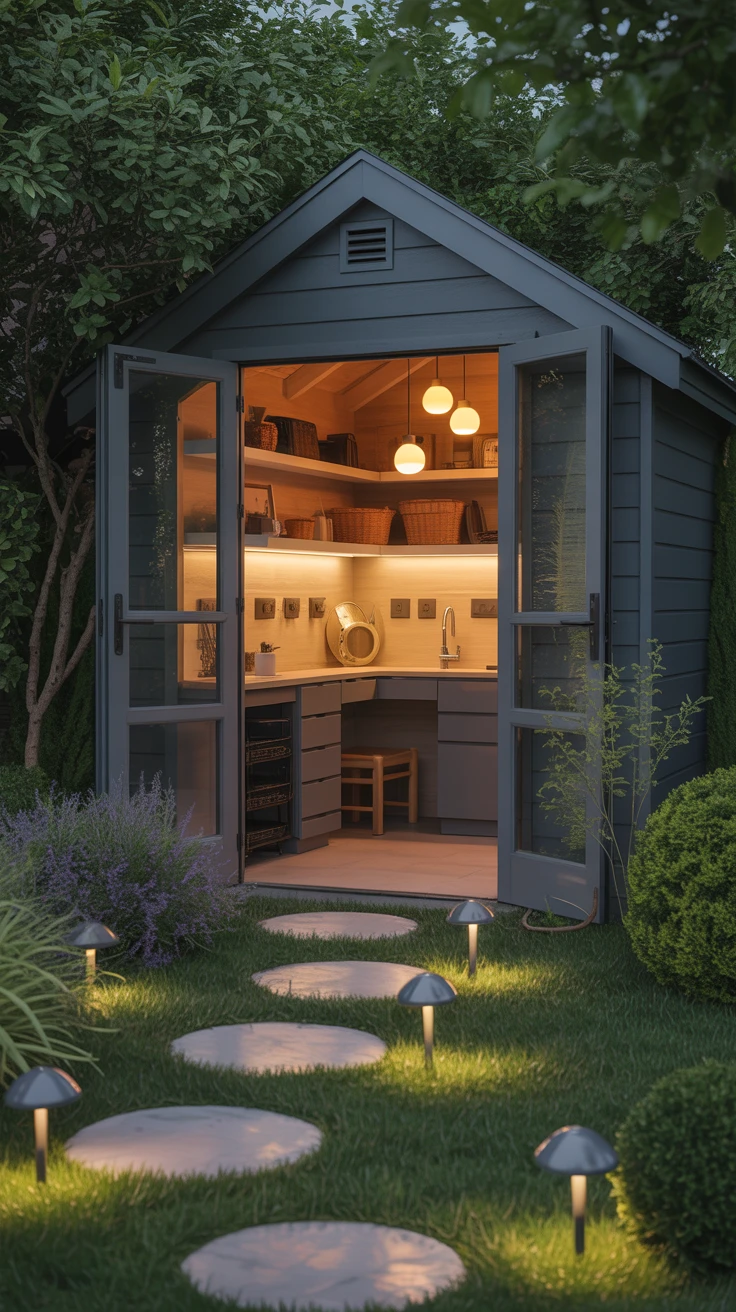
12. Inside Look: Organizing Your Space
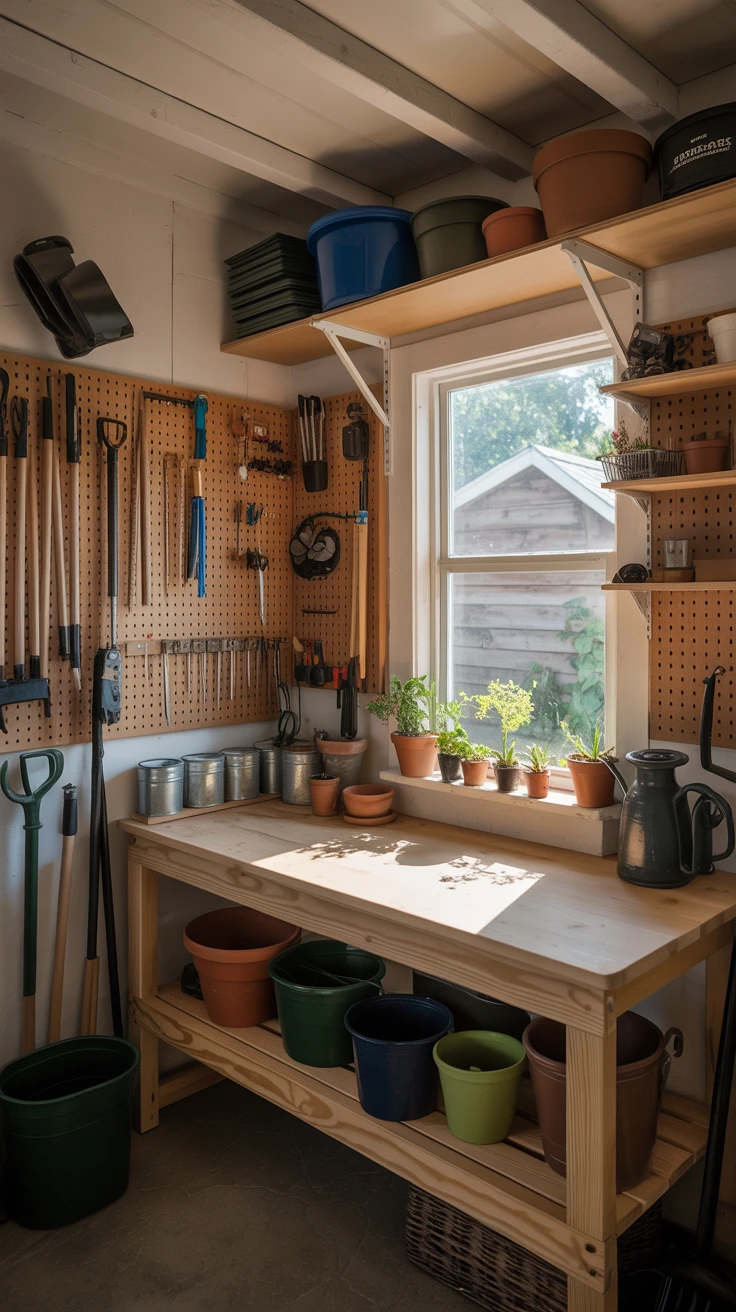
A well-organized shed interior maximizes usability. I’ve found that planning interior organization during the building process leads to better results than trying to add storage solutions later.
- Install wall-mounted tool racks and pegboards
- Add adjustable shelving for flexibility
- Consider a workbench if you’ll use the shed as a workspace
- Use overhead storage for seasonal items
Pro Tip: Leave space for future additions. My most successful shed design included several blank wall sections where I could add specialized storage as my needs evolved.
13. Stay Safe: Essential Safety Tips
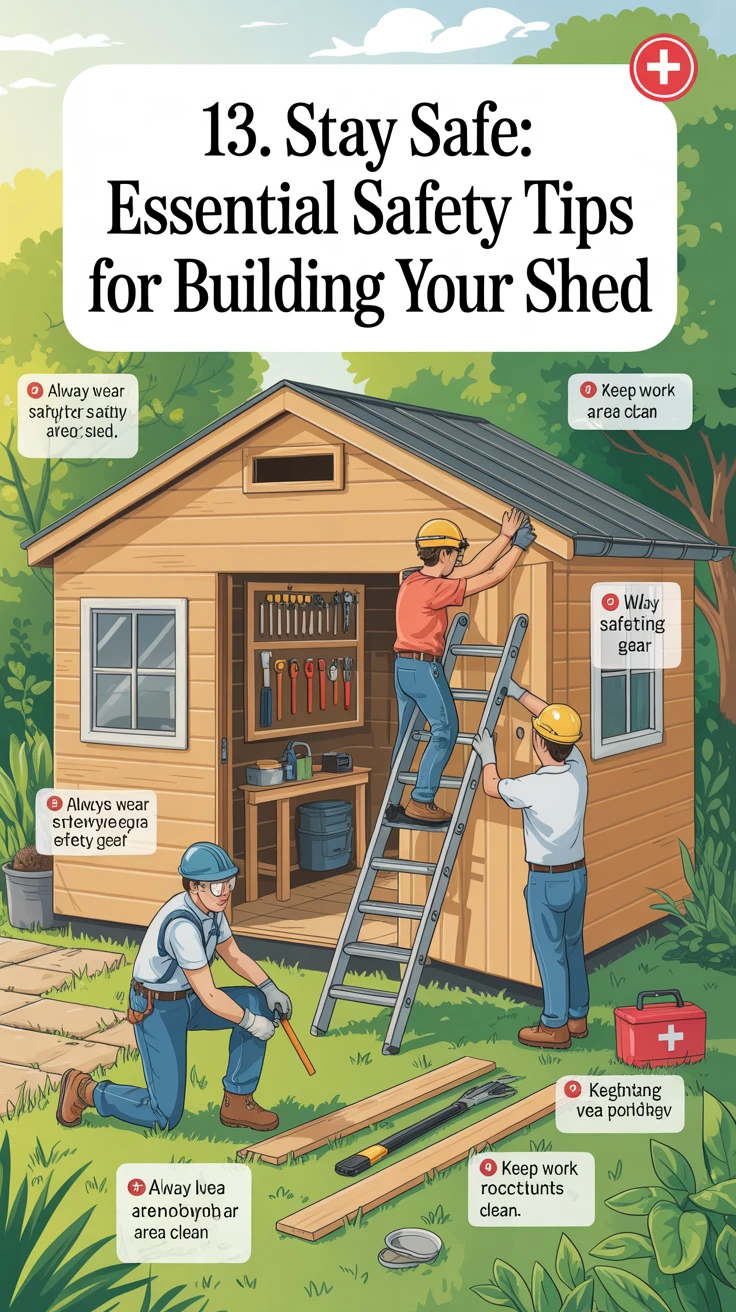
Safety should be your priority throughout the shed building process. I’ve had a few close calls over the years that taught me to never take shortcuts when it comes to safety.
- Wear appropriate safety gear (gloves, eye protection, etc.)
- Use proper ladder safety techniques
- Have a first aid kit readily available
- Never work alone on potentially dangerous tasks
Pro Tip: Keep your work area clean and organized throughout the building process. A cluttered construction site increases accident risk—I once stepped on a nail because I hadn’t been diligent about cleaning up as I worked.
14. Keep It Going: Maintenance Musts
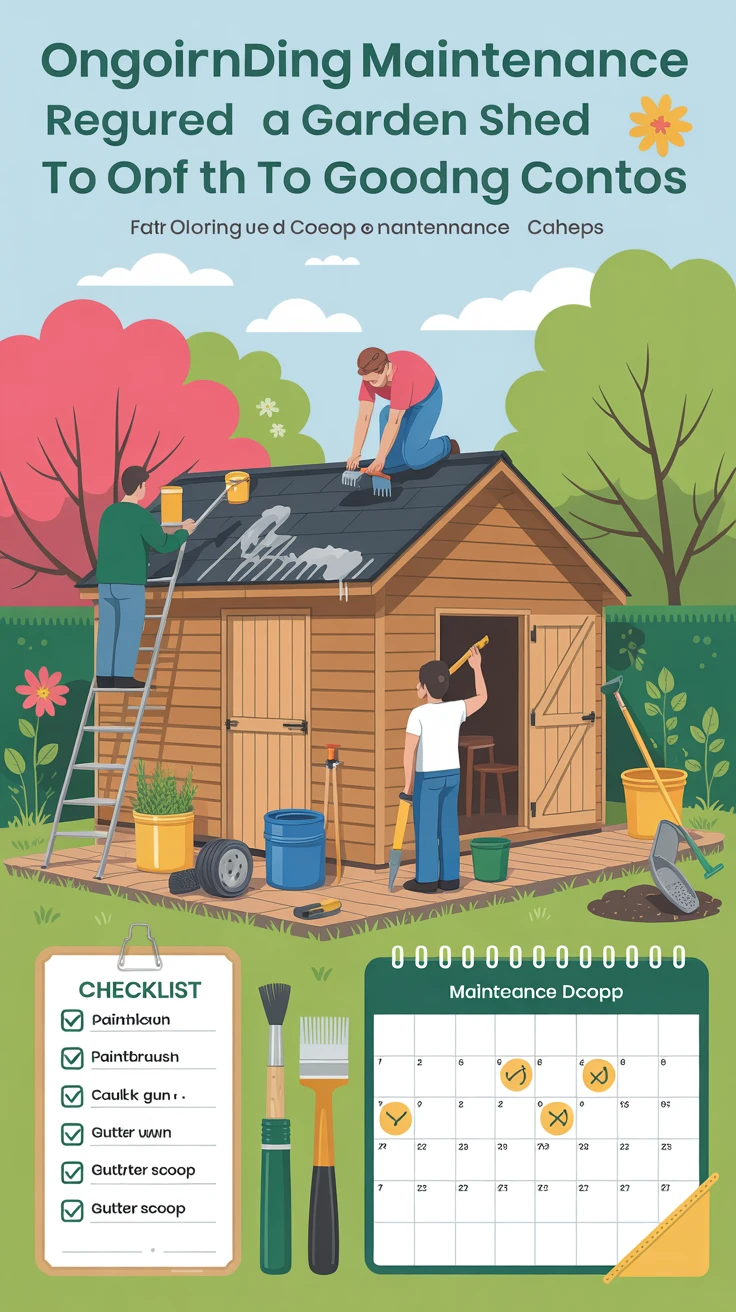
Regular maintenance extends your shed’s life and prevents costly repairs. Establishing a maintenance schedule has saved me thousands in potential repair costs.
- Inspect the roof annually for damage
- Reapply caulk and sealants as needed
- Touch up paint before small issues become big problems
- Clean gutters if installed
Pro Tip: Create a simple maintenance checklist and schedule calendar reminders. I do my shed inspections every spring and fall, which has helped me catch minor issues before they developed into major repairs.
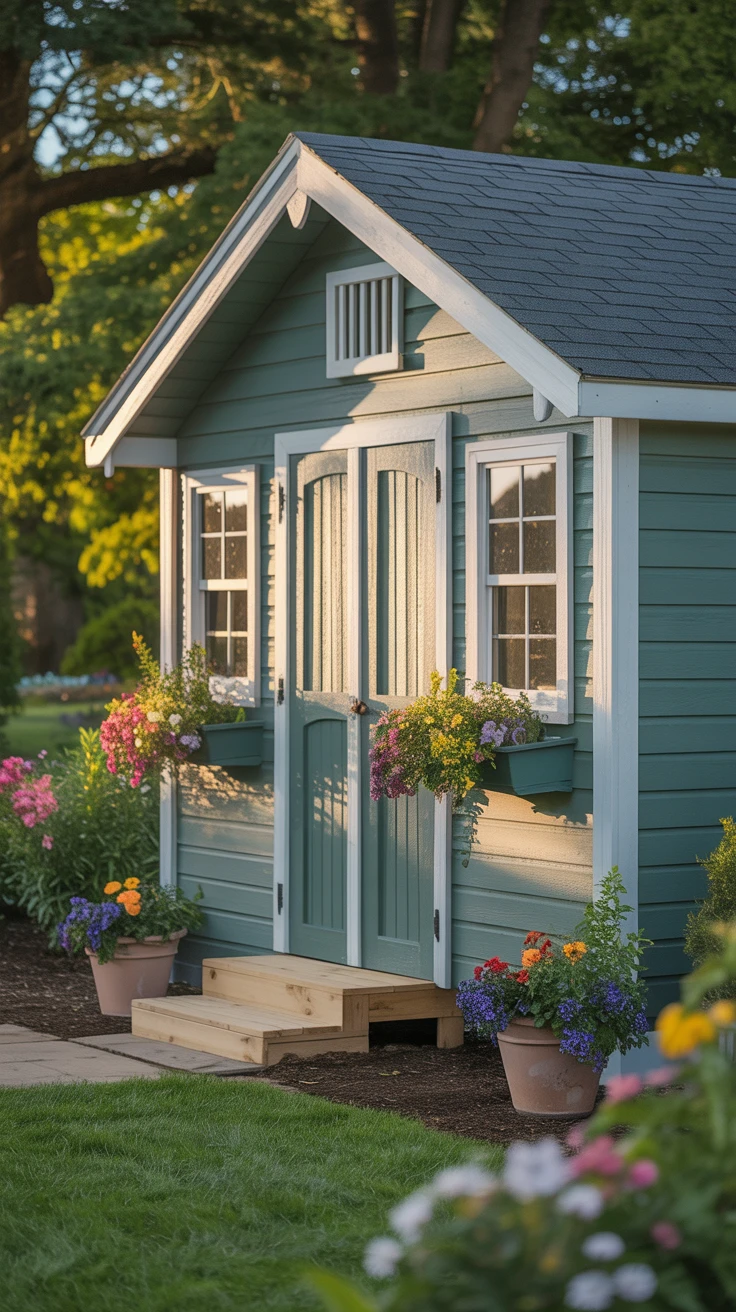
15. Finishing Touches: The Extra Mile
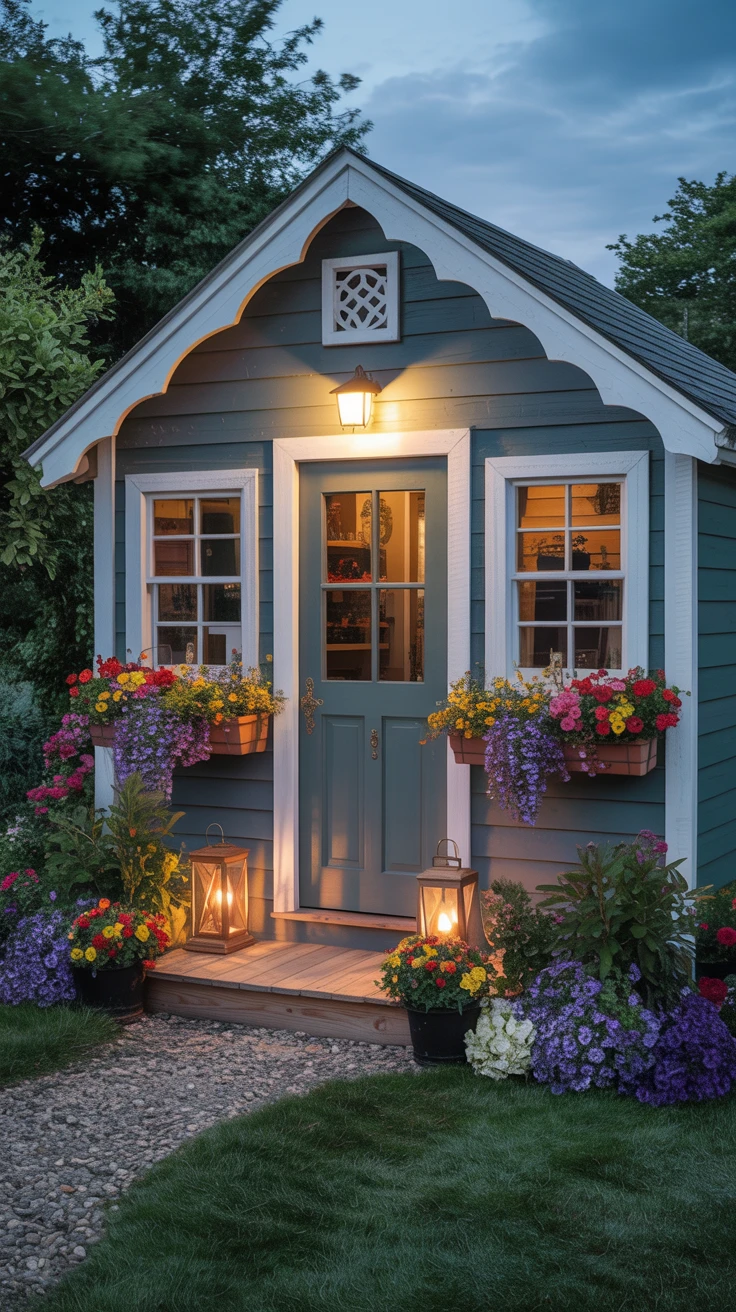
These final details can transform a basic shed into a garden showpiece. Some of my favorite sheds include these special touches that make them truly unique.
- Add window boxes or planters for visual appeal
- Install a small porch or landing at the entrance
- Use decorative hardware for a custom look
- Consider landscape lighting to highlight your shed at night
Pro Tip: Create a small path leading to your shed using stepping stones, gravel, or pavers. This not only looks attractive but also prevents a muddy trail from forming with regular use—something I wish I’d done from the beginning with my first shed.
Frequently Asked Questions
Do I need a permit to build a garden shed?
It depends on your location and the shed’s size. Many municipalities require permits for structures over a certain square footage (often 100-200 square feet). Always check with your local building department before starting construction. I’ve found that even when permits aren’t required, there may still be setback requirements or height restrictions to follow.
How long does it take to build a garden shed?
For a typical 8×10 or 10×12 shed, expect to spend 2-4 weekends if you’re working alone with some DIY experience. My first shed took nearly a month of weekends, while my most recent one took just 6 days with a helper. Weather, experience level, and design complexity all affect the timeline.
What’s the average cost to build a garden shed?
For a basic 8×10 wooden shed built from scratch, expect to spend $1,500-$3,000 in materials. My most recent shed cost approximately $2,200 for materials, including windows and shingles. Pre-cut kits typically run $1,500-$5,000 depending on size and quality. Custom or high-end sheds can cost significantly more.
What tools do I need to build a shed?
Essential tools include: circular saw, drill/driver, hammer, level, square, tape measure, and ladder. Nice-to-have tools that make the job easier include: miter saw, nail gun, impact driver, and jigsaw. I started with basic tools and added specialty tools as I gained experience.
Can I build a shed on bare ground?
While technically possible, it’s not recommended. Without a proper foundation, your shed will likely shift, settle unevenly, and deteriorate prematurely. Even a simple gravel pad with pressure-treated skids will significantly extend your shed’s life compared to placing it directly on soil. My first shed was built on concrete blocks placed directly on leveled ground, and it’s still level after 15 years.