Introduction: Why Avoiding These Mistakes is Crucial
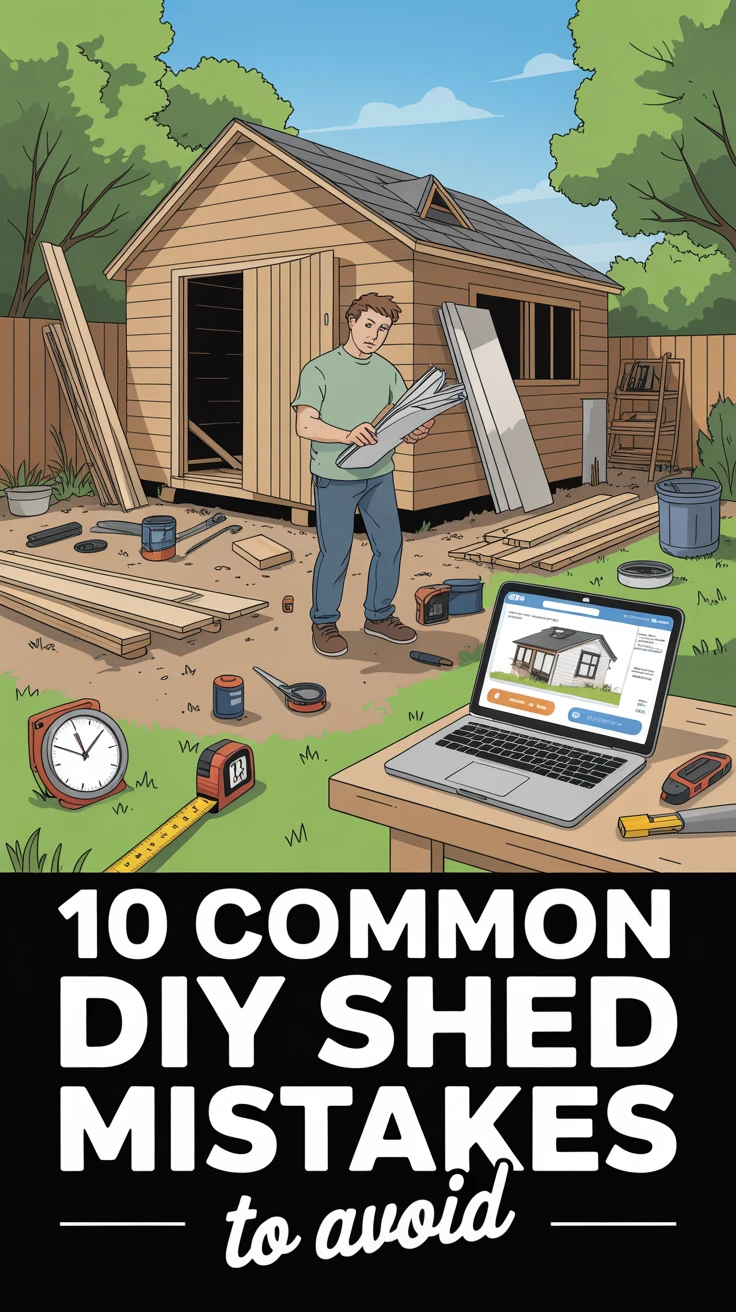
Building a shed might seem like a straightforward weekend project, but I’ve learned through experience that there’s more to it than hammering boards together. After helping numerous friends with their **shed building** projects (and making plenty of mistakes myself), I’ve compiled this guide to help you avoid the pitfalls that can turn your dream storage solution into a nightmare.
Whether you’re building a simple garden shed or a more complex workshop, these common mistakes can lead to structural issues, wasted materials, or even legal problems. By being aware of these potential errors before you begin, you’ll save time, money, and a considerable amount of frustration. Let’s dive into the 10 most common **shed building mistakes** that DIY enthusiasts should avoid.
Mistake 1: Skipping the Planning Phase
I once jumped straight into building a shed with nothing but a vague idea and enthusiasm. Three days and several wasted lumber pieces later, I realized my mistake. Proper planning is the foundation of any successful shed project.
- Determine the shed’s purpose (storage, workshop, garden house)
- Sketch a detailed design with measurements
- Create a comprehensive materials list
- Plan for doors, windows, and interior organization

View on AmazonAs an Amazon Associate, I earn from qualifying purchases.

View on AmazonAs an Amazon Associate, I earn from qualifying purchases.
Pro Tip: Use free online shed design tools like SketchUp or dedicated shed planning apps to create a 3D model of your project. This helps visualize the final result and identify potential issues before cutting your first board.
Mistake 2: Ignoring Building Codes and Permits
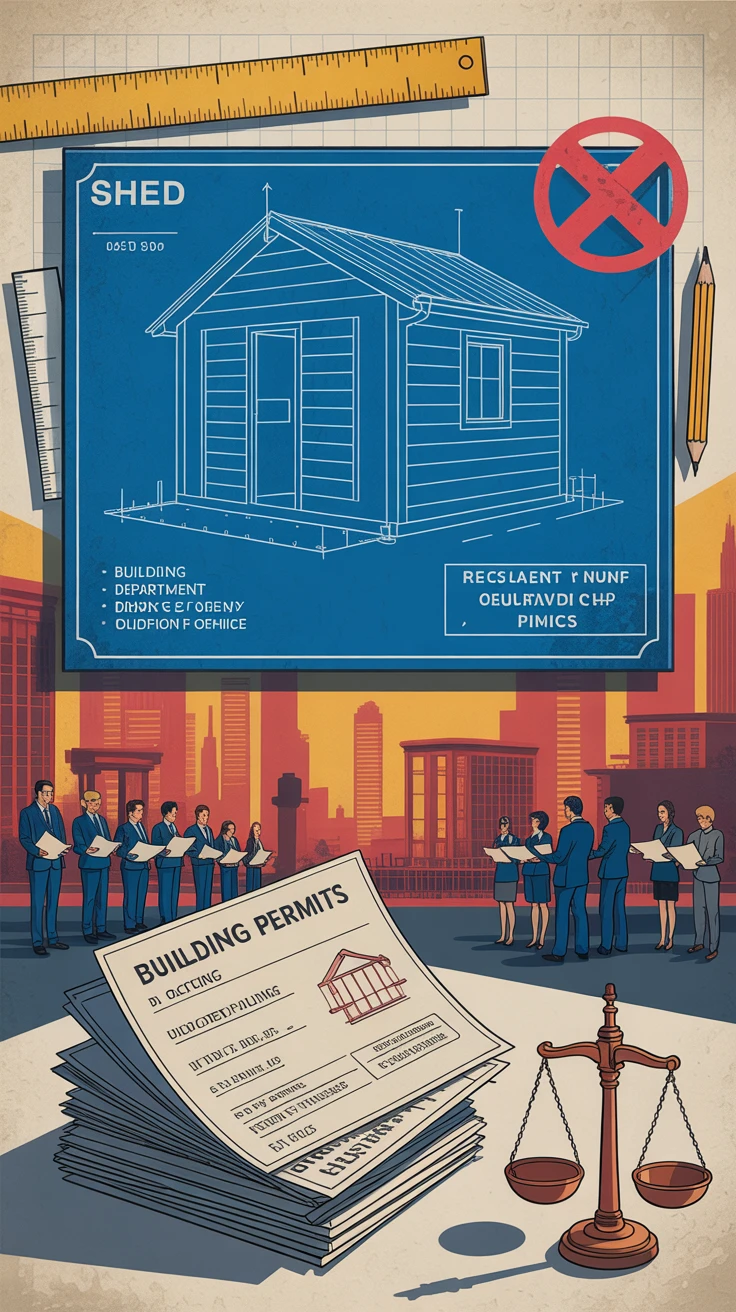
I’ve seen a neighbor forced to tear down a completed shed because they didn’t check local regulations. Don’t let this happen to you! Many municipalities have specific rules regarding:
- Maximum shed size without a permit (often 100-200 square feet)
- Required distance from property lines
- Height restrictions
- Foundation requirements
View on AmazonAs an Amazon Associate, I earn from qualifying purchases.

View on AmazonAs an Amazon Associate, I earn from qualifying purchases.
Contact your local building department before starting your project. While it might seem like an unnecessary step for a “simple shed,” ignoring regulations can result in fines or removal orders.

View on AmazonAs an Amazon Associate, I earn from qualifying purchases.

View on AmazonAs an Amazon Associate, I earn from qualifying purchases.
Pro Tip: If navigating building codes seems overwhelming, consider consulting with a contractor familiar with local regulations. The small consultation fee could save you significant headaches later.
Mistake 3: Selecting the Wrong Location
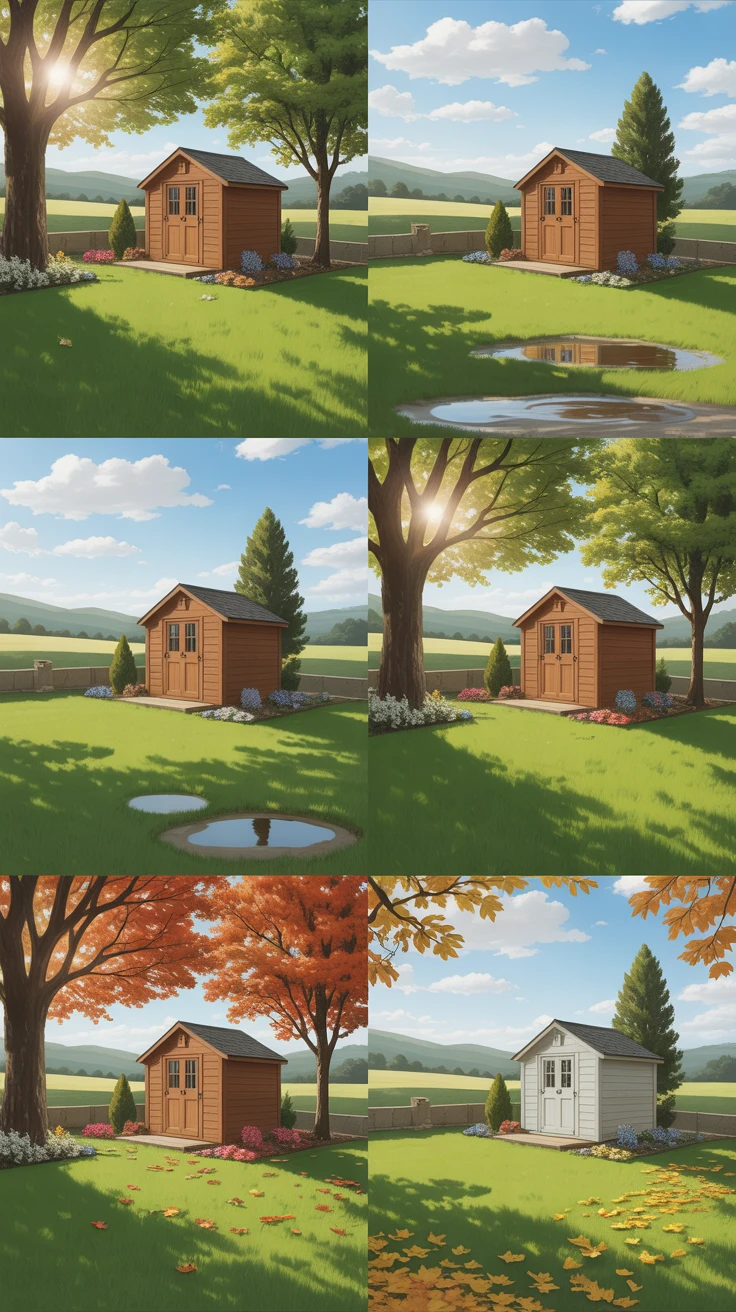
Location mistakes are among the most difficult to correct after construction. When I built my first shed, I placed it in what seemed like a convenient spot, only to discover it became a swamp during spring rains.
Consider these factors when choosing your shed location:
- Drainage patterns (avoid low-lying areas)
- Sun exposure (consider whether you want shade or sunlight)
- Accessibility (for bringing in materials and equipment)
- Distance from trees (roots can damage foundations; falling branches pose risks)
- Proximity to your house (convenience vs. aesthetics)
Take time to observe your yard through different seasons if possible. That sunny spot in summer might be under six inches of water in spring.
Mistake 4: Using Inadequate Materials
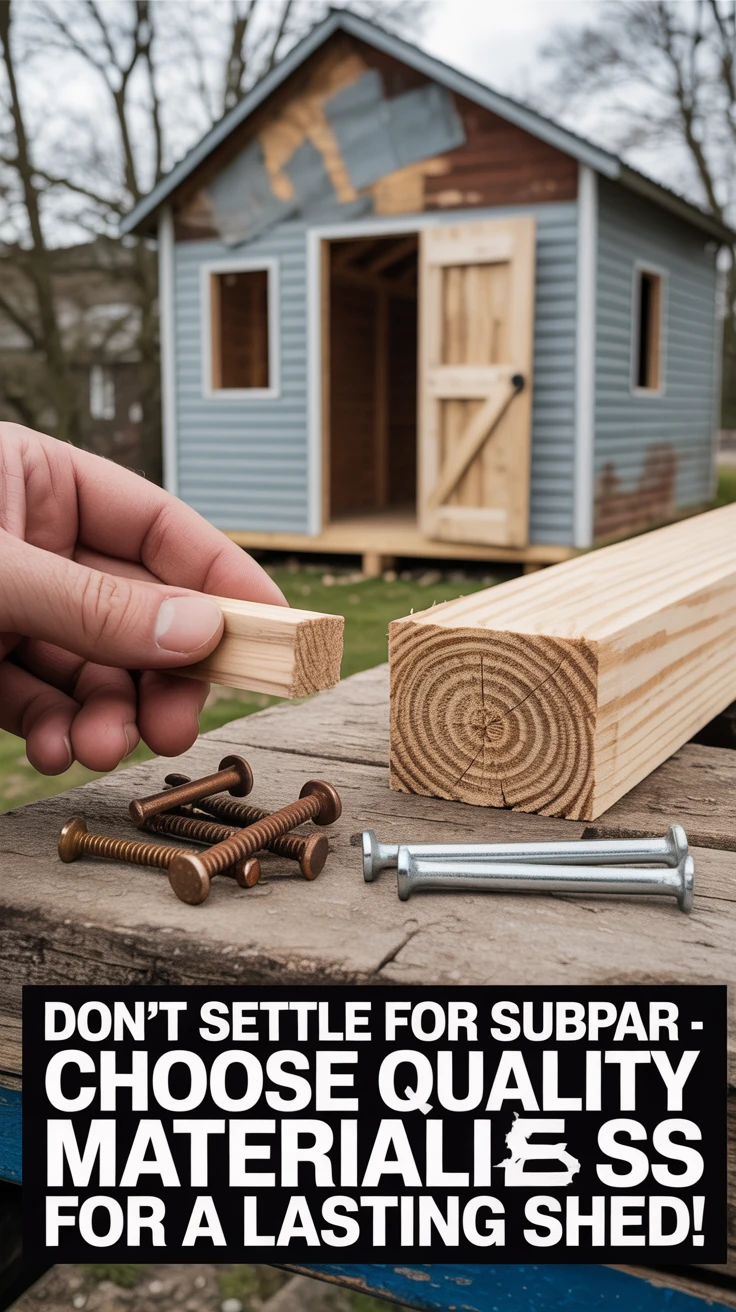
When I tried to save money by purchasing the cheapest available materials, my shed started showing signs of wear within months. Quality matters, especially for components exposed to the elements.
Key areas where quality shouldn’t be compromised:
- Pressure-treated lumber for ground contact
- Weather-resistant siding (avoid untreated particleboard)
- Galvanized or stainless steel fasteners to prevent rust
- Quality roofing materials with appropriate underlayment
While premium materials increase initial costs, they dramatically reduce maintenance requirements and extend your shed’s lifespan.
Mistake 5: Failing to Prepare a Solid Foundation

The foundation is literally what your entire project rests on. I’ve seen beautifully built sheds develop sagging floors and misaligned doors because they were built on inadequate foundations.
Common foundation options include:
- Concrete slab (most permanent but requires more work)
- Gravel pad with pressure-treated skids
- Concrete pier blocks
- Pressure-treated wood frame on level ground
Whatever foundation type you choose, ensure it’s level, properly sized, and appropriate for your soil conditions. Taking extra time here pays dividends throughout the life of your shed.
Pro Tip: For smaller sheds, concrete deck blocks provide an excellent balance between permanence and ease of installation, while allowing for minor adjustments if settling occurs.
Mistake 6: Overlooking Ventilation Needs
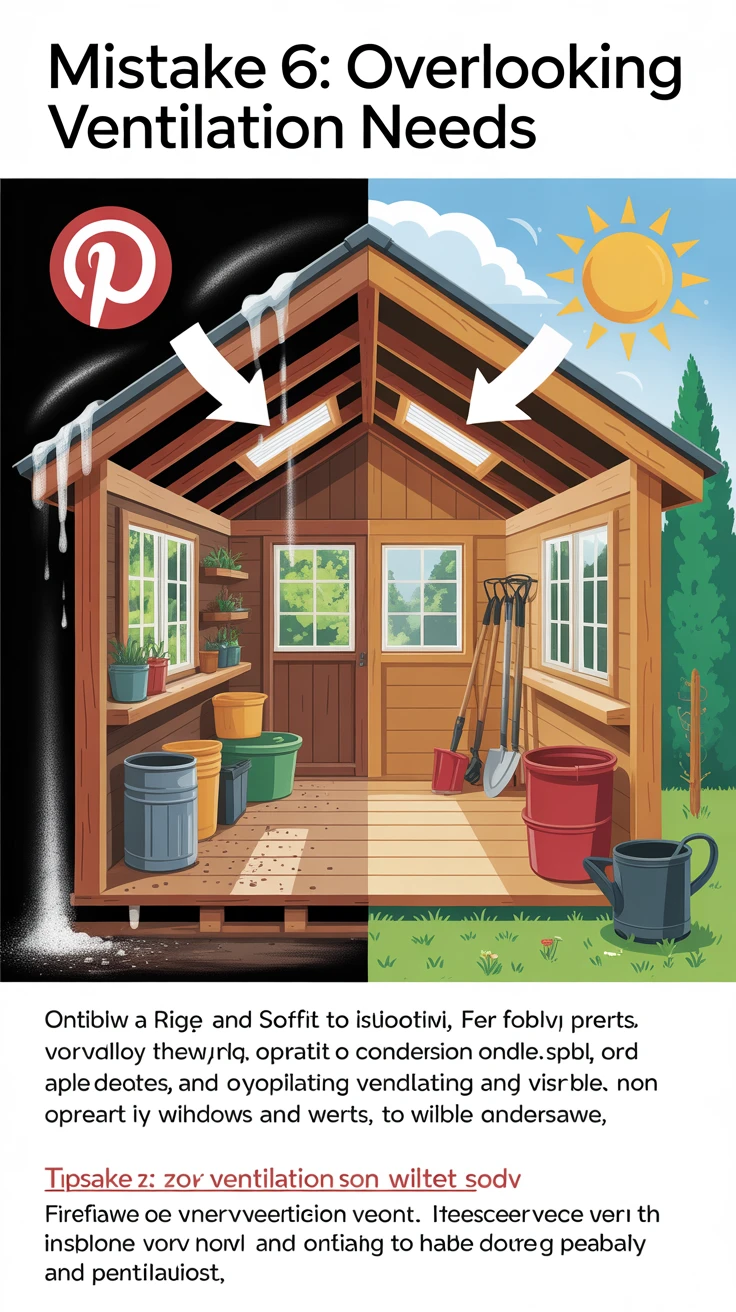
A completely sealed shed might seem ideal for keeping elements out, but it creates the perfect environment for condensation, mold, and rot. I learned this lesson when I opened my first shed after winter to find mildew on everything inside.
Effective ventilation strategies include:
- Ridge and soffit vents
- Gable vents on opposite ends
- Operable windows
- Vented doors
Proper airflow prevents moisture buildup while helping regulate temperature extremes, protecting both your shed and its contents.
Mistake 7: Poor Weatherproofing
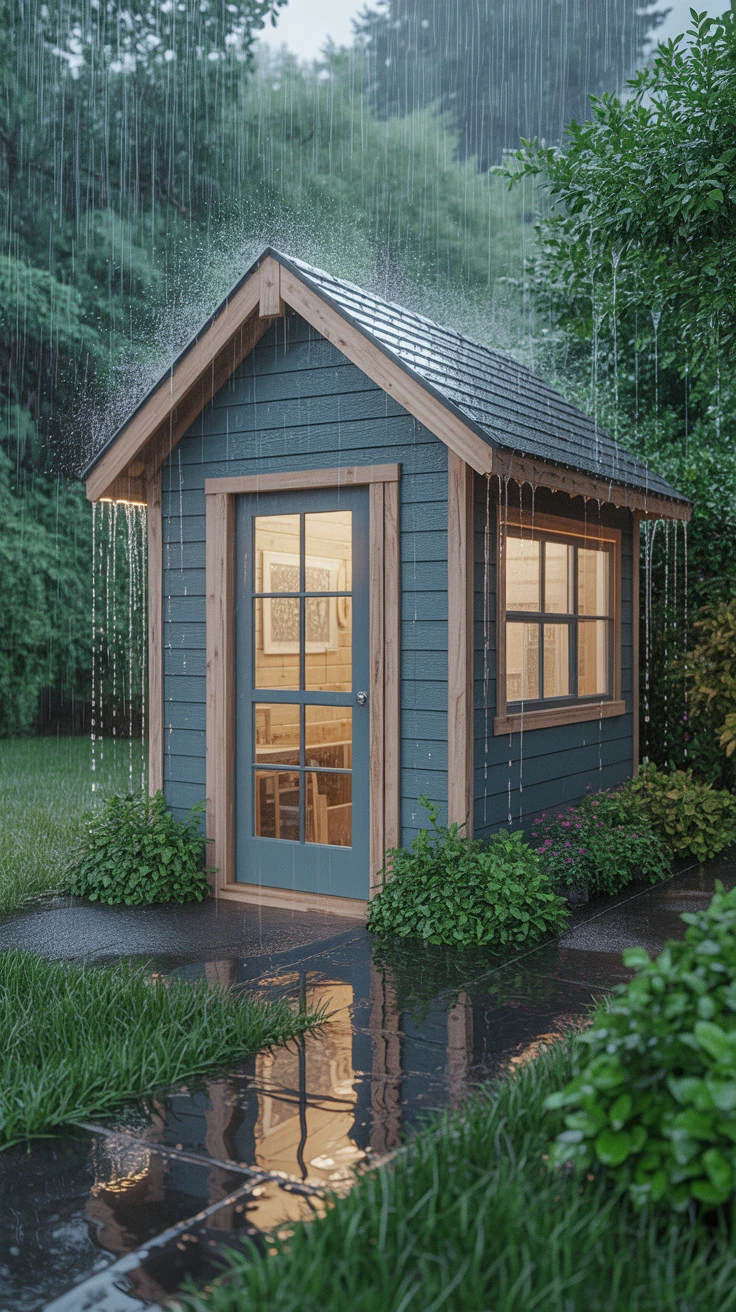
The primary purpose of a shed is to protect its contents from the elements. Inadequate weatherproofing defeats this purpose and leads to premature deterioration of the structure itself.
Essential weatherproofing measures include:
- Proper roof overhang (minimum 2-3 inches)
- Quality door and window flashing
- Caulking around all penetrations
- Water-resistant barrier beneath siding
- Appropriate paint or sealant on all exposed surfaces
Remember that water finds the path of least resistance. A single overlooked gap can allow moisture to penetrate and cause damage far beyond the entry point.
Pro Tip: Apply silicone caulk to all joints before painting, and use exterior-grade paint with mildew resistance for maximum protection against moisture.
Mistake 8: Neglecting Aesthetic Considerations
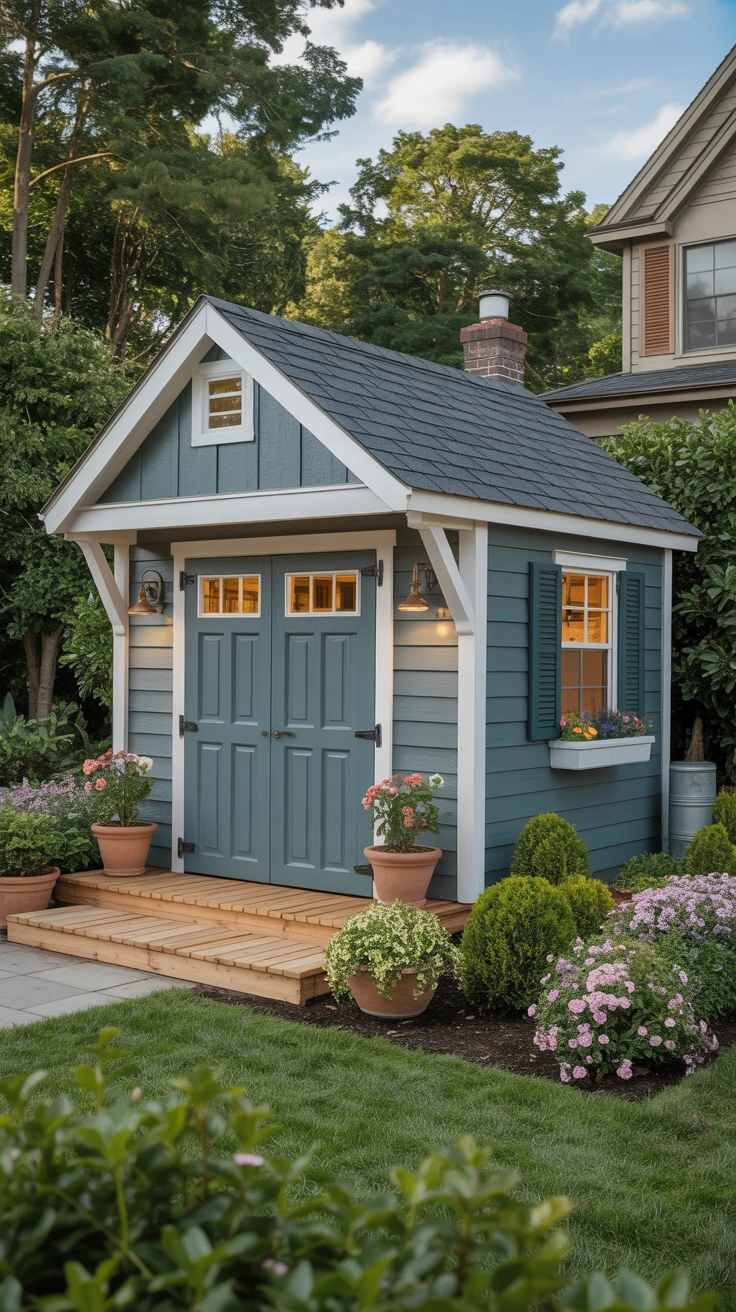
While functionality is paramount, the appearance of your shed affects your property’s overall look and potentially its value. I’ve seen well-built sheds that looked completely out of place, creating an eyesore rather than an asset.
Consider these aesthetic elements:
- Complementary colors and materials to your main house
- Proportional size and shape
- Appropriate architectural details (trim, shutters, etc.)
- Landscaping integration
A thoughtfully designed shed can become a charming focal point rather than just a storage solution.
Mistake 9: Inadequate Lighting and Electrical Planning
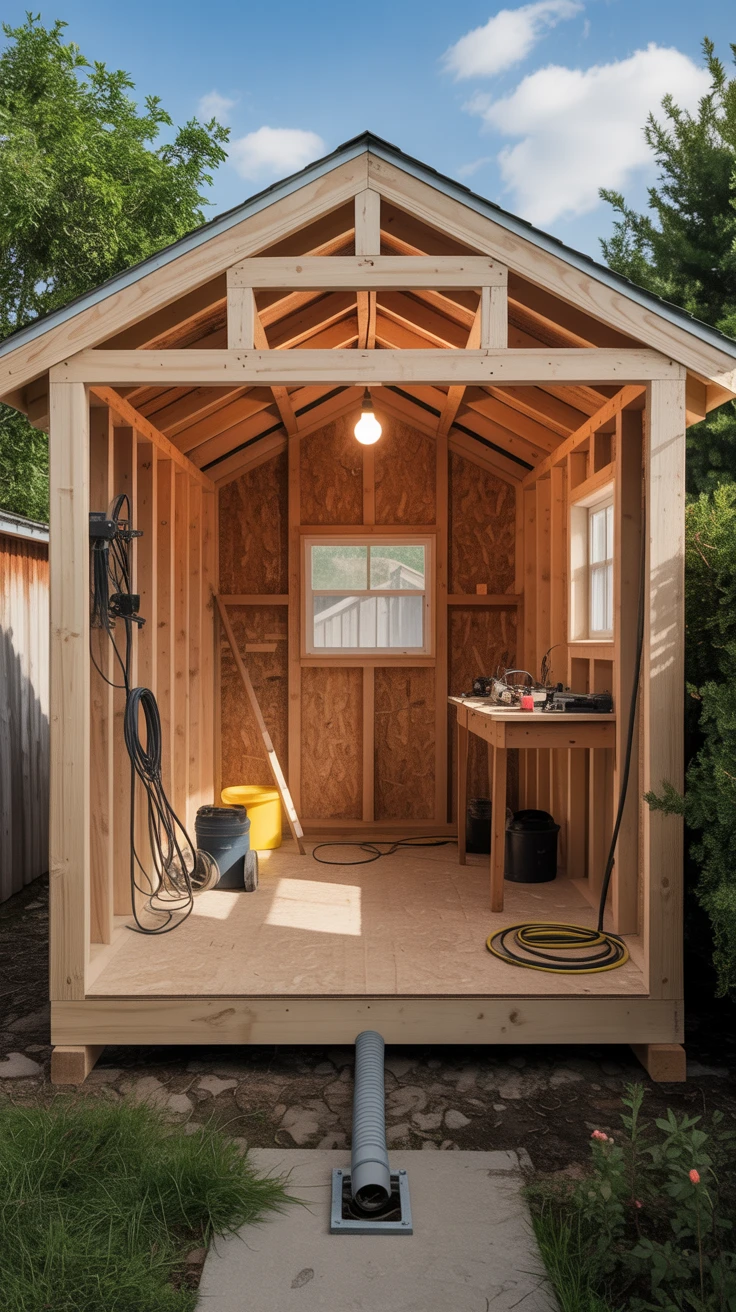
Even if you don’t initially plan to use electricity in your shed, future-proofing your design can save considerable effort later. I regretted not installing conduit during construction when I later decided to add power to my workshop shed.
Consider these electrical and lighting needs:
- Natural light sources (windows, skylights)
- Conduit installation for future wiring
- Outlet placement for tools and equipment
- Task lighting for work areas
- Security lighting for exterior
If installing electricity, always consult with or hire a licensed electrician to ensure code compliance and safety.
Mistake 10: Underestimating Time and Budget
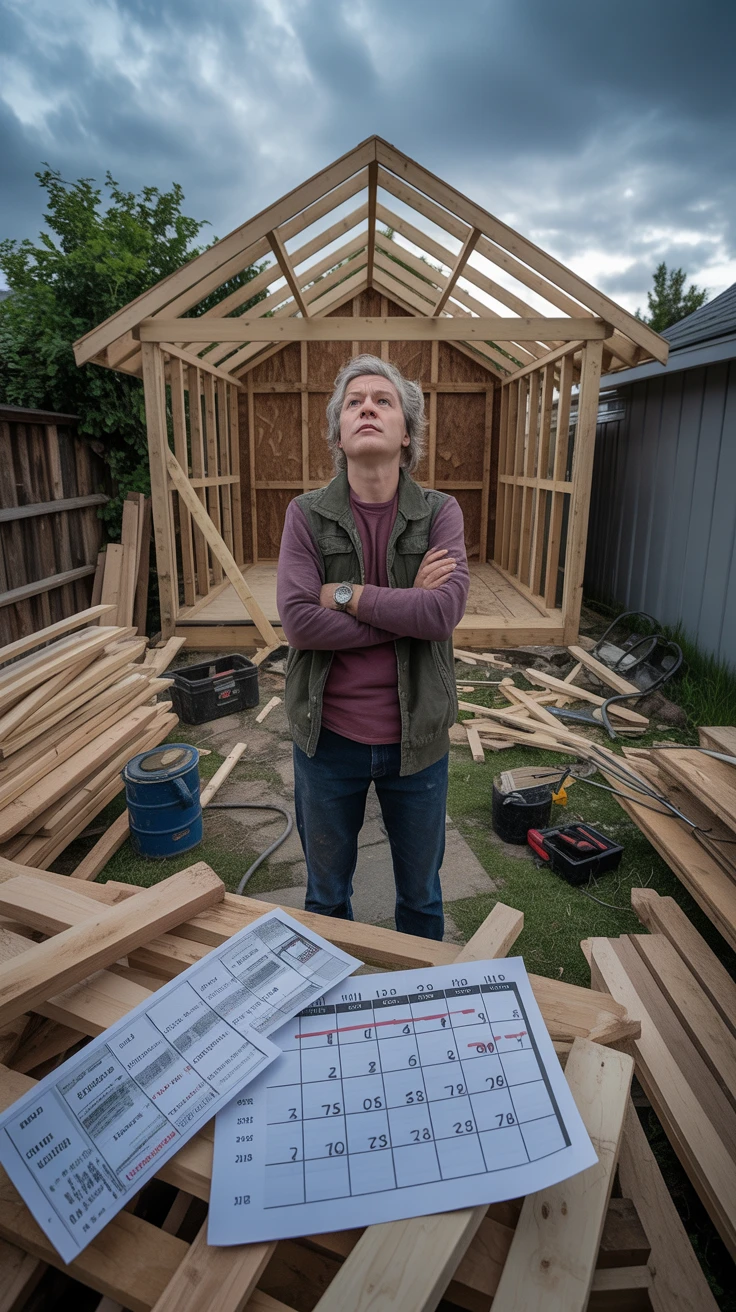
Nearly every DIY **shed building** project I’ve been involved with has taken longer and cost more than initially planned. Setting realistic expectations helps prevent frustration and project abandonment.
- Add 25-30% to your estimated budget for unexpected expenses
- Double your estimated timeline, especially if you’re a first-time builder
- Factor in time for research, material procurement, and weather delays
- Consider tool rental or purchase costs in your budget
Breaking the project into manageable phases helps maintain momentum while accommodating real-life schedules.
Pro Tip: Create a detailed spreadsheet tracking all expenses and time spent. This helps identify where overruns occur and provides valuable reference for future projects.
Conclusion
Building your own shed can be immensely satisfying when done right. By avoiding these common **shed building mistakes**, you’ll create a structure that serves your needs, complements your property, and stands the test of time.
Remember that patience and preparation are your greatest allies in any DIY project. Take the time to plan thoroughly, use quality materials, and follow best practices. The extra effort upfront will pay dividends in a shed that remains functional and attractive for years to come.
Frequently Asked Questions
Do I really need a permit for a small backyard shed?
Requirements vary by location, but many municipalities exempt very small sheds (typically under 100-200 square feet) from permitting. However, you’ll still need to comply with setback requirements and height restrictions. Always check with your local building department before starting construction.
What’s the best foundation for a DIY shed?
The best foundation depends on your shed size, soil conditions, and intended permanence. For small to medium sheds, concrete deck blocks or a gravel pad with pressure-treated skids offer a good balance of stability and ease of installation. Larger sheds or those housing heavy equipment benefit from concrete slabs or pier foundations.
How can I prevent moisture problems in my shed?
Implement multiple moisture control strategies: ensure proper site drainage, install adequate ventilation, use a vapor barrier under the floor, apply quality exterior finishes, maintain good roof overhangs, and consider a dehumidifier for sensitive storage. Regular maintenance to seal cracks and repair damaged areas is also essential.
What’s the most common mistake first-time shed builders make?
Based on my experience, inadequate planning is the most common and consequential mistake. This includes underestimating material needs, failing to check local building codes, choosing inappropriate locations, and not allowing enough time for completion. Thorough planning addresses most other potential problems before they occur.
How long should a properly built DIY shed last?
A well-constructed shed using quality materials should last 15-30 years with proper maintenance. Factors affecting longevity include foundation type, material quality, construction techniques, local climate, and maintenance practices. Regular inspections and prompt repairs significantly extend a shed’s useful life.