Introduction
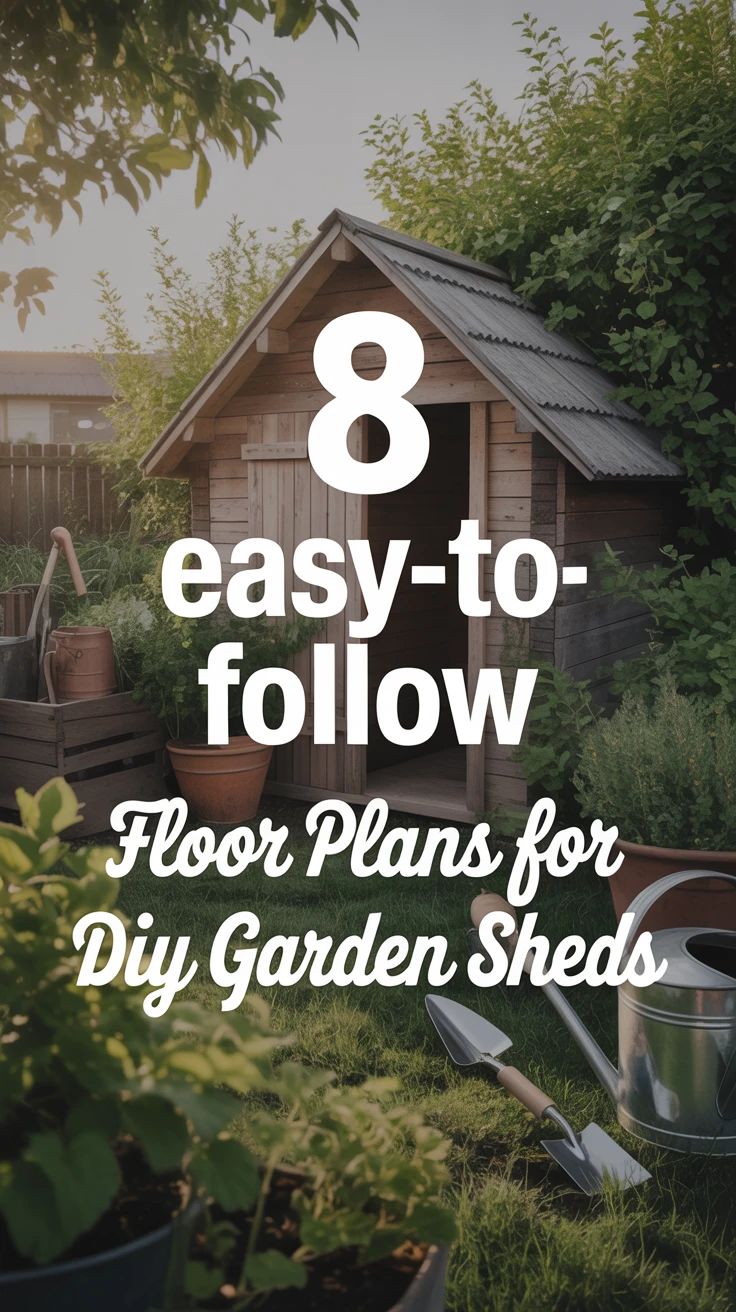
When it comes to creating additional storage space or a dedicated area for your gardening tools, a well-designed garden shed is the perfect solution. I’ve built several sheds over the years, and I can tell you that starting with the right shed floor plans makes all the difference between a weekend project and a month-long headache. Whether you’re a DIY enthusiast or a first-time builder, having clear, easy-to-follow plans is essential for success.
In this article, I’ll share eight different shed floor plans that I’ve either built myself or helped others construct. These designs range from simple storage solutions to more elaborate structures that can double as workspace. Each plan addresses different needs, space constraints, and skill levels, so you’re sure to find one that fits your specific requirements.
Let’s dive into these plans and get your shed project off to a solid start!
1. Basic Square Shed Plan
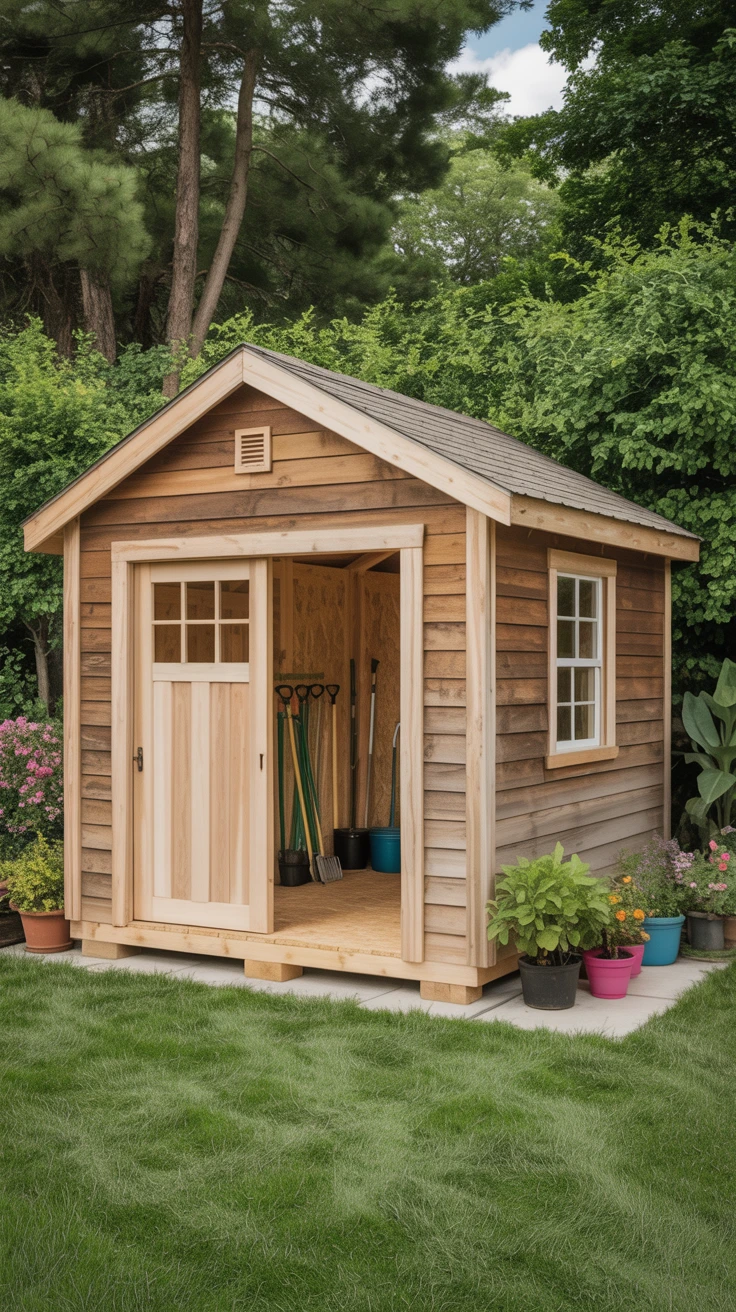
The 8×8 square shed was my first DIY project, and it remains one of my favorites for beginners. This design offers simplicity without sacrificing functionality—perfect if you’re new to construction projects.
An 8×8 shed provides 64 square feet of usable space, which is ideal for storing lawn equipment, gardening tools, and seasonal items. The square shape makes the building process straightforward, with equal measurements on all sides reducing the complexity of cuts and assembly.
- Dimensions: 8 feet x 8 feet (64 square feet)
- Foundation: Concrete blocks or pressure-treated skids
- Flooring: 3/4-inch pressure-treated plywood over 2×6 joists
- Door size: Standard 36-inch entry door
- Window: Optional 2×2 foot window on one side
Pro Tip: When building a square shed, I always start by ensuring my foundation is perfectly level and square. I learned the hard way that even a half-inch discrepancy at the foundation level can cause significant problems with door alignment and wall stability later on.
2. Rectangular Shed Layout
After outgrowing my first shed, I moved to a 10×12 rectangular design that offered more versatility. This layout provides 120 square feet of space and allows for better organization of equipment based on frequency of use.
The rectangular shape is ideal if you need to accommodate longer items like ladders or have specific zones for different activities. I’ve found this design particularly useful for creating a small potting area at one end while keeping tools and equipment at the other.
- Dimensions: 10 feet x 12 feet (120 square feet)
- Foundation: Concrete slab or pressure-treated frame on gravel bed
- Flooring: 3/4-inch tongue-and-groove plywood over 2×6 joists at 16-inch centers
- Door placement: Centered on the 10-foot wall for maximum interior space utilization
- Windows: Two 2×3 foot windows for cross ventilation
Pro Tip: For rectangular sheds, I recommend adding extra floor joists under areas where you’ll place heavy items like lawn mowers or workbenches. This prevents floor sagging that I experienced in my first rectangular build.
3. Corner Shed Design
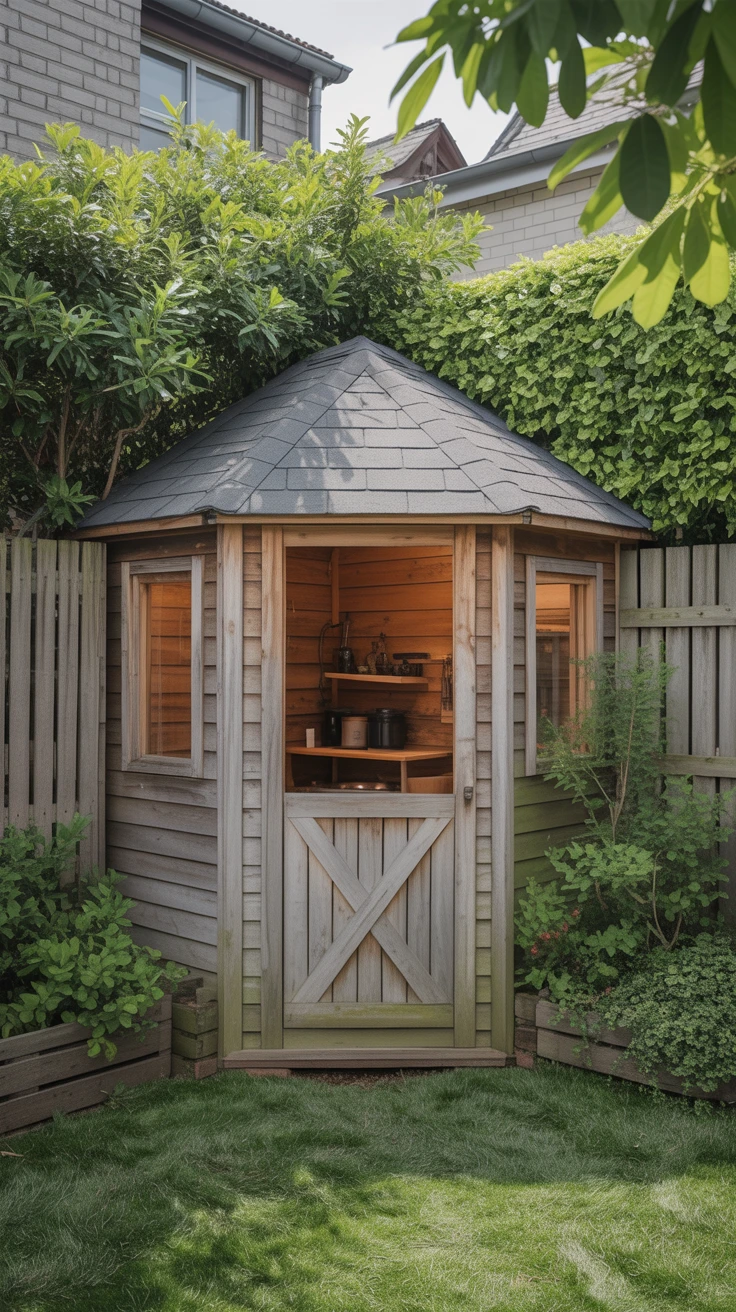
The corner shed design was a game-changer for my small urban backyard. This five-sided structure fits perfectly into a 90-degree corner, utilizing space that would otherwise go unused.
The triangular front section of this plan creates an interesting architectural element while maximizing the available space. I was surprised by how much storage I could fit into what initially seemed like an awkward corner of my yard.
This design typically features two walls that align with property boundaries or fences, with the remaining three walls forming a pentagon shape. The door is usually positioned on the front face, providing easy access to the interior.
Pro Tip: When building a corner shed, I always ensure the roof slopes away from the corner to prevent water from pooling where the structure meets existing walls or fences. My first corner shed had drainage issues until I adjusted the roof pitch.
4. Lean-To Shed Blueprint
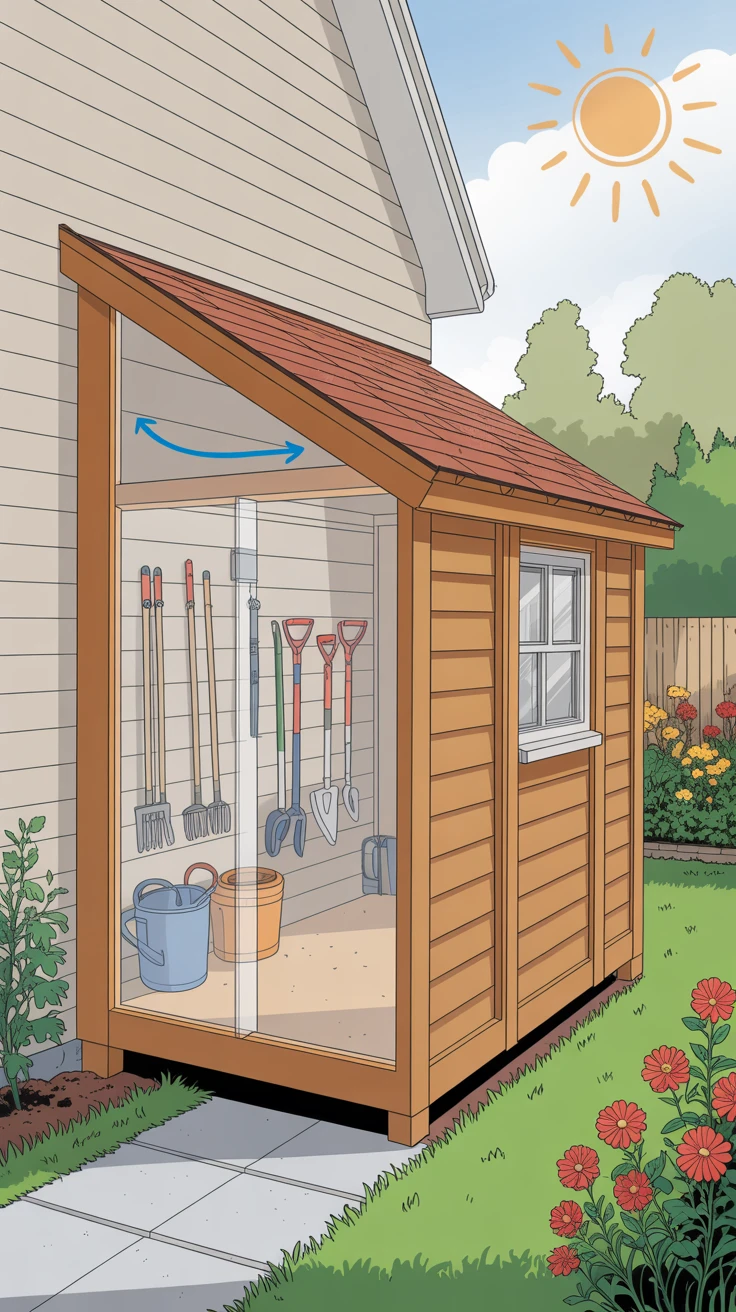
The lean-to design is one of the most space-efficient shed floor plans I’ve worked with. By attaching the structure to an existing wall of your house, garage, or fence, you eliminate the need for one complete wall and create a naturally protected space.
My 6×10 lean-to shed serves as my garden tool storage, with easy access from my patio. The single-slope roof makes construction simpler, and the design naturally channels rainwater away from the main structure.
This design works particularly well in narrow side yards or spaces where a freestanding structure might feel cramped. The shared wall also provides additional stability and can reduce material costs.
Pro Tip: Always check local building codes before attaching a lean-to shed to your home. In some areas, attached structures face different permit requirements than freestanding ones. I had to modify my plans slightly to comply with local regulations regarding attached structures.
5. Gambrel Roof Shed Structure
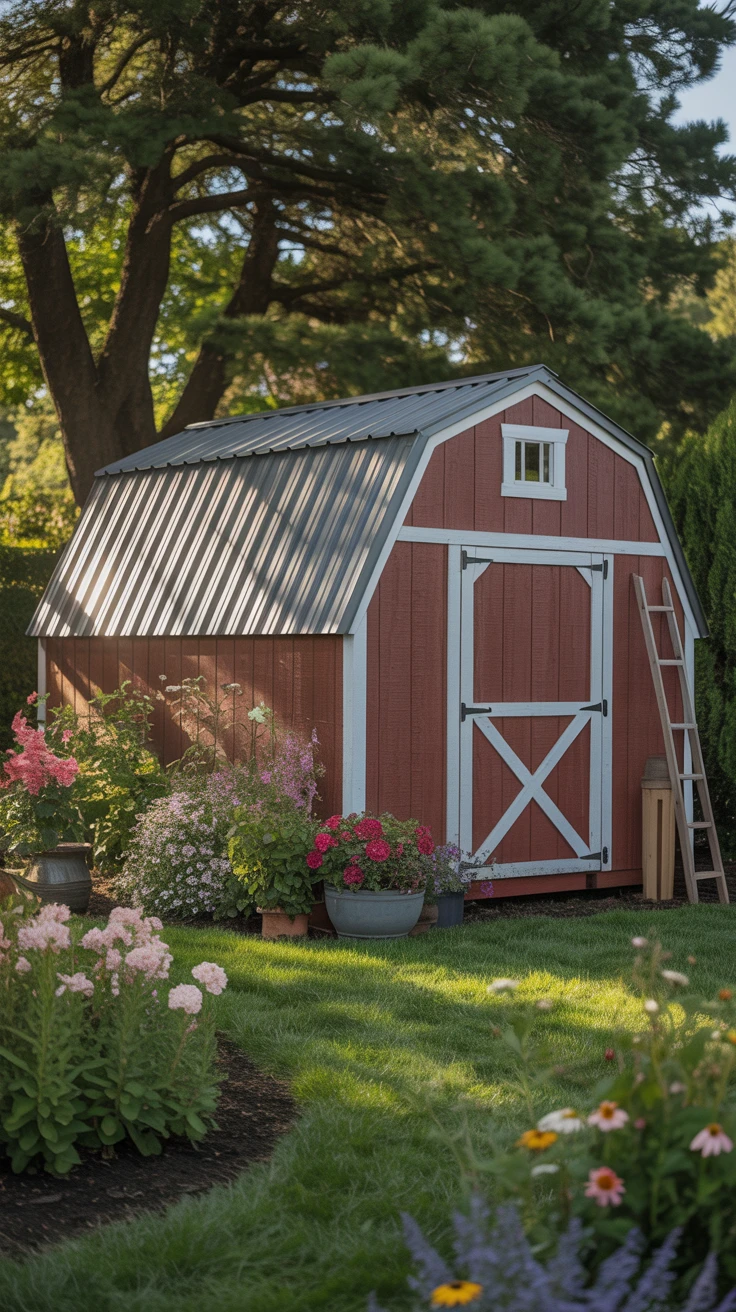
The gambrel roof design, often called a barn-style shed, offers significant advantages for storage capacity. The distinctive dual-slope roof creates additional headroom and storage space in what would otherwise be the attic area.
I built a 10×12 gambrel shed when I needed space for both garden equipment and seasonal decorations. The upper loft area, accessed by a ladder, provides perfect storage for items I don’t need to access frequently.
While slightly more complex to build than a standard gable roof, the extra storage space makes the additional effort worthwhile. The classic barn appearance also adds aesthetic appeal to your garden landscape.
Pro Tip: When framing a gambrel roof, create a template for the roof trusses first and use it to ensure all trusses are identical. Inconsistent angles in my first attempt led to alignment problems that were difficult to correct later.
6. Modern Garden Shed Concept
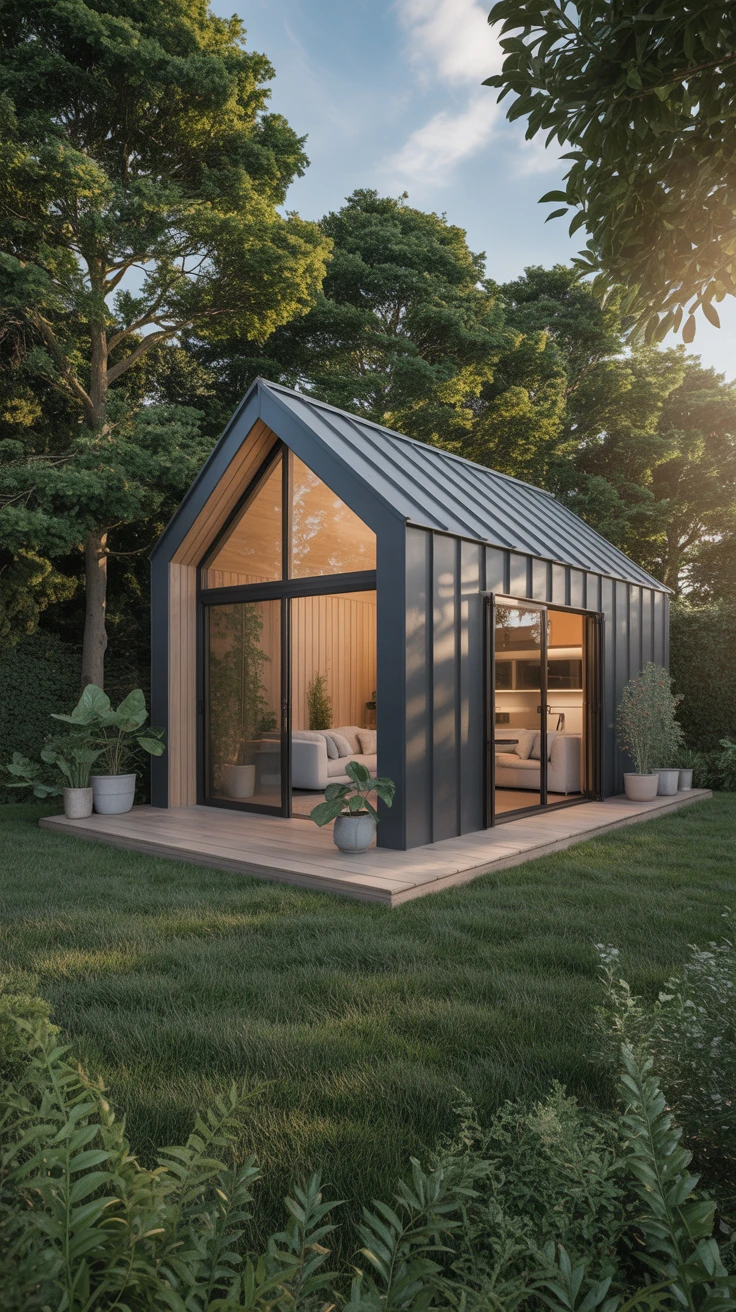
For those looking to make a design statement, a modern shed with clean lines and contemporary materials can be both functional and visually striking. My modern shed features a mono-pitch roof, large windows, and contrasting exterior finishes.
This design typically incorporates more glass than traditional sheds, creating a bright interior that can double as a garden retreat or home office. The floor plan often includes a small deck or patio area that extends the usable space.
While primarily focused on aesthetics, modern shed designs don’t sacrifice functionality. My design includes built-in storage solutions that maintain the clean, minimalist look while providing ample organization options.
Pro Tip: When building a modern shed with large windows, consider the orientation carefully. My first design faced west, creating uncomfortable heat gain in summer afternoons. Repositioning the windows to face north provided consistent, glare-free light.
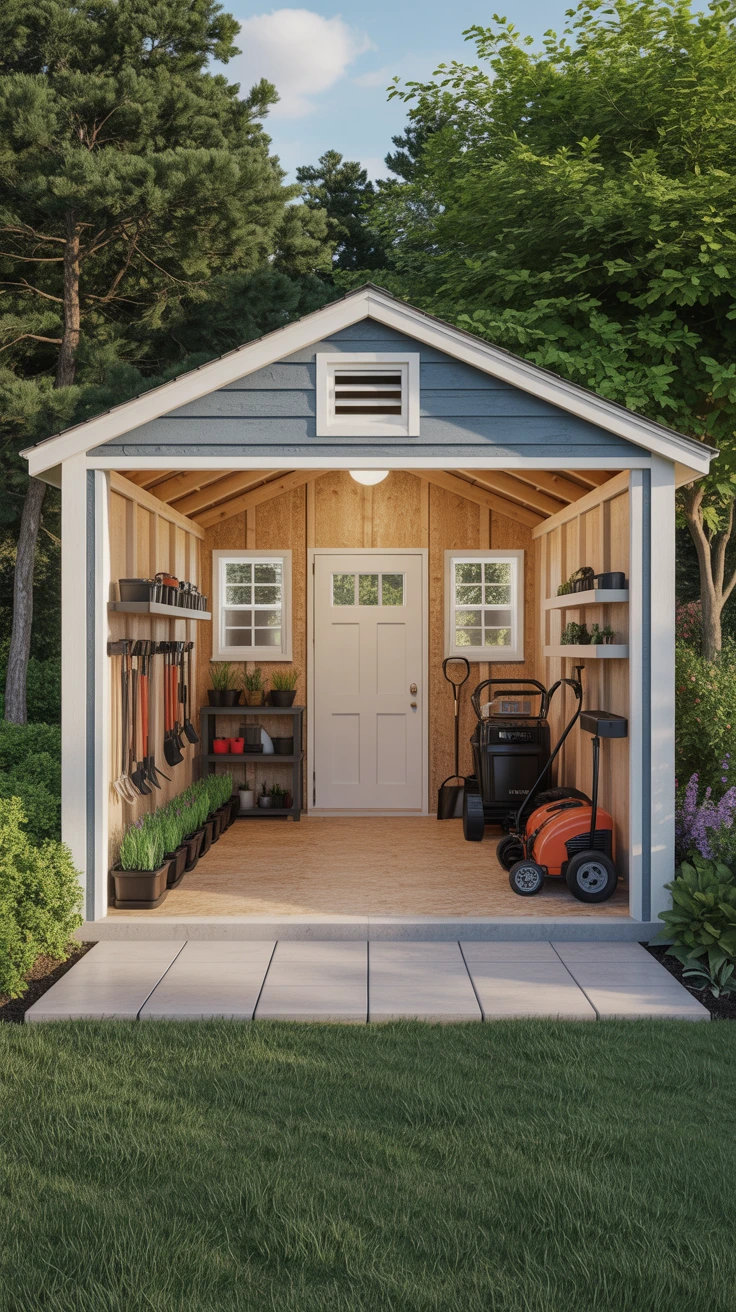
7. Storage-Focused Shed Arrangement
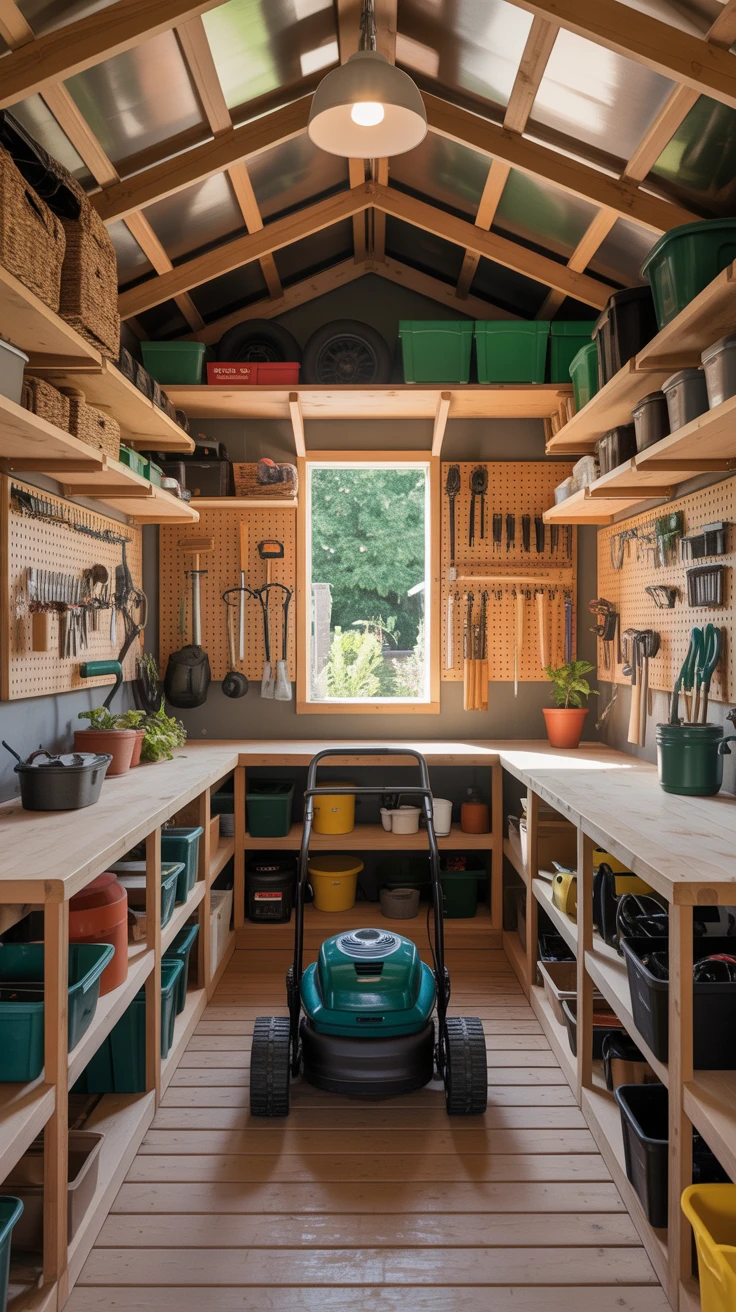
If maximizing storage is your primary goal, a specialized storage shed layout might be your best option. This design prioritizes organization over aesthetics, with a floor plan that incorporates built-in shelving, tool hangers, and customized storage areas.
My storage shed features a U-shaped interior layout with workbenches along two walls and shelving units from floor to ceiling. The center floor space remains open for larger equipment like lawn mowers or snow blowers.
- Wall-mounted tool racks for frequently used items
- Overhead storage racks suspended from ceiling joists
- Modular shelving units that can be reconfigured as needs change
- Pegboard sections for hanging smaller tools
- Built-in cabinets for items that need protection from dust
Pro Tip: When designing a storage-focused shed, I always leave at least one wall completely open without shelving or fixtures. This provides flexibility for storing awkwardly shaped items or rearranging the space as your needs evolve.
8. Rustic Style Shed Plan
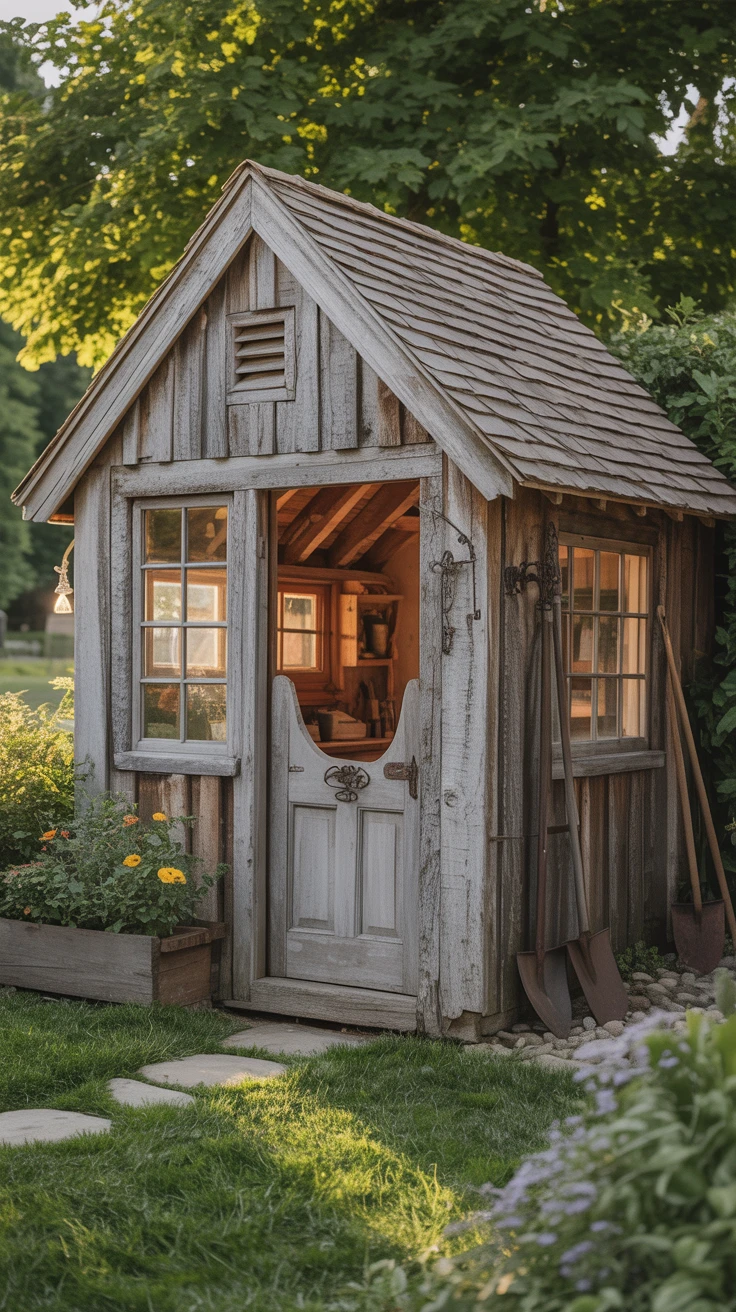
For gardens with a natural or country aesthetic, a rustic shed design complements the landscape beautifully. My rustic shed features board-and-batten siding, a cedar shake roof, and antique-style hardware that gives it character and charm.
The floor plan typically follows a traditional rectangular layout, but the materials and finishing details create the rustic appeal. Exposed beams, natural wood finishes, and vintage-inspired fixtures all contribute to the overall look.
This design works particularly well in cottage gardens or properties with existing traditional architecture. Despite its old-world appearance, the interior can incorporate modern storage solutions and amenities.
Pro Tip: When building a rustic shed, consider using reclaimed materials for authentic character. I incorporated old barn wood for interior shelving and found vintage door hardware at a salvage yard, which saved money while enhancing the authentic feel.
Pro Tips for Selecting the Right Shed Floor Plan
After building multiple sheds over the years, I’ve learned that choosing the right plan is crucial for long-term satisfaction. Here are my top considerations to help you select the perfect shed floor plan for your needs:
- Assess your primary purpose: Will this be mainly for storage, a workspace, or a combination?
- Inventory what you’ll store: Make a list of everything you plan to keep in the shed and estimate the space required.
- Consider your property layout: Choose a design that complements your existing structures and makes efficient use of available space.
- Be realistic about your skills: Select a plan that matches your construction experience or budget for professional help where needed.
- Plan for the future: Build slightly larger than your current needs to accommodate future storage requirements.
- Check local regulations: Verify zoning laws, HOA restrictions, and permit requirements before finalizing your plan.
Pro Tip: I always recommend marking out the proposed shed footprint with stakes and string before committing to a plan. Living with the outlined space for a week helps you visualize how the structure will impact your yard and whether the size feels appropriate.
Frequently Asked Questions
What is the best material for a shed floor?
For most garden sheds, 3/4-inch pressure-treated plywood over pressure-treated 2×6 joists provides the best balance of durability and cost-effectiveness. For heavy equipment storage, consider a concrete slab foundation. I’ve used both successfully, but find that elevated wood floors provide better protection against ground moisture in most climates.
How do I ensure my shed floor is level and stable?
Start with a well-compacted gravel base, then use concrete blocks or pressure-treated skids to create a level foundation. Use a long level and string lines to check for level in multiple directions. I learned through experience that spending extra time on foundation preparation prevents numerous problems later.
What size shed can I build without a permit?
This varies significantly by location. In many areas, sheds under 120 square feet (10×12) don’t require permits, but there may be restrictions on height or placement. Always check with your local building department before starting construction. I once had to modify a completed shed because I misunderstood the setback requirements in my area.
How should I space floor joists for maximum strength?
For most garden sheds, spacing floor joists 16 inches on center provides sufficient support. For heavy storage or workshop use, consider 12-inch spacing. My workshop shed has joists at 12-inch centers under the workbench area and 16-inch centers elsewhere, providing targeted support where needed.
Can I build a shed directly on the ground?
I don’t recommend building directly on soil, as this leads to moisture problems and premature rot. At minimum, use concrete blocks or a gravel bed to create separation from the ground. My first shed was built too close to the ground, and I had to replace the floor after just five years due to moisture damage.